メインコンテンツにスキップ
リペアコミュニティに参加 - アカウントの作成

HP Mini 110-3735dx Screen Replacement

必要な工具と部品

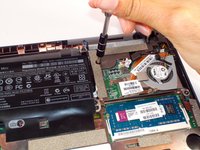
  1. HP Mini 110-3735dx Screen Replacement, Battery: 手順 1、 3の画像 1 HP Mini 110-3735dx Screen Replacement, Battery: 手順 1、 3の画像 2 HP Mini 110-3735dx Screen Replacement, Battery: 手順 1、 3の画像 3
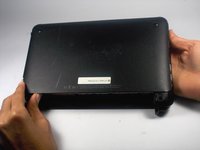
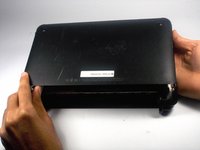
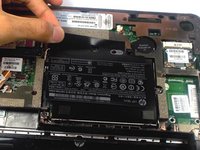
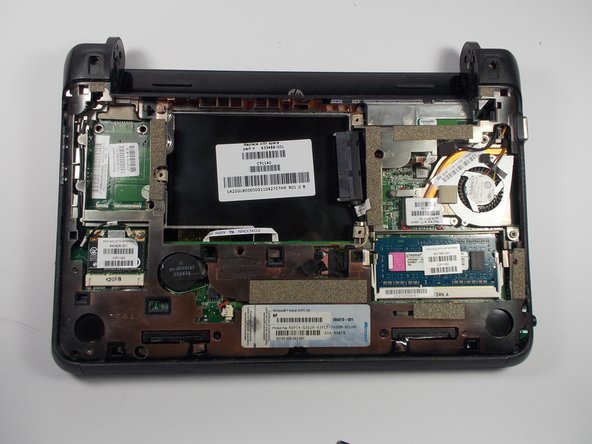
    • With the bottom of the HP Mini facing up, slide both switches inward towards each other.

    FixBotに聞いてみる

    コメントを追加

  2. HP Mini 110-3735dx Screen Replacement: 手順 2、 2の画像 1 HP Mini 110-3735dx Screen Replacement: 手順 2、 2の画像 2
    • With the left switch still pushed inward, pull the battery towards you to remove it from the computer.

    FixBotに聞いてみる

    コメントを追加

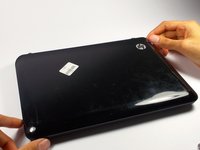
  3. HP Mini 110-3735dx Screen Replacement, Backcover: 手順 3、 3の画像 1 HP Mini 110-3735dx Screen Replacement, Backcover: 手順 3、 3の画像 2 HP Mini 110-3735dx Screen Replacement, Backcover: 手順 3、 3の画像 3
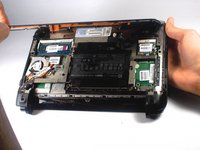
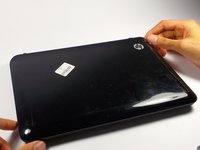
    • Pull upward from under the back cover via the missing battery area.

    • Best to start from one of the corners.

    FixBotに聞いてみる

    コメントを追加

  4. HP Mini 110-3735dx Screen Replacement, Keyboard: 手順 4、 2の画像 1 HP Mini 110-3735dx Screen Replacement, Keyboard: 手順 4、 2の画像 2
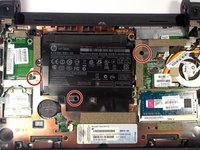
    • Remove the three 4.0 mm screws with the keyboard indicator next to them using a Phillips #1 screw driver.

    FixBotに聞いてみる

    コメントを追加

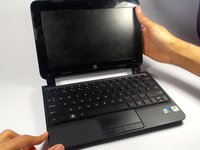
  5. HP Mini 110-3735dx Screen Replacement: 手順 5、 2の画像 1 HP Mini 110-3735dx Screen Replacement: 手順 5、 2の画像 2
    • Flip the laptop over, and open it up.

    • Don't worry! No pieces will fall out.

    FixBotに聞いてみる

    コメントを追加

  6. HP Mini 110-3735dx Screen Replacement: 手順 6、 2の画像 1 HP Mini 110-3735dx Screen Replacement: 手順 6、 2の画像 2
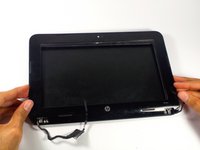
    • With the keyboard facing you, pull the black bezel upward until its loose.

    • You should hear three clicks.

    FixBotに聞いてみる

    コメントを追加

  7. HP Mini 110-3735dx Screen Replacement: 手順 7、 2の画像 1 HP Mini 110-3735dx Screen Replacement: 手順 7、 2の画像 2
    • Move and hold the bezel slightly towards the screen while lifting the keyboard from the top.

    FixBotに聞いてみる

    コメントを追加

  8. HP Mini 110-3735dx Screen Replacement: 手順 8、 1の画像 1
    • Pull up the keyboard from the bottom corners exposing the keyboard cable.

    FixBotに聞いてみる

    コメントを追加

  9. HP Mini 110-3735dx Screen Replacement: 手順 9、 2の画像 1 HP Mini 110-3735dx Screen Replacement: 手順 9、 2の画像 2
    • Lift the black holder connected to the keyboard cable until it points up.

    FixBotに聞いてみる

    コメントを追加

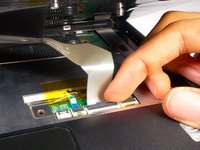
  10. HP Mini 110-3735dx Screen Replacement: 手順 10、 2の画像 1 HP Mini 110-3735dx Screen Replacement: 手順 10、 2の画像 2
    • Gently pull the keyboard cable from the socket.

    FixBotに聞いてみる

    コメントを追加

  11. HP Mini 110-3735dx Screen Replacement, Hard Drive Cage: 手順 11、 1の画像 1
    • Remove the three 5.0 mm screws holding the hard drive cage in place using a Phillips #1 screw driver.

    FixBotに聞いてみる

    コメントを追加

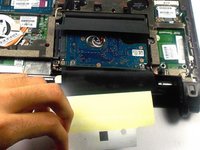
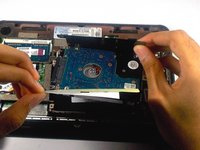
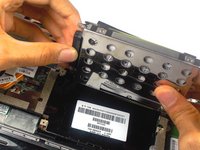
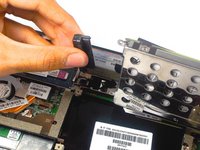
  12. HP Mini 110-3735dx Screen Replacement: 手順 12、 3の画像 1 HP Mini 110-3735dx Screen Replacement: 手順 12、 3の画像 2 HP Mini 110-3735dx Screen Replacement: 手順 12、 3の画像 3
    • Lift the hard drive cage by pulling the tape upward.

    • Start by pulling the tape from the side with the keyboard symbol.

    FixBotに聞いてみる

    コメントを追加

  13. HP Mini 110-3735dx Screen Replacement: 手順 13、 2の画像 1 HP Mini 110-3735dx Screen Replacement: 手順 13、 2の画像 2
    • Unplug the cable connecting to the hard drive.

    FixBotに聞いてみる

    コメントを追加

  14. HP Mini 110-3735dx Screen Replacement, Screen: 手順 14、 2の画像 1 HP Mini 110-3735dx Screen Replacement, Screen: 手順 14、 2の画像 2
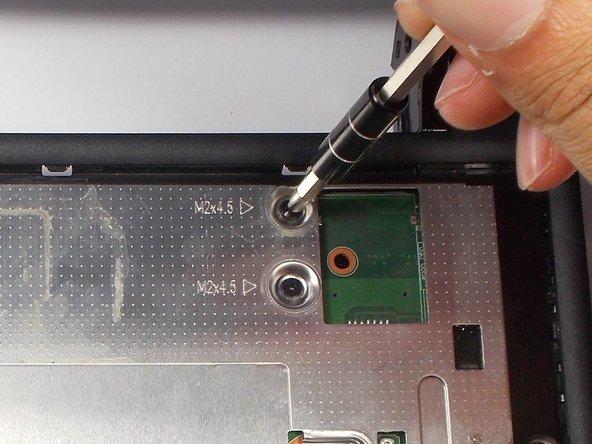
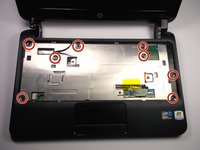
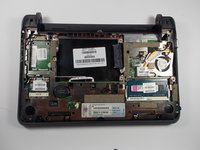
    • Remove the 8 5.0 mm screws under the keyboard using a Phillips #1 screw driver.

    FixBotに聞いてみる

    コメントを追加

  15. HP Mini 110-3735dx Screen Replacement: 手順 15、 3の画像 1 HP Mini 110-3735dx Screen Replacement: 手順 15、 3の画像 2 HP Mini 110-3735dx Screen Replacement: 手順 15、 3の画像 3
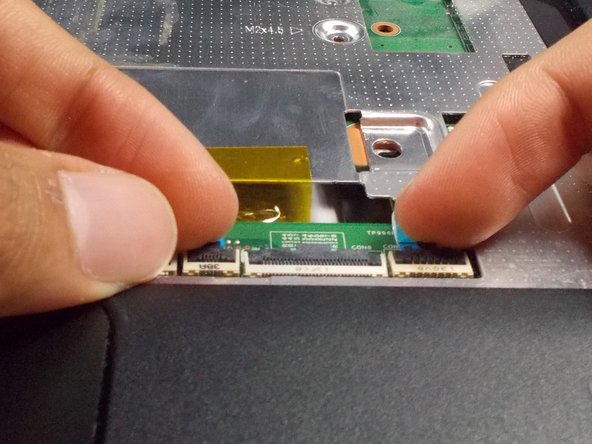
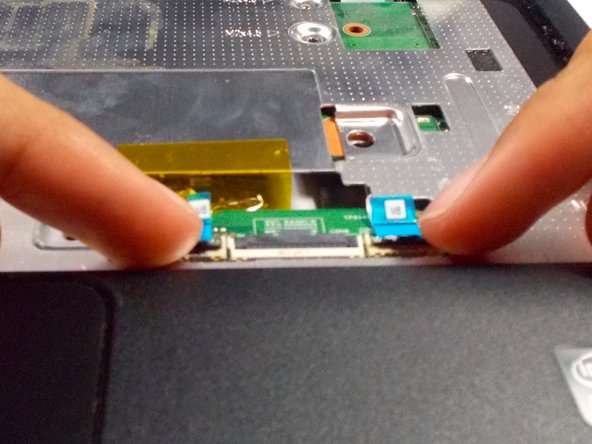
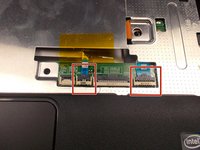
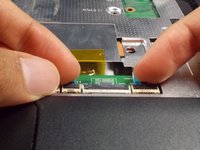
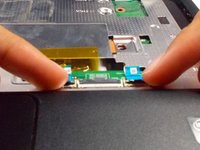
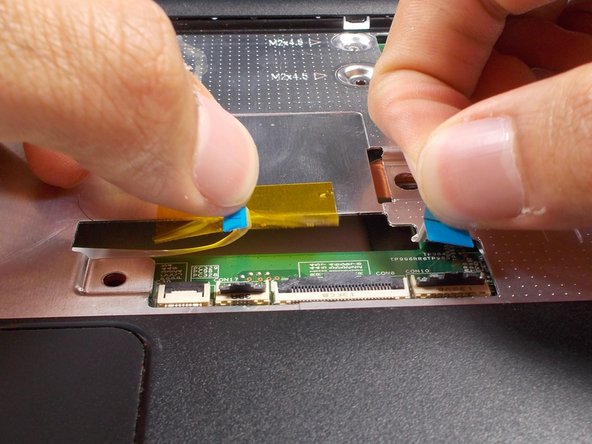
    • Lift the two black holders upward located next to the socket for the keyboard close to the tracked pad.

    FixBotに聞いてみる

    コメントを追加

  16. HP Mini 110-3735dx Screen Replacement: 手順 16、 2の画像 1 HP Mini 110-3735dx Screen Replacement: 手順 16、 2の画像 2
    • Remove the two connectors for the motherboard from their sockets.

    FixBotに聞いてみる

    コメントを追加

  17. HP Mini 110-3735dx Screen Replacement: 手順 17、 2の画像 1 HP Mini 110-3735dx Screen Replacement: 手順 17、 2の画像 2
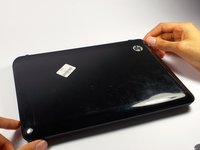
    • Close the laptop by bringing the screen down.

    • Flip the laptop over to the other side.

    FixBotに聞いてみる

    コメントを追加

  18. HP Mini 110-3735dx Screen Replacement: 手順 18、 2の画像 1 HP Mini 110-3735dx Screen Replacement: 手順 18、 2の画像 2
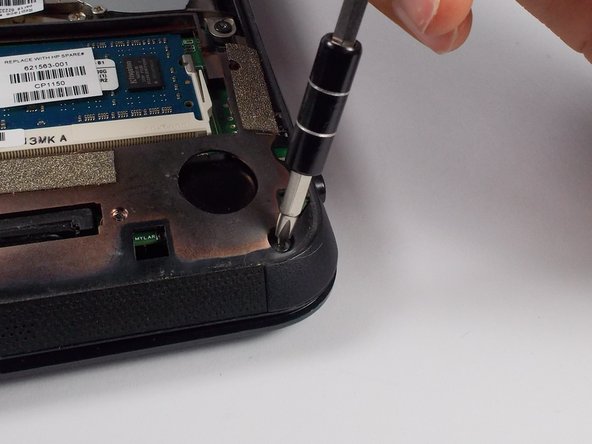
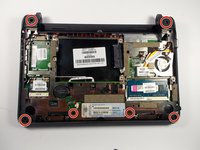
    • Remove the 6 5.0 mm screws holding the back plate together using a Phillips #1 screw driver.

    FixBotに聞いてみる

    コメントを追加

  19. HP Mini 110-3735dx Screen Replacement: 手順 19、 2の画像 1 HP Mini 110-3735dx Screen Replacement: 手順 19、 2の画像 2
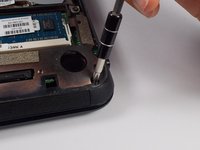
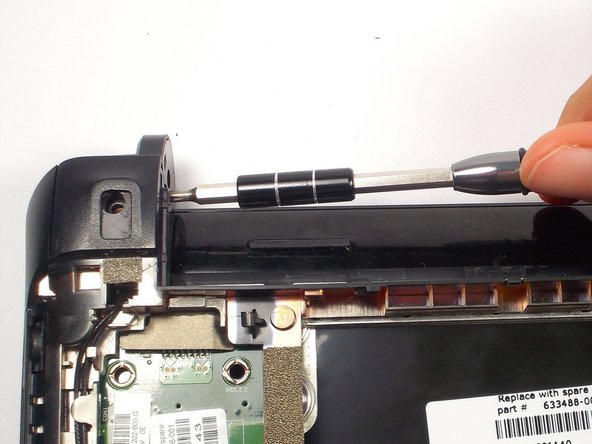
    • Remove the 2 3.0 mm screw head holding the plastic piece in place using a Phillips #1 screw driver.

    • Located on the left and right side where the battery was removed.

    FixBotに聞いてみる

    コメントを追加

  20. HP Mini 110-3735dx Screen Replacement: 手順 20、 3の画像 1 HP Mini 110-3735dx Screen Replacement: 手順 20、 3の画像 2 HP Mini 110-3735dx Screen Replacement: 手順 20、 3の画像 3
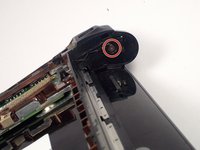
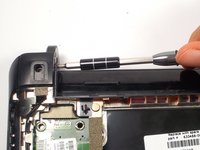
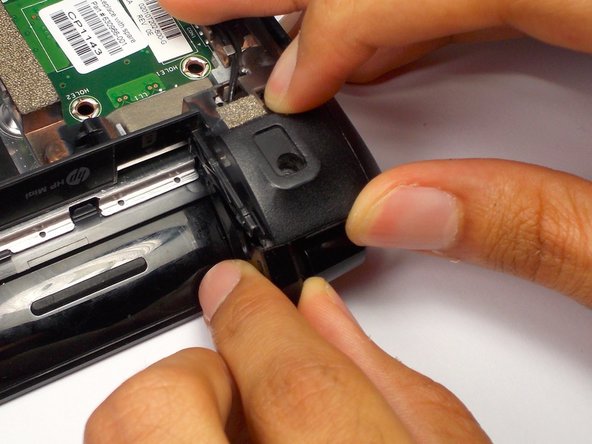
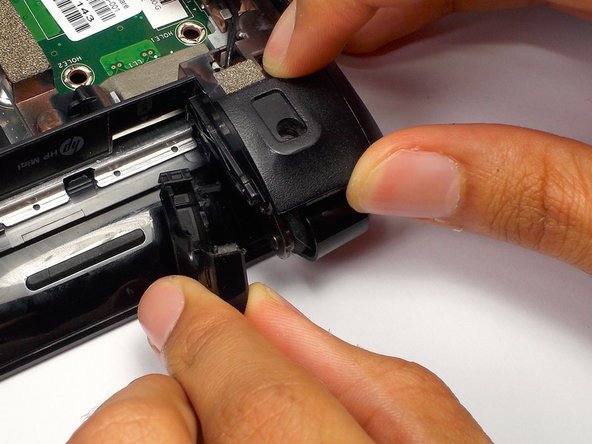
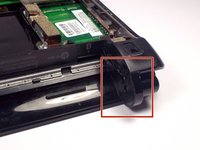
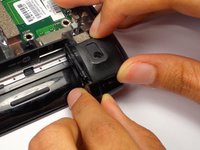
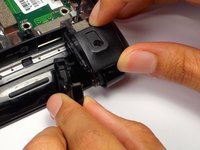
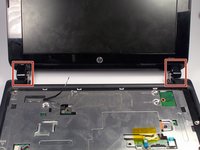
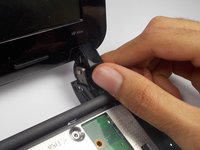
    • Pull the black plastic pieces that the screws was holding inward.

    • The pieces are located on the left and right corners connecting the bottom and top of the HP Mini.

    FixBotに聞いてみる

    コメントを追加

  21. HP Mini 110-3735dx Screen Replacement: 手順 21、 2の画像 1 HP Mini 110-3735dx Screen Replacement: 手順 21、 2の画像 2
    • Flip the laptop back over.

    • Open it by lifting the screeen.

    FixBotに聞いてみる

    コメントを追加

  22. HP Mini 110-3735dx Screen Replacement: 手順 22、 3の画像 1 HP Mini 110-3735dx Screen Replacement: 手順 22、 3の画像 2 HP Mini 110-3735dx Screen Replacement: 手順 22、 3の画像 3
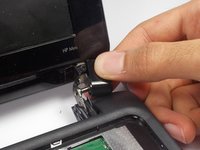
    • Right next to the previous plastic piece, remove the other two plastic pieces.

    • This may be difficult to come off. Tilt the screen back and forth to help loosen the piece.

    FixBotに聞いてみる

    コメントを追加

  23. HP Mini 110-3735dx Screen Replacement: 手順 23、 1の画像 1
    • Using the plastic prying tool, pry the front plate of the bottom part of your HP Mini.

    • Start along the speaker grill near the touch pad, and move along the sides.

    FixBotに聞いてみる

    コメントを追加

  24. HP Mini 110-3735dx Screen Replacement: 手順 24、 2の画像 1 HP Mini 110-3735dx Screen Replacement: 手順 24、 2の画像 2
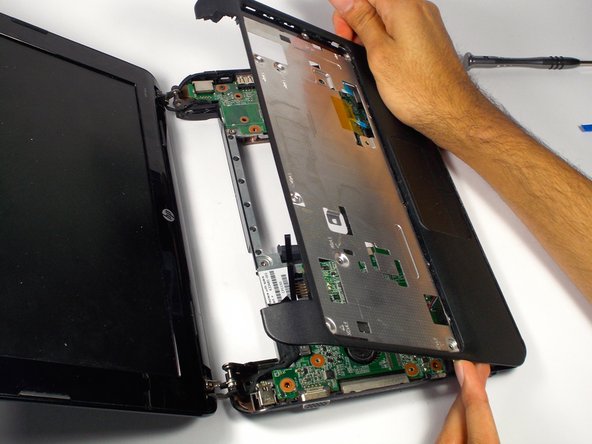
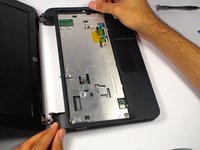
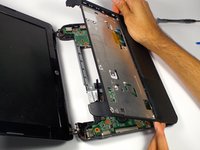
    • Lift up the front plate where the keyboard was.

    FixBotに聞いてみる

    コメントを追加

  25. HP Mini 110-3735dx Screen Replacement: 手順 25、 3の画像 1 HP Mini 110-3735dx Screen Replacement: 手順 25、 3の画像 2 HP Mini 110-3735dx Screen Replacement: 手順 25、 3の画像 3
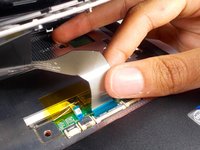
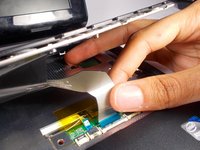
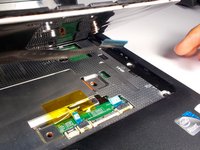
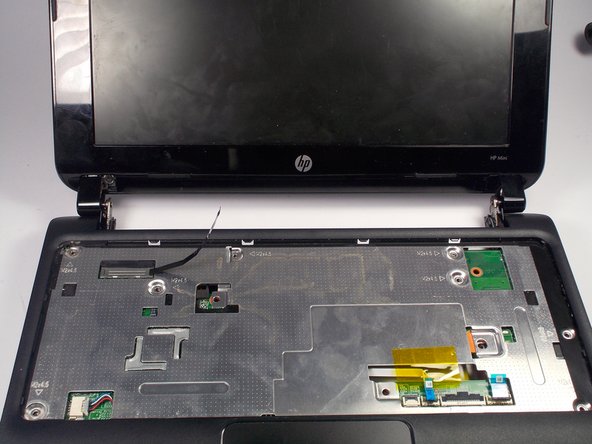
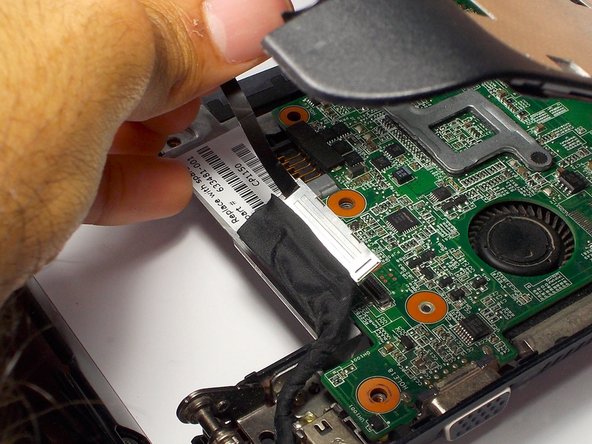
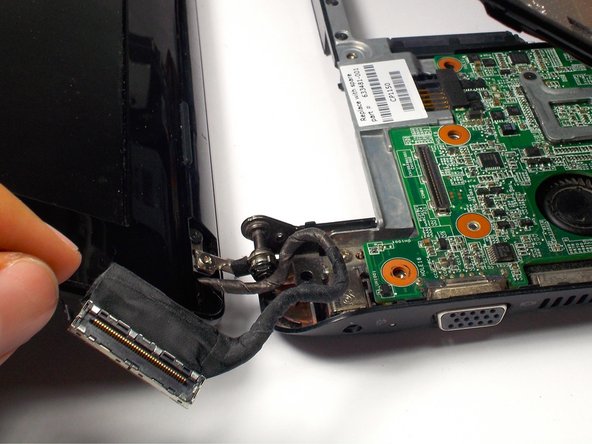
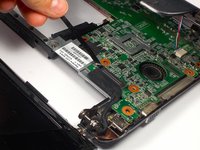
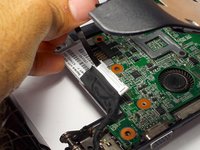
    • Remove the display cable from the motherboard located on the top left corner under where the keyboard was by pulling on the black tab.

    • Move the cable.

    FixBotに聞いてみる

    コメントを追加

  26. HP Mini 110-3735dx Screen Replacement: 手順 26、 3の画像 1 HP Mini 110-3735dx Screen Replacement: 手順 26、 3の画像 2 HP Mini 110-3735dx Screen Replacement: 手順 26、 3の画像 3
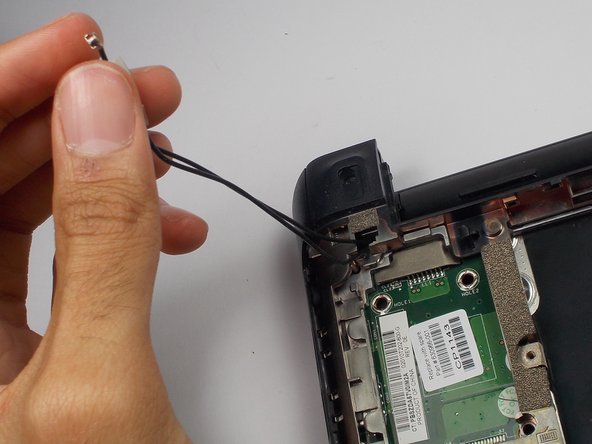
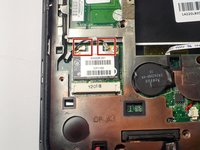
    • Remove the webcam cables from the motherboard.

    • Located on the back side of the laptop in the bottom left corner.

    FixBotに聞いてみる

    コメントを追加

  27. HP Mini 110-3735dx Screen Replacement: 手順 27、 1の画像 1
    • Flip over the computer, and open the laptop.

    • Lift up the front plate on the top right corner.

    FixBotに聞いてみる

    コメントを追加

  28. HP Mini 110-3735dx Screen Replacement: 手順 28、 3の画像 1 HP Mini 110-3735dx Screen Replacement: 手順 28、 3の画像 2 HP Mini 110-3735dx Screen Replacement: 手順 28、 3の画像 3
    この手順で使用する道具:
    Tweezers
    $4.99
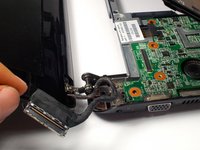
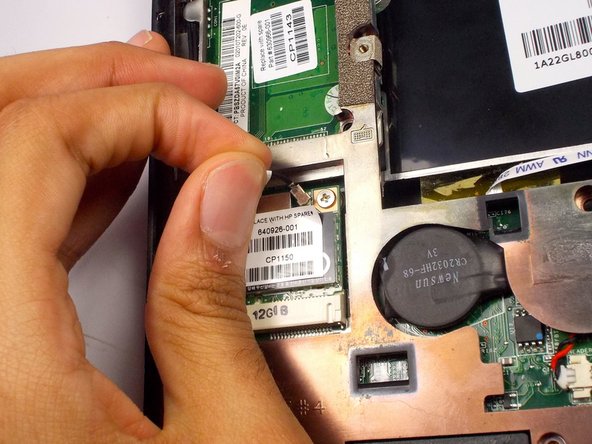
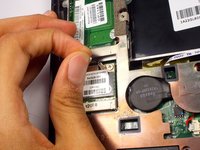
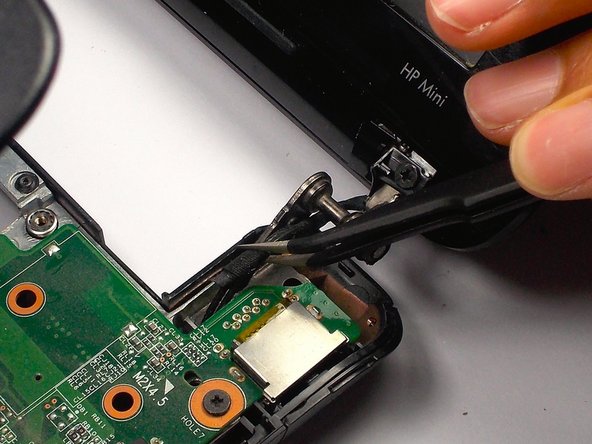
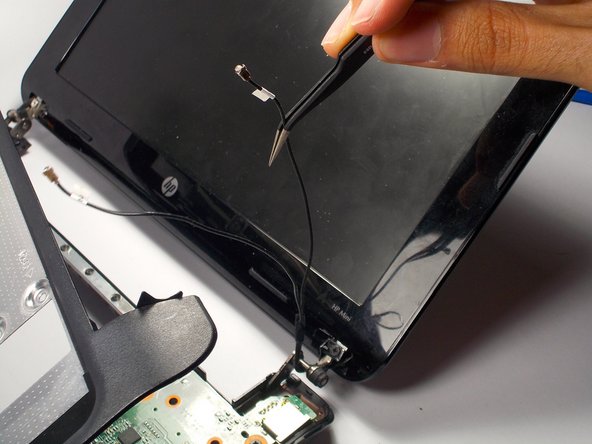
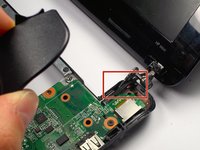
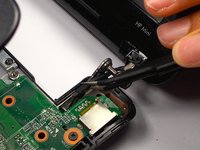
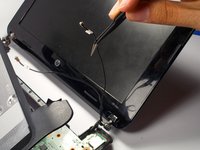
    • Pull the cables for the web cam out using tweezers.

    FixBotに聞いてみる

    コメントを追加

  29. HP Mini 110-3735dx Screen Replacement: 手順 29、 2の画像 1 HP Mini 110-3735dx Screen Replacement: 手順 29、 2の画像 2
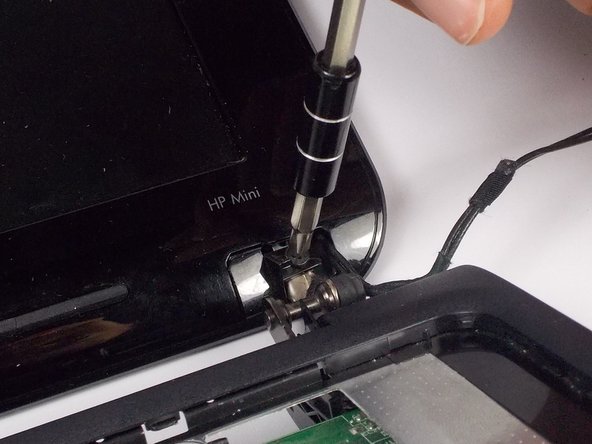
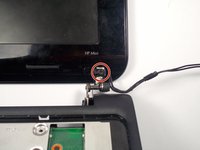
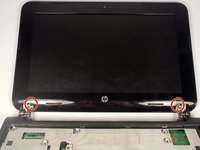
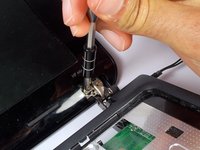
    • Remove the 2 3.0 mm screws on both sides of the bottom of the display using a Phillips #1 screwdriver.

    FixBotに聞いてみる

    コメントを追加

  30. HP Mini 110-3735dx Screen Replacement: 手順 30、 2の画像 1 HP Mini 110-3735dx Screen Replacement: 手順 30、 2の画像 2
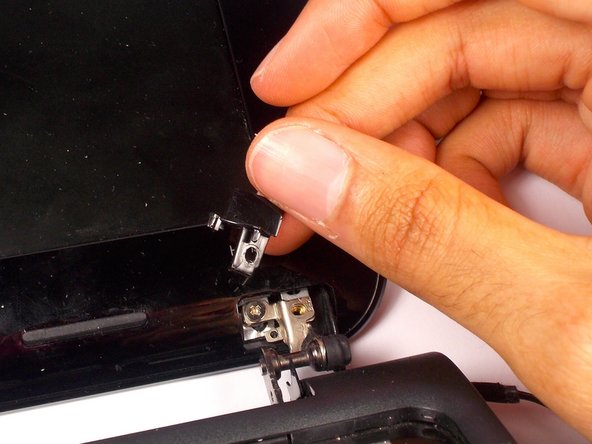
    • Remove the black plastic piece that the screw was holding on both sides.

    • This will reveal another screw.

    FixBotに聞いてみる

    コメントを追加

  31. HP Mini 110-3735dx Screen Replacement: 手順 31、 2の画像 1 HP Mini 110-3735dx Screen Replacement: 手順 31、 2の画像 2
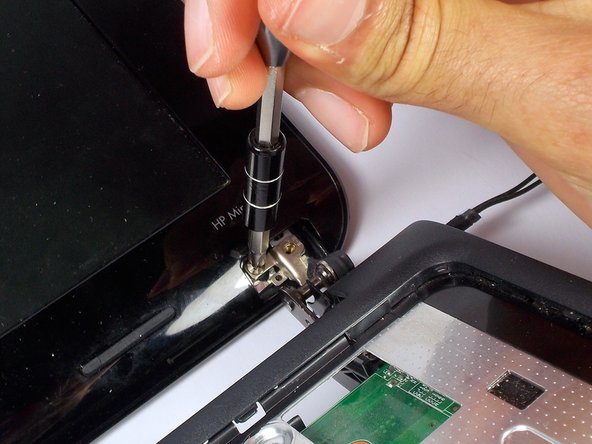
    • Remove the 2 3.0 mm screws on both sides using a Phillips #1 screw driver.

    • When removing, keep hold of the screen to make sure it doesn't fall.

    FixBotに聞いてみる

    コメントを追加

  32. HP Mini 110-3735dx Screen Replacement: 手順 32、 1の画像 1
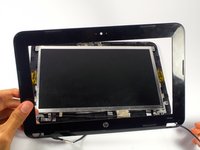
    • Pry the front plate using the plastic opening tool by pushing along the border of the front and back plate.

    • Make sure to pry from the sides, top and bottom as the corners will come undone themselves.

    FixBotに聞いてみる

    コメントを追加

  33. HP Mini 110-3735dx Screen Replacement: 手順 33、 3の画像 1 HP Mini 110-3735dx Screen Replacement: 手順 33、 3の画像 2 HP Mini 110-3735dx Screen Replacement: 手順 33、 3の画像 3
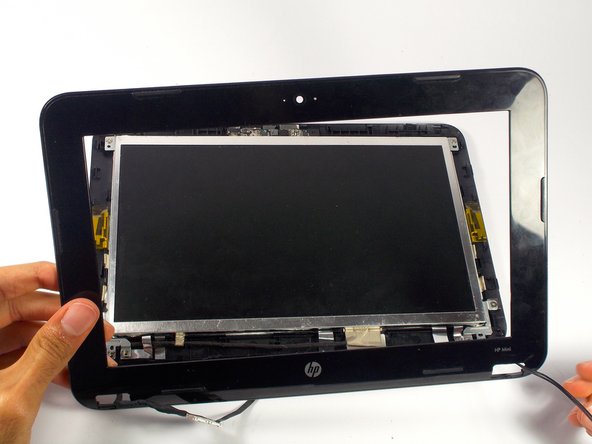
    • Remove the front plate.

    • Pull the cables through the holes.

    FixBotに聞いてみる

    コメントを追加

  34. HP Mini 110-3735dx Screen Replacement: 手順 34、 2の画像 1 HP Mini 110-3735dx Screen Replacement: 手順 34、 2の画像 2
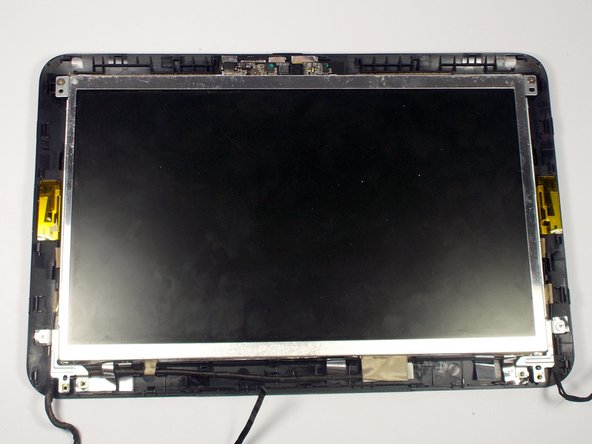
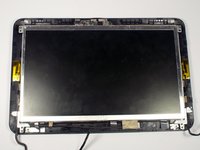
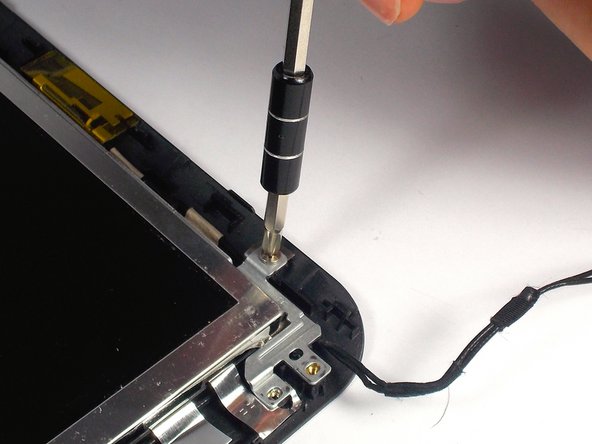
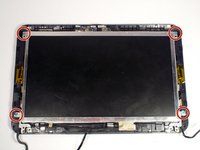
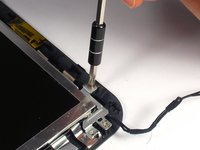
    • Remove the 4 4.0 mm screws holding the screen in place using a Phillips #1 screw driver.

    FixBotに聞いてみる

    コメントを追加

  35. HP Mini 110-3735dx Screen Replacement: 手順 35、 2の画像 1 HP Mini 110-3735dx Screen Replacement: 手順 35、 2の画像 2
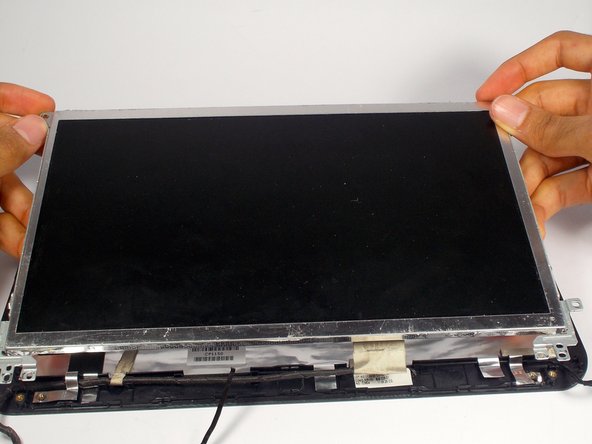
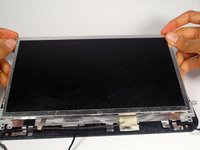
    • Lift the screen up.

    FixBotに聞いてみる

    コメントを追加

  36. HP Mini 110-3735dx Screen Replacement: 手順 36、 2の画像 1 HP Mini 110-3735dx Screen Replacement: 手順 36、 2の画像 2
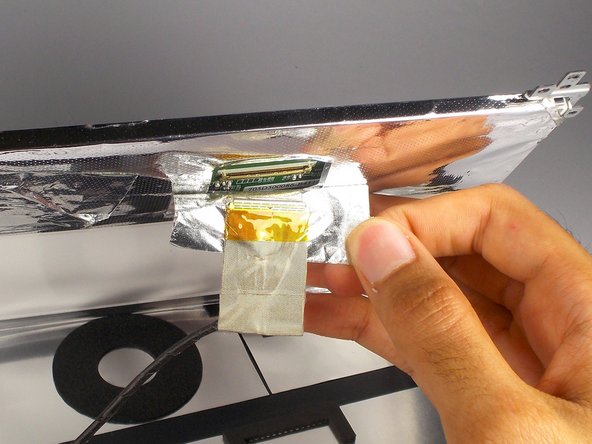
    • Under the screen, peel off the tape near the cable completely, so you can see the socket for the cable.

    FixBotに聞いてみる

    コメントを追加

終わりに

To reassemble your device, follow these instructions in reverse order.

キャンセル: このガイドを終了できませんでした。

作成者

4人の作成者と共同で作成されました。

Tyrone Williams

メンバー登録日: 03/10/16

923 ポイント

7のガイドは作成済み

チーム

UMass Dartmouth, Team 4-1, Catania Spring 2016 UMass Dartmouth, Team 4-1, Catania Spring 2016人のメンバー

UMASSD-CATANIA-S16S4G1

4 メンバー

7のガイドは作成済み

1件のガイドコメント

Tengo una pregunta en pantalla habrá alguna otra que sea compatible con esta hp sin ser el mismo modelo?

Icela Ross - 返信 共有

コメントを追加

統計データ:

過去 24時間: 1

過去 7 日: 2

過去 30 日: 29

今までの合計 1,176