メインコンテンツにスキップ
リペアコミュニティに参加 - アカウントの作成

HP Envy 5660 Scanner Piece Replacement

必要な工具と部品

  1. HP Envy 5660 Scanner Piece Replacement, Scanner Glass: 手順 1、 1の画像 1
    • Open the cartridge access area.

    FixBotに聞いてみる
  2. HP Envy 5660 Scanner Piece Replacement: 手順 2、 1の画像 1
    • Remove the three 11.5 mm screws with a T10 bit.

    FixBotに聞いてみる
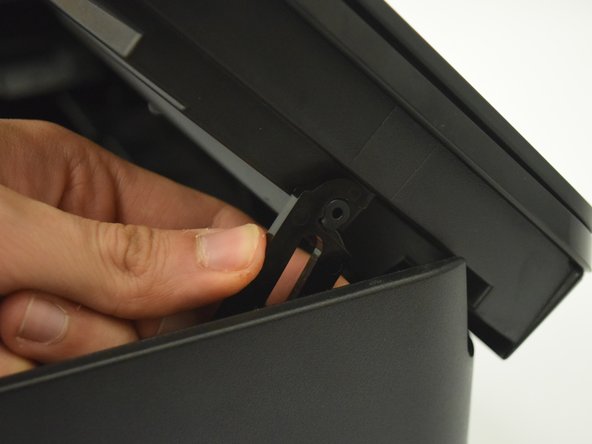
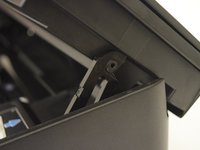
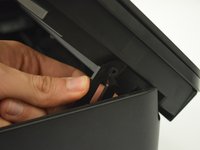
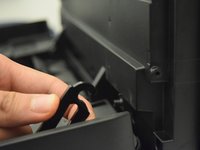
  3. HP Envy 5660 Scanner Piece Replacement: 手順 3、 3の画像 1 HP Envy 5660 Scanner Piece Replacement: 手順 3、 3の画像 2 HP Envy 5660 Scanner Piece Replacement: 手順 3、 3の画像 3
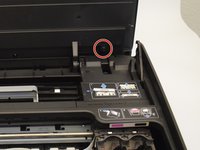
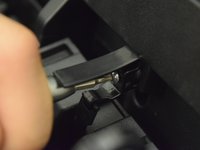
    • Locate the cover hinge on the right side of the printer.

    • Pull the hinge off of the scanner to allow the scanner to open to 90 degress.

    FixBotに聞いてみる
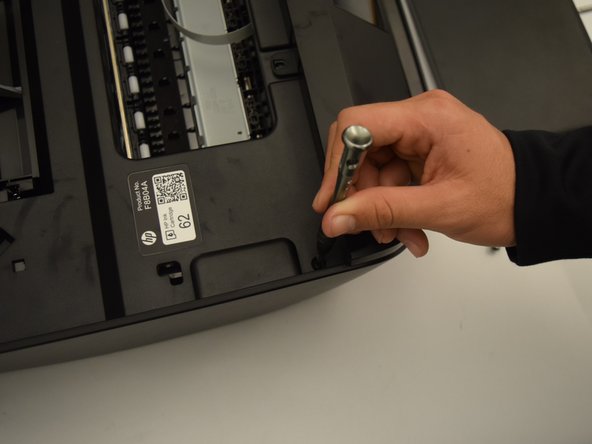
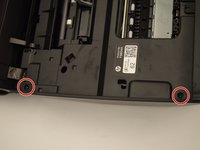
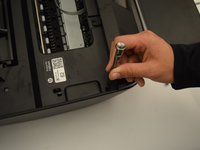
  4. HP Envy 5660 Scanner Piece Replacement: 手順 4、 2の画像 1 HP Envy 5660 Scanner Piece Replacement: 手順 4、 2の画像 2
    • Remove the 12 mm screws on the left side of the printer with a T10 bit.

    FixBotに聞いてみる
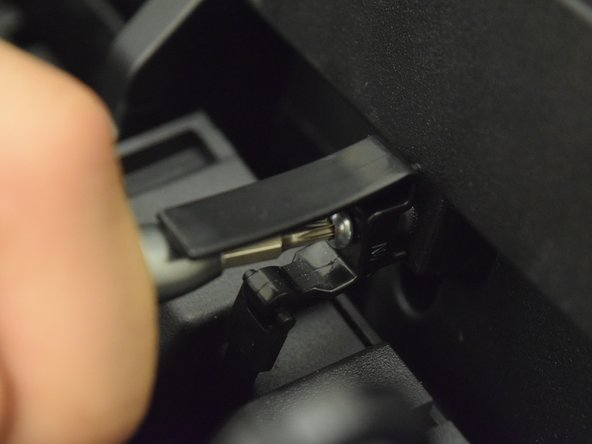
  5. HP Envy 5660 Scanner Piece Replacement: 手順 5、 2の画像 1 HP Envy 5660 Scanner Piece Replacement: 手順 5、 2の画像 2
    • Remove the 11.5 mm screw with a T10 bit to release the spring-loaded hinge.

    • Since this is a compression spring, the hinge will snap downwards as soon as it is loosened.

    FixBotに聞いてみる
  6. HP Envy 5660 Scanner Piece Replacement: 手順 6、 3の画像 1 HP Envy 5660 Scanner Piece Replacement: 手順 6、 3の画像 2 HP Envy 5660 Scanner Piece Replacement: 手順 6、 3の画像 3
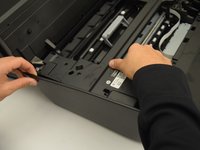
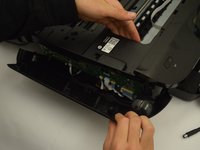
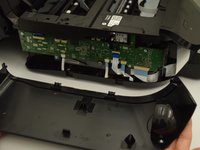
    • Pull the plastic side cover off of the printer.

    • You may need to lift the printer and push the cover downwards as it is latched onto the bottom of the printer.

    • Plastic opening tools or a metal spudger may also be used.

    FixBotに聞いてみる
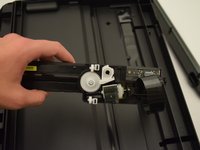
  7. HP Envy 5660 Scanner Piece Replacement: 手順 7、 1の画像 1
    • Remove the five 11.5 mm screws located at the bottom of the scanner.

    • Steps 3-6 were intended to create easier access to these screws. However, they will still be difficult to reach.

    • The top of the scanner will now easily pull off.

    FixBotに聞いてみる
  8. HP Envy 5660 Scanner Piece Replacement: 手順 8、 2の画像 1 HP Envy 5660 Scanner Piece Replacement: 手順 8、 2の画像 2
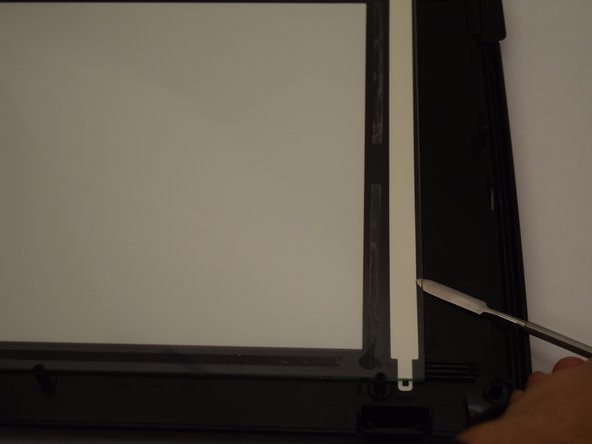
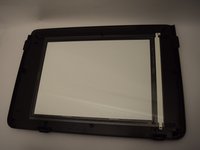
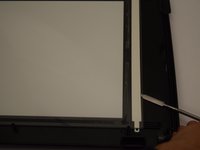
    • Pry the old scanning glass up with a metal spudger.

    • There are adhesives under the scanning glass. Be careful not to break the glass while removing it.

    FixBotに聞いてみる
  9. HP Envy 5660 Scanner Piece Replacement, Scanner Piece: 手順 9、 3の画像 1 HP Envy 5660 Scanner Piece Replacement, Scanner Piece: 手順 9、 3の画像 2 HP Envy 5660 Scanner Piece Replacement, Scanner Piece: 手順 9、 3の画像 3
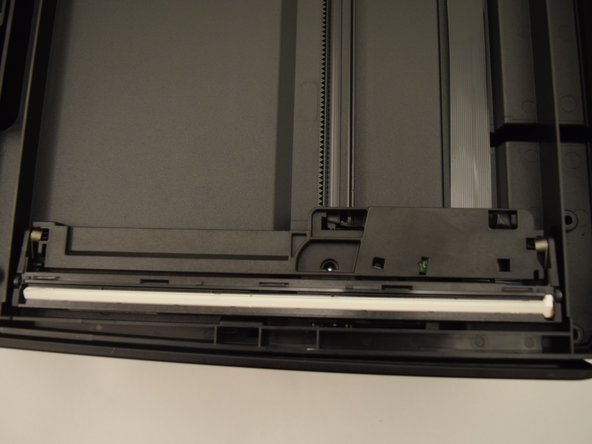
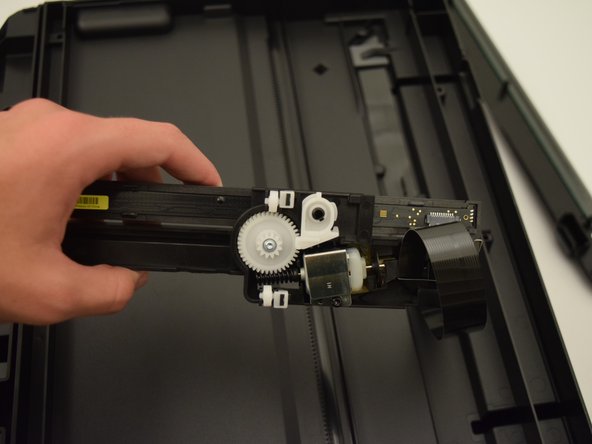
    • The scanning piece is located in the bottom half of the scanner that was not separated from the printer.

    • Lift the scanning piece and detach the ribbon cable by gently pulling on it.

    FixBotに聞いてみる
終わりに

To reassemble your device, follow these instructions in reverse order.

2 の人々がこのガイドを完成させました。

作成者

2人の作成者と共同で作成されました。

Ryan Steakley

メンバー登録日: 01/23/18

790 ポイント

5のガイドは作成済み

チーム

Cal Poly, Team S1-G6, Livingston Winter 2018 Cal Poly, Team S1-G6, Livingston Winter 2018人のメンバー

CPSU-LIVINGSTON-W18S1G6

4 メンバー

10のガイドは作成済み

0件のガイドコメント

コメントを追加

統計データ:

過去 24時間: 0

過去 7 日: 8

過去 30 日: 57

今までの合計 1,386