メインコンテンツにスキップ
リペアコミュニティに参加 - アカウントの作成

HP Envy 5660 Scanner Glass Replacement

必要な工具と部品

    1. HP Envy 5660 Scanner Glass Replacement, Scanner Glass: 手順 1、 1の画像 1
      • Open the cartridge access area.

      FixBotに聞いてみる

      コメントを追加

    2. HP Envy 5660 Scanner Glass Replacement: 手順 2、 1の画像 1
      • Remove the three 11.5 mm screws with a T10 bit.

      FixBotに聞いてみる

      コメントを追加

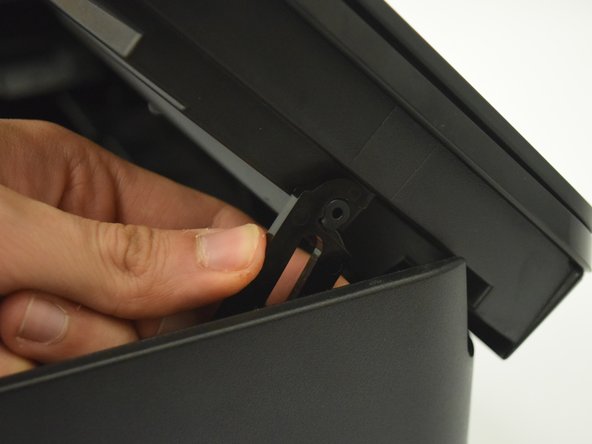
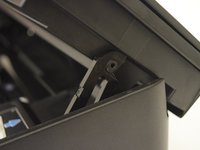
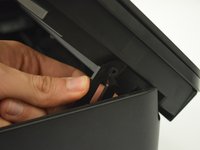
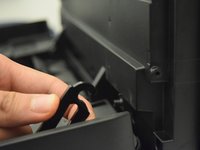
    3. HP Envy 5660 Scanner Glass Replacement: 手順 3、 3の画像 1 HP Envy 5660 Scanner Glass Replacement: 手順 3、 3の画像 2 HP Envy 5660 Scanner Glass Replacement: 手順 3、 3の画像 3
      • Locate the cover hinge on the right side of the printer.

      • Pull the hinge off of the scanner to allow the scanner to open to 90 degress.

      FixBotに聞いてみる

      コメントを追加

    4. HP Envy 5660 Scanner Glass Replacement: 手順 4、 2の画像 1 HP Envy 5660 Scanner Glass Replacement: 手順 4、 2の画像 2
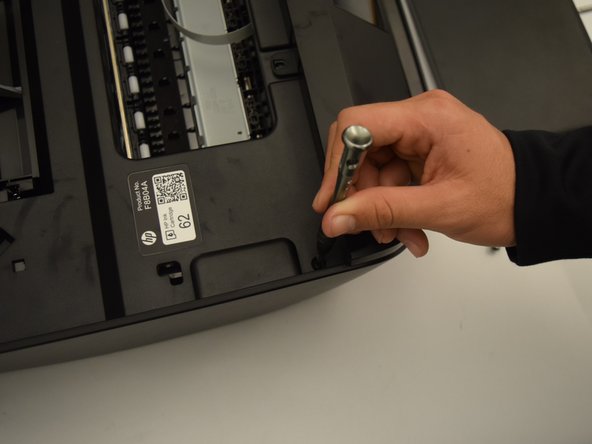
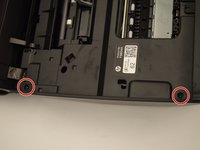
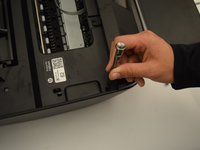
      • Remove the 12 mm screws on the left side of the printer with a T10 bit.

      FixBotに聞いてみる

      コメントを追加

    5. HP Envy 5660 Scanner Glass Replacement: 手順 5、 2の画像 1 HP Envy 5660 Scanner Glass Replacement: 手順 5、 2の画像 2
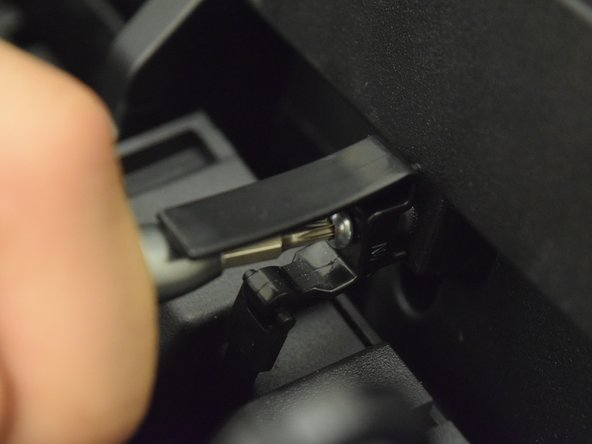
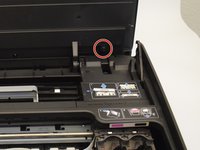
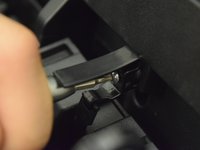
      • Remove the 11.5 mm screw with a T10 bit to release the spring-loaded hinge.

      • Since this is a compression spring, the hinge will snap downwards as soon as it is loosened.

      FixBotに聞いてみる

      コメントを追加

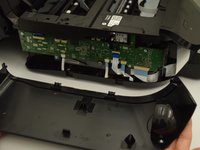
    6. HP Envy 5660 Scanner Glass Replacement: 手順 6、 3の画像 1 HP Envy 5660 Scanner Glass Replacement: 手順 6、 3の画像 2 HP Envy 5660 Scanner Glass Replacement: 手順 6、 3の画像 3
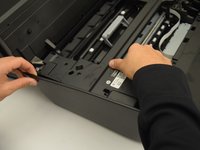
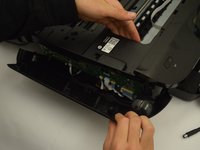
      • Pull the plastic side cover off of the printer.

      • You may need to lift the printer and push the cover downwards as it is latched onto the bottom of the printer.

      • Plastic opening tools or a metal spudger may also be used.

      FixBotに聞いてみる

      コメントを追加

    7. HP Envy 5660 Scanner Glass Replacement: 手順 7、 1の画像 1
      • Remove the five 11.5 mm screws located at the bottom of the scanner.

      • Steps 3-6 were intended to create easier access to these screws. However, they will still be difficult to reach.

      • The top of the scanner will now easily pull off.

      FixBotに聞いてみる

      コメントを追加

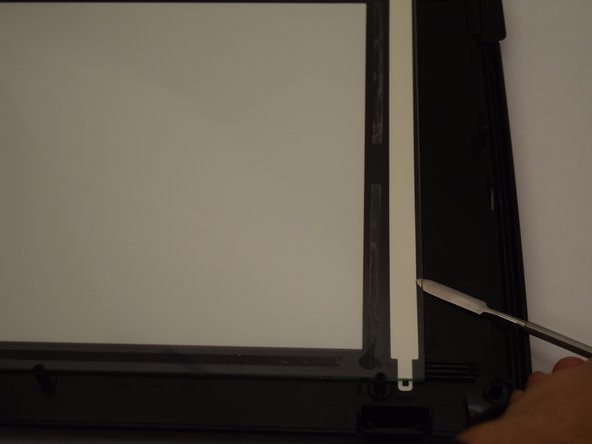
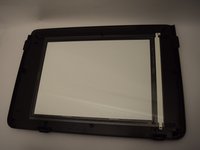
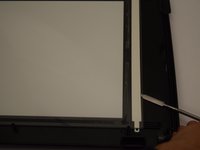
    8. HP Envy 5660 Scanner Glass Replacement: 手順 8、 2の画像 1 HP Envy 5660 Scanner Glass Replacement: 手順 8、 2の画像 2
      • Pry the old scanning glass up with a metal spudger.

      • There are adhesives under the scanning glass. Be careful not to break the glass while removing it.

      FixBotに聞いてみる

      コメントを追加

終わりに

To reassemble your device, follow these instructions in reverse order.

キャンセル: このガイドを終了できませんでした。

2 の人々がこのガイドを完成させました。

作成者

3人の作成者と共同で作成されました。

Ryan Steakley

メンバー登録日: 01/23/18

790 ポイント

5のガイドは作成済み

チーム

Cal Poly, Team S1-G6, Livingston Winter 2018 Cal Poly, Team S1-G6, Livingston Winter 2018人のメンバー

CPSU-LIVINGSTON-W18S1G6

4 メンバー

10のガイドは作成済み

1件のガイドコメント

Remove an additional three 11.5 mm torx head screws in the same plane as step #4 photo, but near the hinges. This allows the cover hinges to be raised a bit for easier access to the screws removed in step #7. It also makes it easier to remove and reinstall the side cover.

My scanner glass was not broken, but inside surface had a dirty haze that was effecting my scans and needed cleaning. Thanks, I was ready to buy a new scanner.

Rich Monell - 返信 共有

コメントを追加

統計データ:

過去 24時間: 1

過去 7 日: 4

過去 30 日: 24

今までの合計 2,023