メインコンテンツにスキップ
リペアコミュニティに参加 - アカウントの作成

HP Chromebook 14-Q010DX Battery Replacement

必要な工具と部品

  1. HP Chromebook 14-Q010DX Battery Replacement, Keyboard and Touchpad: 手順 1、 2の画像 1 HP Chromebook 14-Q010DX Battery Replacement, Keyboard and Touchpad: 手順 1、 2の画像 2
    • Flip the laptop so the base of the laptop is facing you.

    • Using the #00 screwdriver, unscrew the 13 screws.

    FixBotに聞いてみる
  2. HP Chromebook 14-Q010DX Battery Replacement: 手順 2、 3の画像 1 HP Chromebook 14-Q010DX Battery Replacement: 手順 2、 3の画像 2 HP Chromebook 14-Q010DX Battery Replacement: 手順 2、 3の画像 3
    • Warning! When prying open a laptop it could require some force, but it also has fragile connectors underneath. Use caution so as to avoid breaking these connectors.

    • Start from the top right corner of the laptop and work clockwise with an iFixit opening tool or spudger to pry the keyboard from the frame of the laptop.

    FixBotに聞いてみる
  3. HP Chromebook 14-Q010DX Battery Replacement: 手順 3、 3の画像 1 HP Chromebook 14-Q010DX Battery Replacement: 手順 3、 3の画像 2 HP Chromebook 14-Q010DX Battery Replacement: 手順 3、 3の画像 3
    • Warning! Handle the flaps and ribbon cables with care to prevent damage.

    • Gently pull the keyboard in the opposite direction of the screen, so the wires beneath are exposed.

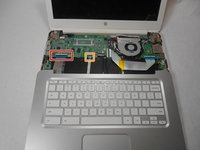
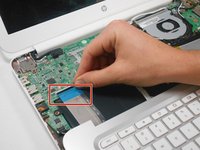
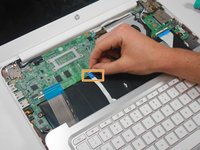
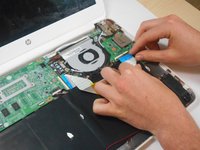
    • Lift the black flap and pull the blue ribbon gently towards you until it is disconnected.

    • Lift the white flap and pull the blue ribbon towards you until it is disconnected.

    FixBotに聞いてみる
  4. HP Chromebook 14-Q010DX Battery Replacement: 手順 4、 1の画像 1
    • Lift keyboard slightly and remove the strip gently to prevent damaging any parts.

    • The tape has no function other than to keep the wire tucked away.

    FixBotに聞いてみる
  5. HP Chromebook 14-Q010DX Battery Replacement: 手順 5、 1の画像 1
    • Set aside the detached keyboard.

    FixBotに聞いてみる
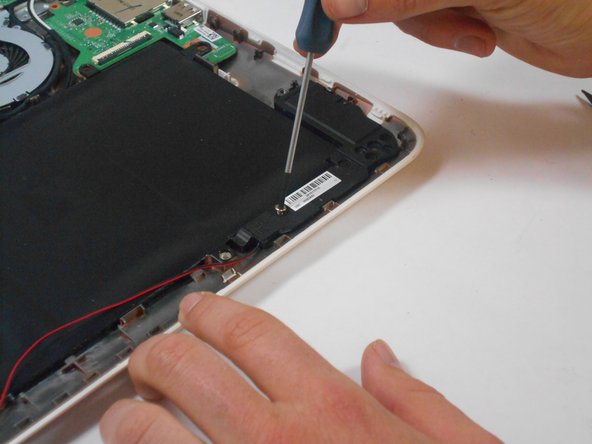
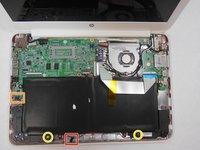
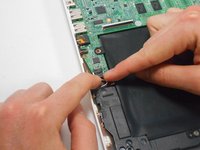
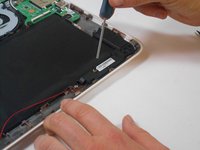
  6. HP Chromebook 14-Q010DX Battery Replacement, Speaker: 手順 6、 3の画像 1 HP Chromebook 14-Q010DX Battery Replacement, Speaker: 手順 6、 3の画像 2 HP Chromebook 14-Q010DX Battery Replacement, Speaker: 手順 6、 3の画像 3
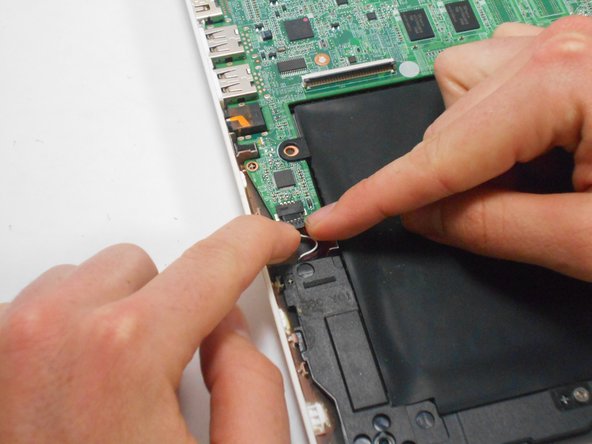
    • Undo the black tape located on the bottom from the frame of the laptop.

    • The tape has no function other than to keep the wire tucked away.

    • Using fingers or the spudger, slide out the black connector indicated on the left.

    • Use a #00 screwdriver to remove the two screws.

    FixBotに聞いてみる
  7. HP Chromebook 14-Q010DX Battery Replacement: 手順 7、 2の画像 1 HP Chromebook 14-Q010DX Battery Replacement: 手順 7、 2の画像 2
    • Gently remove the speakers.

    FixBotに聞いてみる
  8. HP Chromebook 14-Q010DX Battery Replacement, Battery: 手順 8、 2の画像 1 HP Chromebook 14-Q010DX Battery Replacement, Battery: 手順 8、 2の画像 2
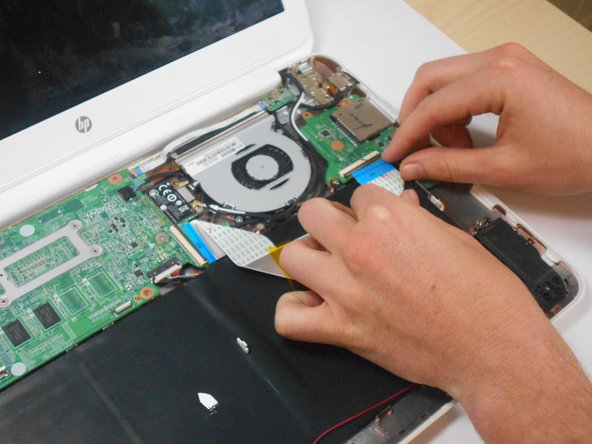
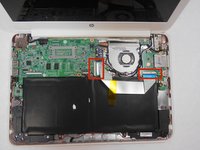
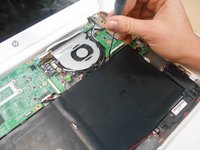
    • Note the shape that this wire strip is resting at and that the blue tip of the strip goes into the right connector for reassembly.

    • Lift the black flaps and gently pull the strip out.

    • Set the strip aside.

    FixBotに聞いてみる
  9. HP Chromebook 14-Q010DX Battery Replacement: 手順 9、 3の画像 1 HP Chromebook 14-Q010DX Battery Replacement: 手順 9、 3の画像 2 HP Chromebook 14-Q010DX Battery Replacement: 手順 9、 3の画像 3
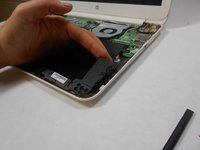
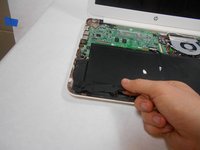
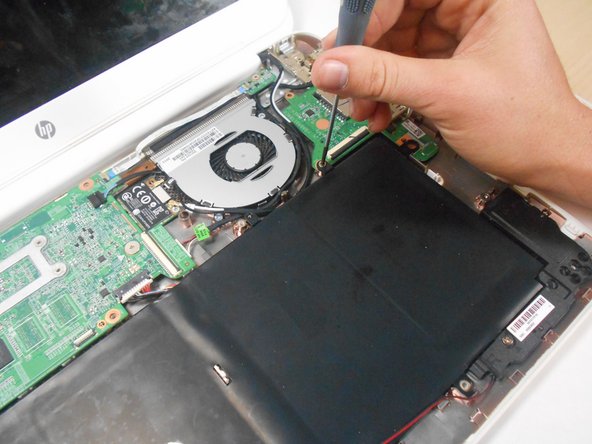
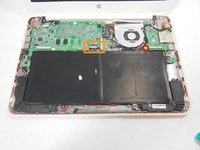
    • Remove the screw.

    • Use your fingers to pull the white tab out of the black slot above the battery.

    FixBotに聞いてみる
  10. HP Chromebook 14-Q010DX Battery Replacement: 手順 10、 1の画像 1
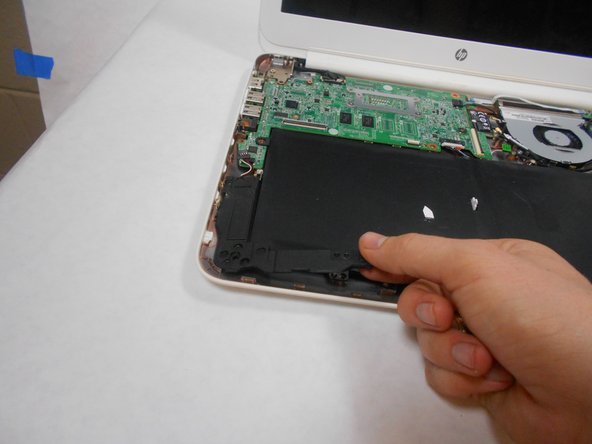
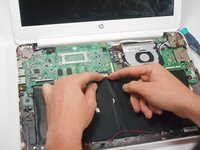
    • Gently remove battery.

    FixBotに聞いてみる
終わりに

To reassemble your device, follow these instructions in reverse order.

6 の人々がこのガイドを完成させました。

作成者

6人の作成者と共同で作成されました。

Kevin Piper

メンバー登録日: 01/16/15

1,602 ポイント

6のガイドは作成済み

チーム

USF Tampa, Team 17-2, Watkins Winter 2015 USF Tampa, Team 17-2, Watkins Winter 2015人のメンバー

USFT-WATKINS-W15S17G2

4 メンバー

8のガイドは作成済み

3件のガイドコメント

Nice guide, guys!

dergrossmeister50 - 返信 共有
Thanks, hope it made life a bit easier for you!

Kevin Piper - 返信 共有

Very clear and concise. Nice going! Thank you.

sparkydog1725 - 返信 共有

コメントを追加

統計データ:

過去 24時間: 0

過去 7 日: 11

過去 30 日: 78

今までの合計 14,260