メインコンテンツにスキップ
リペアコミュニティに参加 - アカウントの作成

HP 2000 - 2D22DX Hard Drive Replacement

必要な工具と部品

    1. HP 2000 - 2D22DX Hard Drive Replacement, Battery: 手順 1、 2の画像 1 HP 2000 - 2D22DX Hard Drive Replacement, Battery: 手順 1、 2の画像 2
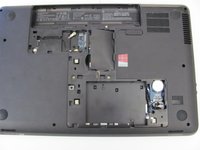
      • Flip the device over and locate the battery compartment.

      • Slide the battery release latch to the left until the battery is detached from its slot.

      • A distinguishable pop will be heard when the battery is fully released.

      FixBotに聞いてみる

      コメントを追加

    2. HP 2000 - 2D22DX Hard Drive Replacement: 手順 2、 2の画像 1 HP 2000 - 2D22DX Hard Drive Replacement: 手順 2、 2の画像 2
      • Slowly pull the battery out of its slot, being careful not to damage any of the connectors in the process.

      FixBotに聞いてみる

      コメントを追加

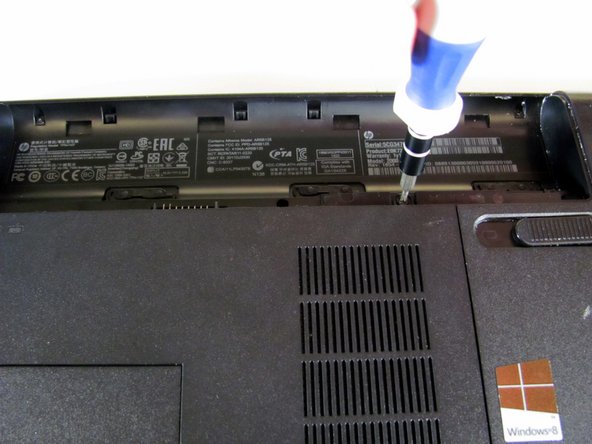
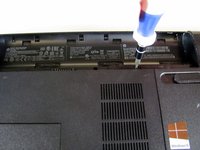
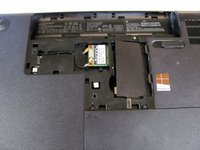
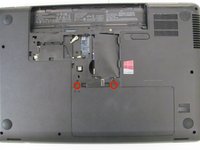
    1. HP 2000 - 2D22DX Hard Drive Replacement, Hard Drive: 手順 3、 2の画像 1 HP 2000 - 2D22DX Hard Drive Replacement, Hard Drive: 手順 3、 2の画像 2
      • Loosen the Phillips #00 screw securing the RAM compartment cover.

      • The screw is permanently attached to the RAM compartment cover. Do not try to remove it completely.

      FixBotに聞いてみる

      コメントを追加

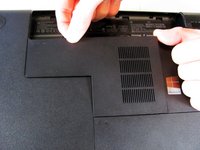
    2. HP 2000 - 2D22DX Hard Drive Replacement: 手順 4、 2の画像 1 HP 2000 - 2D22DX Hard Drive Replacement: 手順 4、 2の画像 2
      • Once the screw is sufficiently loosened, slowly unclip the RAM compartment cover from its slots in the plastic chassis.

      • When unclipped completely, pull the compartment door out and away from the chassis.

      FixBotに聞いてみる

      コメントを追加

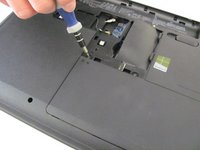
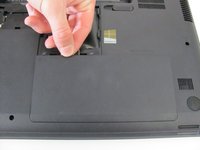
    3. HP 2000 - 2D22DX Hard Drive Replacement: 手順 5、 3の画像 1 HP 2000 - 2D22DX Hard Drive Replacement: 手順 5、 3の画像 2 HP 2000 - 2D22DX Hard Drive Replacement: 手順 5、 3の画像 3
      • Loosen the two Phillips #00 screws that are securing the hard drive compartment.

      • The screws are permanently attached to the hard drive compartment cover. Do not try to remove them completely.

      • Once the screws are sufficiently loosened, disconnect the clips holding the cover in place and slowly pull the cover away from the plastic chassis.

      FixBotに聞いてみる

      コメントを追加

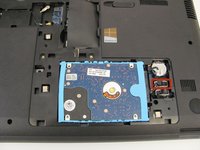
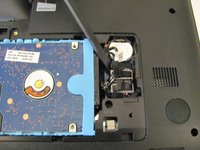
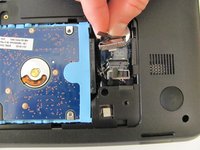
    4. HP 2000 - 2D22DX Hard Drive Replacement: 手順 6、 3の画像 1 HP 2000 - 2D22DX Hard Drive Replacement: 手順 6、 3の画像 2 HP 2000 - 2D22DX Hard Drive Replacement: 手順 6、 3の画像 3
      • Using a spudger, disconnect the hard drive connecting cable. Use a slow, prying motion as if pulling a nail out of wood.

      • Be very gentle with the connecting cable and its respective port on the logic board. Both are very fragile and can be easily damaged.

      FixBotに聞いてみる

      コメントを追加

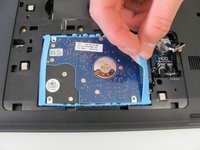
    5. HP 2000 - 2D22DX Hard Drive Replacement: 手順 7、 3の画像 1 HP 2000 - 2D22DX Hard Drive Replacement: 手順 7、 3の画像 2 HP 2000 - 2D22DX Hard Drive Replacement: 手順 7、 3の画像 3
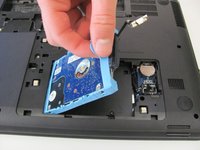
      • Using your fingers, grab the blue tab on the right side of the hard drive and slowly pull upwards.

      • Lift the hard drive out and away from its socket in the plastic chassis.

      FixBotに聞いてみる

      コメントを追加

終わりに

To reassemble your device, follow these instructions in reverse order.

キャンセル: このガイドを終了できませんでした。

27 の人々がこのガイドを完成させました。

作成者

8人の作成者と共同で作成されました。

Conor Most

メンバー登録日: 04/14/14

2,778 ポイント

6のガイドは作成済み

チーム

Cal Poly, Team 3-40, Maness Spring 2014 Cal Poly, Team 3-40, Maness Spring 2014人のメンバー

CPSU-MANESS-S14S3G40

4 メンバー

6のガイドは作成済み

0件のガイドコメント

コメントを追加

統計データ:

過去 24時間: 1

過去 7 日: 12

過去 30 日: 63

今までの合計 15,714