メインコンテンツにスキップ
リペアコミュニティに参加 - アカウントの作成

Giant Reign 2 Tube Replacement

必要な工具と部品

    1. Giant Reign 2 Tube Replacement, Hex Screws: 手順 1、 1の画像 1
      • Using the 4mm Allen wrench, partially unscrew the 4 (22mm) hex screws on the front of the axle casing to allow the axle to slide freely.

      FixBotに聞いてみる

      コメントを追加

    2. Giant Reign 2 Tube Replacement, Axle Screw: 手順 2、 2の画像 1 Giant Reign 2 Tube Replacement, Axle Screw: 手順 2、 2の画像 2
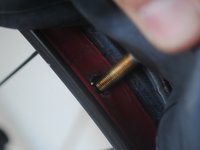
      • Using the 8mm Allen wrench, loosen the axle screw until 1/2 of the axle screw is visible.

      • Push the axle screw to reveal the axle rod on the other side.

      FixBotに聞いてみる

      コメントを追加

    3. Giant Reign 2 Tube Replacement: 手順 3、 1の画像 1
      • Using the Allen wrench, finish unscrewing the axle screw and pull it out.

      • Hold the wheel when pulling out the axle rod so that the bike does not fall.

      FixBotに聞いてみる

      コメントを追加

    4. Giant Reign 2 Tube Replacement, Front Wheel: 手順 4、 1の画像 1
      • Pull the wheel from the fork.

      FixBotに聞いてみる

      コメントを追加

    1. Giant Reign 2 Tube Replacement, Tube: 手順 5、 1の画像 1
      • Look at your tire and determine the correct tube size by locating the number (formated ## x #.##) on the wall of the tire.

      • Bike tubes come with one of two standard valve types: presta and schrader. These guides show the installation of a tube with a presta valve.

      FixBotに聞いてみる

      コメントを追加

    2. Giant Reign 2 Tube Replacement: 手順 6、 3の画像 1 Giant Reign 2 Tube Replacement: 手順 6、 3の画像 2 Giant Reign 2 Tube Replacement: 手順 6、 3の画像 3
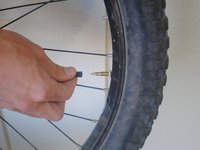
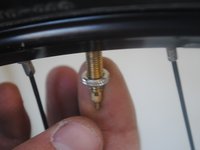
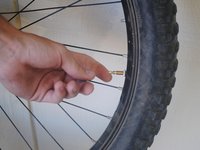
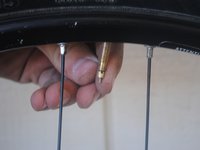
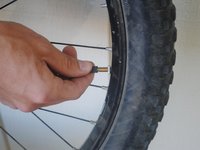
      • Unscrew the cap covering the valve.

      • Remove the spacer that holds the valve in place against the rim of the wheel.

      • Open the valve by turning the nut and pressing the valve in to release air pressure from the tube.

      FixBotに聞いてみる

      コメントを追加

    3. Giant Reign 2 Tube Replacement: 手順 7、 3の画像 1 Giant Reign 2 Tube Replacement: 手順 7、 3の画像 2 Giant Reign 2 Tube Replacement: 手順 7、 3の画像 3
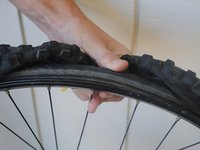
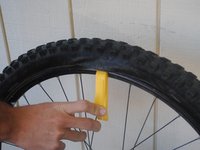
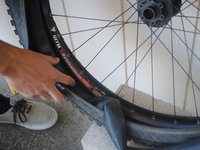
      • Slide the tire lever between the tire and the rim.

      • Push down on the tire lever until the edge of the tire is higher than the edge of the rim.

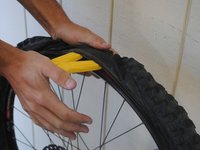
      • Insert a second tire lever adjacent to the first.

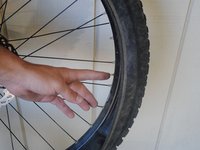
      • Slowly work one tire lever around the rim until the whole tire is loose.

      FixBotに聞いてみる

      コメントを追加

    4. Giant Reign 2 Tube Replacement: 手順 8、 2の画像 1 Giant Reign 2 Tube Replacement: 手順 8、 2の画像 2
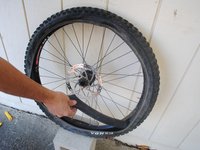
      • Press the valve through the rim of the wheel.

      • Remove the tube from the tire.

      FixBotに聞いてみる

      コメントを追加

    5. Giant Reign 2 Tube Replacement: 手順 9、 1の画像 1
      • Partially inflate the tube.

      FixBotに聞いてみる

      コメントを追加

    6. Giant Reign 2 Tube Replacement: 手順 10、 2の画像 1 Giant Reign 2 Tube Replacement: 手順 10、 2の画像 2
      • Push the valve through the rim.

      • Push the tube into the tire all the way around the rim of the wheel.

      FixBotに聞いてみる

      コメントを追加

    7. Giant Reign 2 Tube Replacement: 手順 11、 1の画像 1
      • Push the bead of the tire back into place around the rim.

      • Make sure not to pinch the tube between the bead of the tire and the rim. Failure to do so may cause a pinch flat.

      FixBotに聞いてみる

      コメントを追加

    8. Giant Reign 2 Tube Replacement: 手順 12、 1の画像 1
      • Inflate the tube to the desired air pressure.

      • A suggested range of air pressure is located on the wall of the tire (formatted ##-##psi).

      FixBotに聞いてみる

      コメントを追加

    9. Giant Reign 2 Tube Replacement: 手順 13、 2の画像 1 Giant Reign 2 Tube Replacement: 手順 13、 2の画像 2
      • Close the valve and replace the cap.

      FixBotに聞いてみる

      コメントを追加

ゴール

キャンセル: このガイドを終了できませんでした。

ある他の人がこのガイドを完成しました。

作成者

5人の作成者と共同で作成されました。

Sterling Grande

メンバー登録日: 10/08/12

148 ポイント

4のガイドは作成済み

チーム

Cal Poly, Team 9-14, Amido Fall 2012 Cal Poly, Team 9-14, Amido Fall 2012人のメンバー

CPSU-AMIDO-F12S9G14

4 メンバー

10のガイドは作成済み

0件のガイドコメント

コメントを追加

統計データ:

過去 24時間: 0

過去 7 日: 6

過去 30 日: 33

今までの合計 3,524