はじめに
Note: The motherboard does not have to be removed from the phone in order to remove the camera.
This guide can be used to replace the camera if it is no longer working properly.
必要な工具と部品
-
-
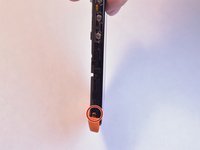
Insert the plastic opening tool into the seam between the front of the device and the rear cover.
-
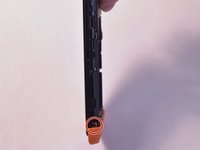
Slide the plastic opening tool from the bottom of the phone to the top.
-
Use the plastic opening tool to free all the clips attached to the phone.
 FixBotに聞いてみる
-
-
-
Insert the plastic opening tool into the groove between the bottom of the phone and the battery.
-
Lift the battery with the plastic opening tool and finish removing battery by hand.
-
-
-
-
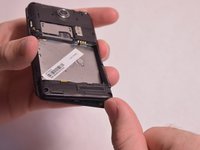
Remove the following screws securing the back plate to the device:
-
Two silver 2mm T3 screws
-
Five black 3mm T3 screws
-
-
-
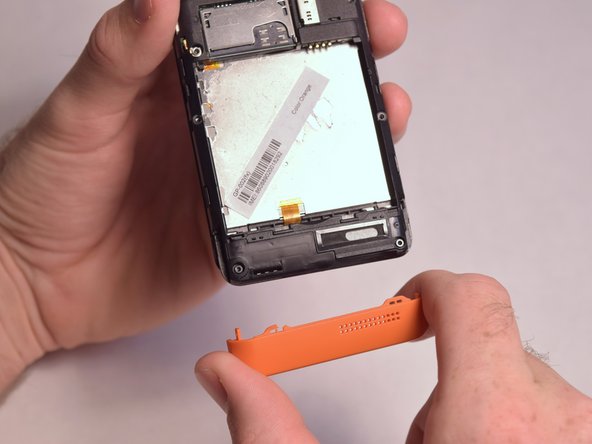
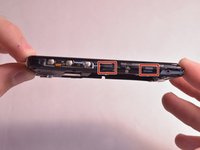
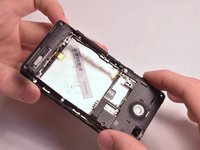
Slightly lift up the bottom corner of the backplate.
-
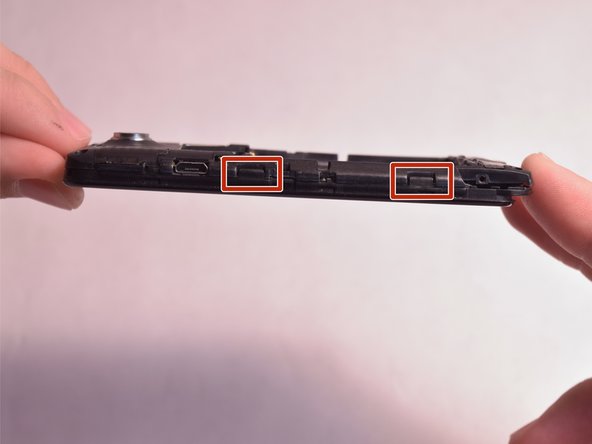
Release the four clips on both sides by pulling them away from the device.
-
-
この手順で使用する道具:Tweezers$4.99
-
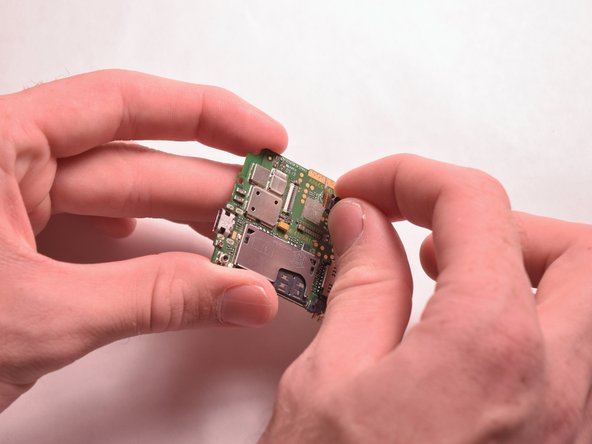
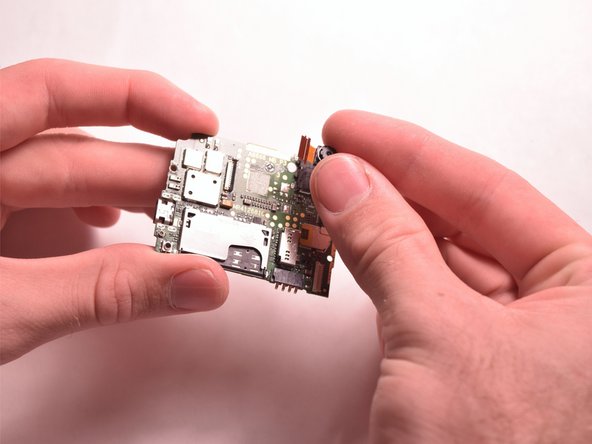
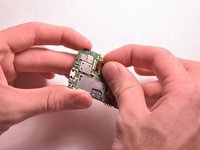
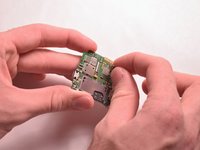
Lift the retaining flap on camera's ZIF connector.
-
Pull the ribbon cable away with tweezers.
-


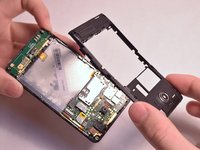


To reassemble your device, follow these instructions in reverse order; but remember, the new camera must be glued back in place where the old one was removed.
チーム

USF Tampa, Team 3-5, Eyestone Fall 2015 USF Tampa, Team 3-5, Eyestone Fall 2015人のメンバー
USFT-EYESTONE-F15S3G5
4 メンバー
12のガイドは作成済み