メインコンテンツにスキップ
リペアコミュニティに参加 - アカウントの作成

Gateway MA6 Laptop Hard Drive Replacement

必要な工具と部品

  1. Gateway MA6 Laptop Hard Drive Replacement, Battery: 手順 1、 1の画像 1
    • To prevent injury, make sure the laptop is unplugged before removing the battery.

    • Make sure the switch in the upper right corner of the laptop is switched to the "unlock" position (toward the unlocked padlock icon).

    FixBotに聞いてみる

    コメントを追加

  2. Gateway MA6 Laptop Hard Drive Replacement: 手順 2、 3の画像 1 Gateway MA6 Laptop Hard Drive Replacement: 手順 2、 3の画像 2 Gateway MA6 Laptop Hard Drive Replacement: 手順 2、 3の画像 3
    • Pull the switch on the upper lefthand corner of the laptop towards the unlocked padlock icon.

    • Firmly pull the battery outwards and away from the laptop.

    FixBotに聞いてみる

    コメントを追加

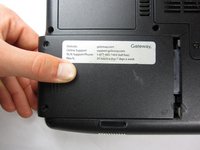
  3. Gateway MA6 Laptop Hard Drive Replacement, Hard Drive: 手順 3、 2の画像 1 Gateway MA6 Laptop Hard Drive Replacement, Hard Drive: 手順 3、 2の画像 2
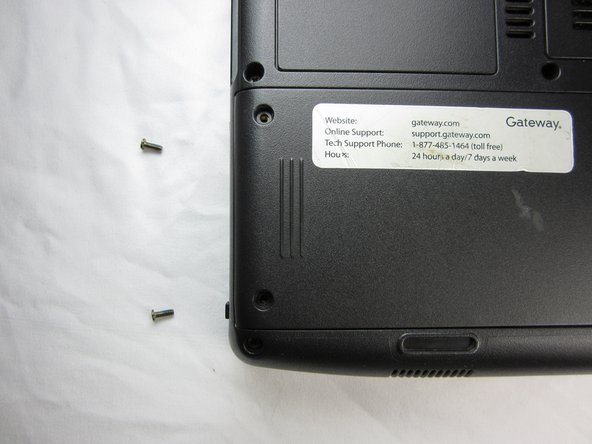
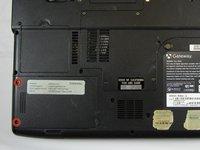
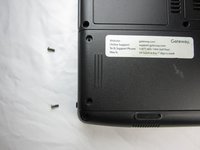
    • Remove the two 9 mm Phillips #0 screws from the back of the hard drive cover.

    FixBotに聞いてみる

    コメントを追加

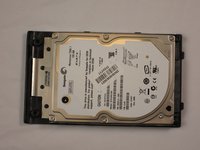
  4. Gateway MA6 Laptop Hard Drive Replacement: 手順 4、 2の画像 1 Gateway MA6 Laptop Hard Drive Replacement: 手順 4、 2の画像 2
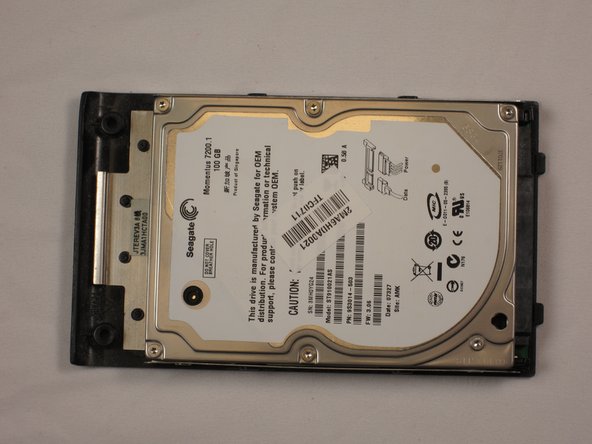
    • Press thumb down firmly on the hard drive and pull outwards to the side.

    FixBotに聞いてみる

    コメントを追加

終わりに

To reassemble your device, follow these instructions in reverse order.

キャンセル: このガイドを終了できませんでした。

3 の人々がこのガイドを完成させました。

作成者

3人の作成者と共同で作成されました。

Chris Naughton

メンバー登録日: 04/07/14

727 ポイント

5のガイドは作成済み

チーム

Cal Poly, Team 6-2, Forte Spring 2014 Cal Poly, Team 6-2, Forte Spring 2014人のメンバー

CPSU-FORTE-S14S6G2

5 メンバー

20のガイドは作成済み

1件のガイドコメント

It only took 2 minutes once I found te right screwdriver. Great aid!

Reed Roloff - 返信 共有

コメントを追加

統計データ:

過去 24時間: 2

過去 7 日: 6

過去 30 日: 32

今までの合計 2,357