はじめに
This guide will walk you through the process of replacing a dead or dying battery in a Gateway LT2514u.
必要な工具と部品
-
-
With the netbook's lid closed, flip it over and slide the latch on the upper left hand side of the netbook to the left.
 FixBotに聞いてみる
-
-
-
-
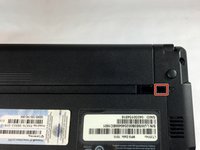
In the upper right-hand corner of the netbook, slide and hold the switch to the right.
-
Use your other hand to slide out the battery.
-
-
この手順で使用する道具:Tweezers$4.99
-
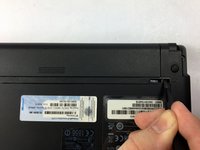
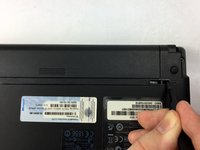
If the release switch in the upper right-hand area is missing, insert a slender tool (we used tweezers) into the left side of the smaller hole.
-
Slide and hold the tweezers to the right and use your other hand to slide the battery out.
-


To reassemble your device, follow these instructions in reverse order.
ある他の人がこのガイドを完成しました。

チーム

USF Tampa, Team 3-2, Sullivan Fall 2016 USF Tampa, Team 3-2, Sullivan Fall 2016人のメンバー
USFT-SULLIVAN-F16S3G2
3 メンバー
12のガイドは作成済み