はじめに
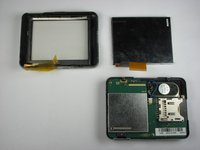
Opening the Nuvi and replacing a broken/damaged display.
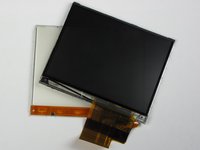
必要な工具と部品
-
-
-
Peel off the sticker from the bottom of the device to reveal two screws.
 FixBotに聞いてみる
-
-
-
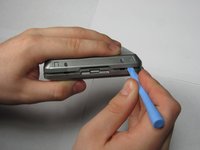
Insert a plastic opening tool in the gap between the front and rear casing.
-
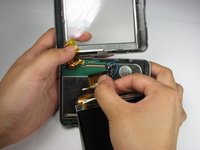
Carefully work the tool around the gap, separating the two halves of the case.
-
-
-
-
-
-
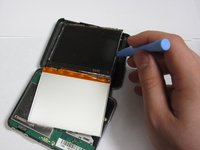
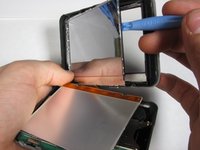
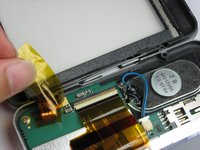
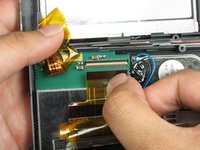
Apply pressure to the tabs holding the screen in place with the plastic opening tool
-
-


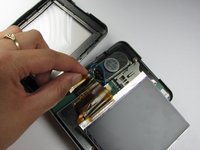


To reassemble your device, follow these instructions in reverse order.
4 の人々がこのガイドを完成させました。

チーム

Cal Poly, Team 25-90, Amido Spring 2010 Cal Poly, Team 25-90, Amido Spring 2010人のメンバー
CPSU-AMIDO-S10S25G90
4 メンバー
14のガイドは作成済み