はじめに
This is how you can unclog the AD5M Printer!
必要な工具と部品
ビデオの概要
-
-
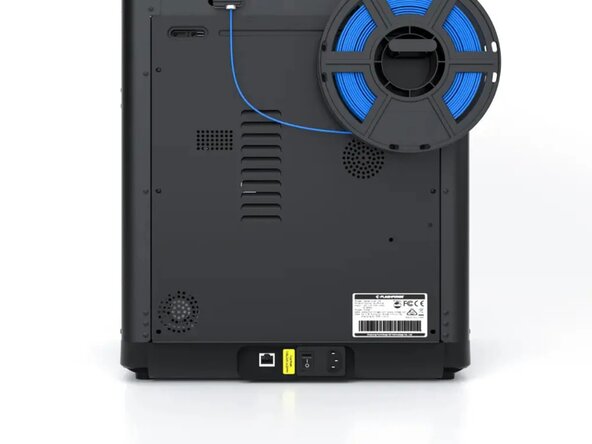
First, turn the printer off by flipping the switch located in the back of the printer to the OFF position.
 FixBotに聞いてみる
-
-
-
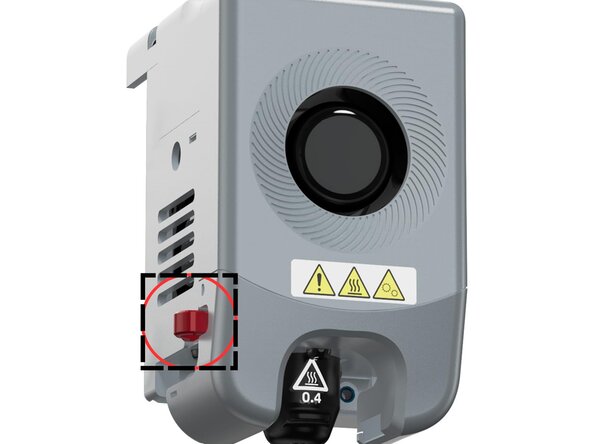
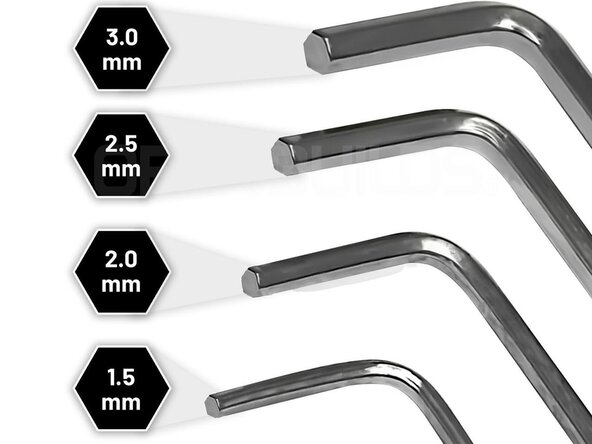
Get the smallest Allen Key that is included with the package, then unscrew it until the head of the screw is sitting above the assembly
-
-
-
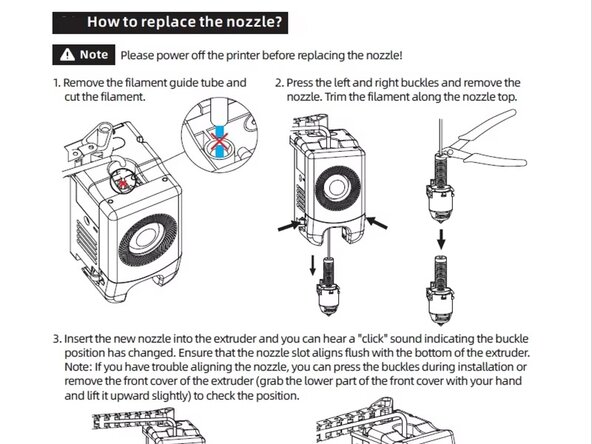
Press and hold the red latches that are on both sides, then you must gently pull the nozzle out while wiggling it a bit. The nozzle should come out.
-
-
-
-
With the nozzle out, cut or pull any filament sticking up from the top.
-
-
-
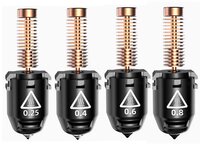
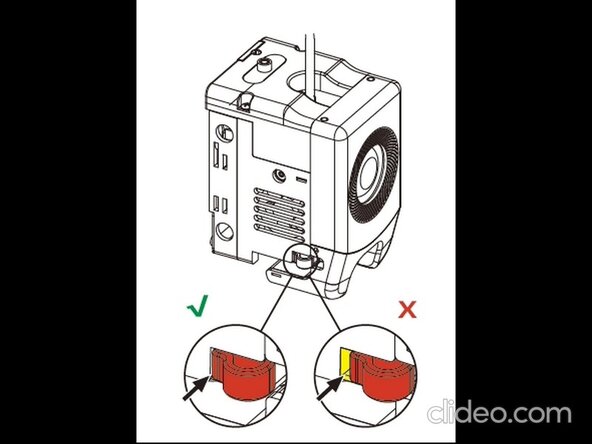
After that, push the nozzle back in with the pins facing the back and the nozzle sign facing you. Push it in gently until it clicks.
-
-
-
With the same Allen Key, Screw the key in until it is flush with the assembly.
-
-
-
With the switch located at the back, flip it to the On position. If the light shows up at the screen, Your printer is not done for and is in an OK position. If it does not post, you will have to take it to a repair shop.
-


This should make your 3d printer work, I hope your printer was fixed, have a good day/night!!
ある他の人がこのガイドを完成しました。
