はじめに
Use this guide to replace a cracked or broken touch screen assembly on your Fitbit Charge 2.
If the watch frame is deformed, we strongly suggest replacing it to make sure the new touch screen will mount correctly and won’t suffer damage from uneven pressure.
必要な工具と部品
-
-
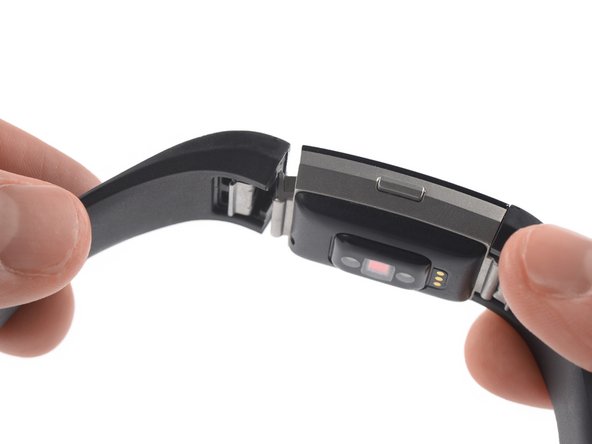
Before starting, take your Fitbit Charge 2 off the charger and power it down.
-
Remove the watch band on both sides.
-
-
この手順で使用する道具:iSesamo Opening Tool$9.99
-
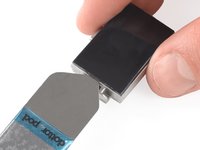
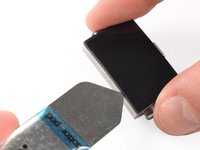
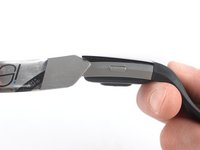
Insert an iSesamo into the gap between the touch screen and the watch assembly on the top left corner.
-
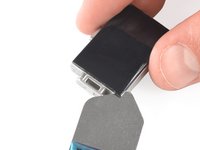
Slide the iSesamo along the left edge to the bottom left corner.
-
-
-
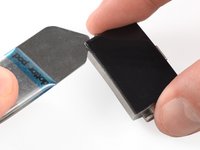
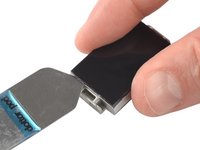
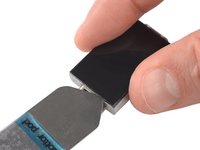
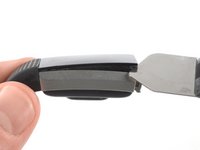
Slide the iSesamo around the bottom left corner.
-
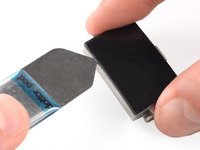
Slide it along the edge to the bottom right corner.
-
-
-
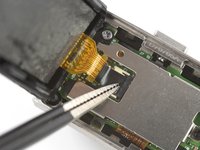
この手順で使用する道具:Tweezers$4.99
-
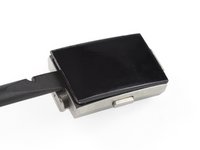
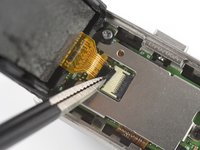
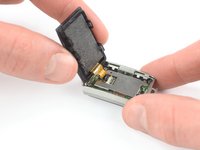
Use a pair of blunt nosed tweezers to remove the black sticker which covering the touch screen connector.
-
-
-
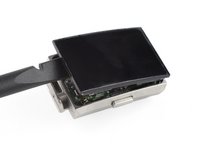
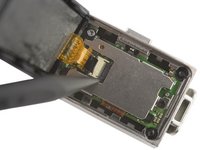
Use the pointed end of a spudger to open the ZIF connector by pushing up the black flap.
-
-
-
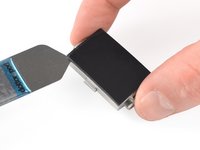
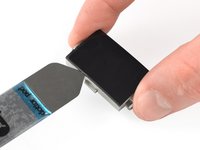
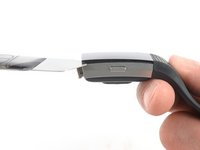
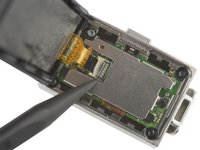
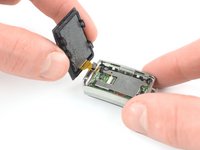
Pull the touch screen flex cable straight out its socket.
-
Remove the touch screen assembly.
-


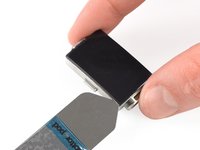


If possible, turn on your device and test your repair before reassemble.
To reassemble your device, follow these instructions in reverse order.
Take your e-waste to an R2 or e-Stewards certified recycler.
Opening didn’t go as planned? Ask our Answers community for help.
12 の人々がこのガイドを完成させました。

