メインコンテンツにスキップ
リペアコミュニティに参加 - アカウントの作成

Epson PPC650 Camera Case Replacement

必要な工具と部品

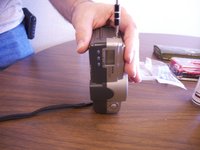
    1. Epson PPC650 Camera Case Replacement, Case: 手順 1、 3の画像 1 Epson PPC650 Camera Case Replacement, Case: 手順 1、 3の画像 2 Epson PPC650 Camera Case Replacement, Case: 手順 1、 3の画像 3
      • Locate the silver power button. Gently slide the button to the middle section labeled "off" to shut down the camera.

      • Remove the batteries from the battery compartment located on the underside of the camera.

      • Remove the SD card from the compartment located on the flat, left side of the camera.

      FixBotに聞いてみる

      コメントを追加

    2. Epson PPC650 Camera Case Replacement: 手順 2、 1の画像 1
      • Remove the two screws on the rounded side of the camera.

      FixBotに聞いてみる

      コメントを追加

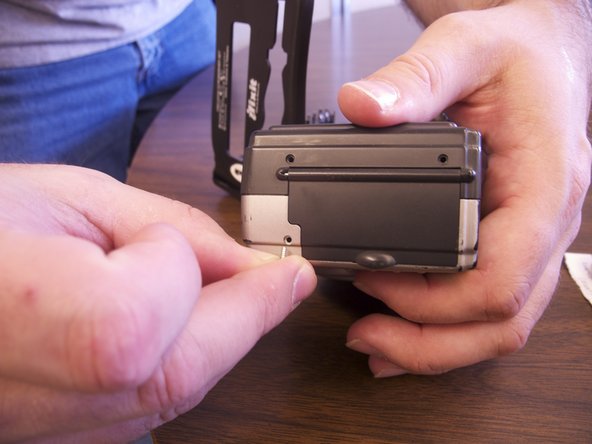
    3. Epson PPC650 Camera Case Replacement: 手順 3、 2の画像 1 Epson PPC650 Camera Case Replacement: 手順 3、 2の画像 2
      • Remove the three screws on the flat side of the camera.

      • All of the silver screws go into the side of the camera that is silver.

      • All of the black screws go into the side of the camera that is black.

      FixBotに聞いてみる

      コメントを追加

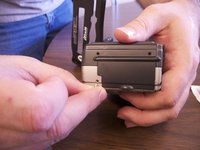
    4. Epson PPC650 Camera Case Replacement: 手順 4、 1の画像 1
      • Remove the four screws from the bottom of the camera.

      • All of the silver screws go into the side of the camera that is silver.

      • All of the black screws go into the side of the camera that is black.

      FixBotに聞いてみる

      コメントを追加

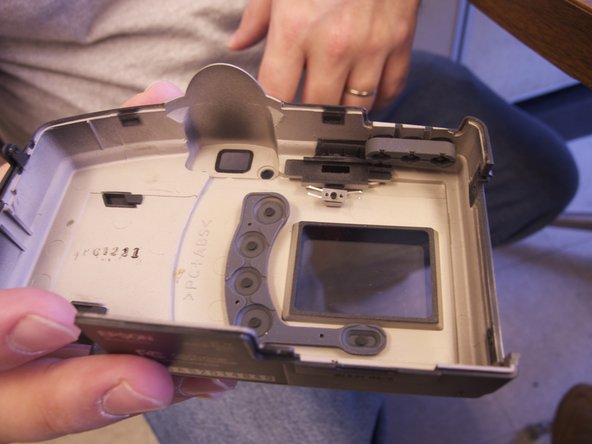
    5. Epson PPC650 Camera Case Replacement: 手順 5、 3の画像 1 Epson PPC650 Camera Case Replacement: 手順 5、 3の画像 2 Epson PPC650 Camera Case Replacement: 手順 5、 3の画像 3
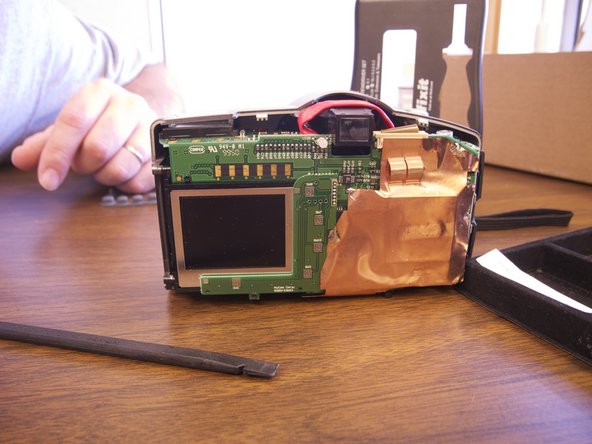
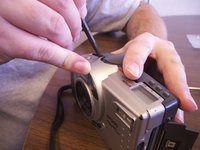
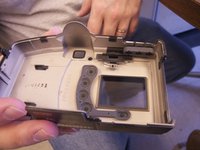
      • Separate the front and the back pieces of the camera's plastic casing using a spudger.

      • WARNING: When pulling the front plastic casing, be careful of the wires that are connected to the aperture control.

      • Use minimal force so that the plastic casing does not break.

      • When separating the small silver siding, the indicator for the view/off/playback may fall out.

      • The plastic viewing window located on the top of the camera may also become lose and fall out.

      FixBotに聞いてみる

      コメントを追加

終わりに

To reassemble your device, follow these instructions in reverse order.

キャンセル: このガイドを終了できませんでした。

ある他の人がこのガイドを完成しました。

作成者

11人の作成者と共同で作成されました。

Brittany

メンバー登録日: 02/12/13

113 ポイント

1ガイドが承認済み

チーム

Ohio State, Team 1-5, Buehl Spring 2013 Ohio State, Team 1-5, Buehl Spring 2013人のメンバー

OSU-BUEHL-S13S1G5

4 メンバー

36のガイドは作成済み

0件のガイドコメント

コメントを追加

統計データ:

過去 24時間: 0

過去 7 日: 9

過去 30 日: 36

今までの合計 627