メインコンテンツにスキップ
リペアコミュニティに参加 - アカウントの作成

Enabot EBO SE Camera Replacement

必要な工具と部品

    1. Enabot EBO SE Camera Replacement, Wheel Assembly: 手順 1、 1の画像 1
      • Gently turn the robot upside down.

      • Place the robot on a stable surface to prevent it from rolling or falling.

      FixBotに聞いてみる

      コメントを追加

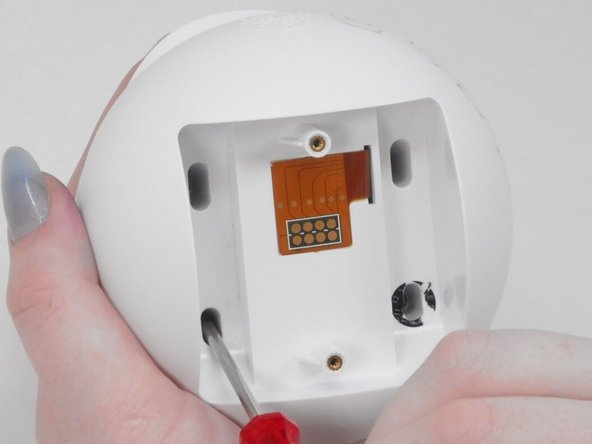
    2. Enabot EBO SE Camera Replacement: 手順 2、 3の画像 1 Enabot EBO SE Camera Replacement: 手順 2、 3の画像 2 Enabot EBO SE Camera Replacement: 手順 2、 3の画像 3
      • Use a flathead 2.5 mm screwdriver to remove the 5.7 mm screw from the wheels.

      • A tool should have been provided in the box for this purpose.

      FixBotに聞いてみる

      コメントを追加

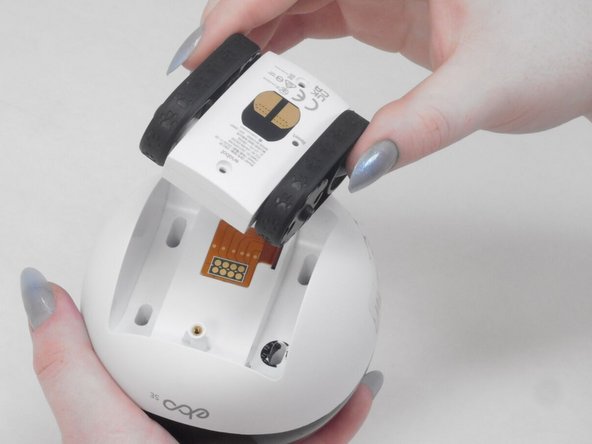
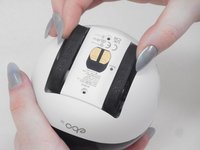
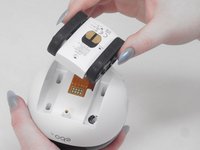
    3. Enabot EBO SE Camera Replacement: 手順 3、 2の画像 1 Enabot EBO SE Camera Replacement: 手順 3、 2の画像 2
      • Pull the wheel assembly towards you so it comes straight off without resistance.

      • If there is resistance, make sure to apply gentle force when pulling as it can get damaged with too much force.

      FixBotに聞いてみる

      コメントを追加

    1. Enabot EBO SE Camera Replacement, Lower Housing: 手順 4、 2の画像 1 Enabot EBO SE Camera Replacement, Lower Housing: 手順 4、 2の画像 2
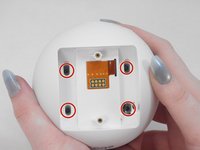
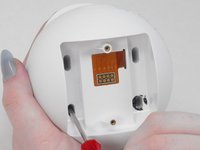
      • Use a Torx screwdriver to remove the four 9 mm screws from the assembly.

      FixBotに聞いてみる

      コメントを追加

    2. Enabot EBO SE Camera Replacement: 手順 5、 3の画像 1 Enabot EBO SE Camera Replacement: 手順 5、 3の画像 2 Enabot EBO SE Camera Replacement: 手順 5、 3の画像 3
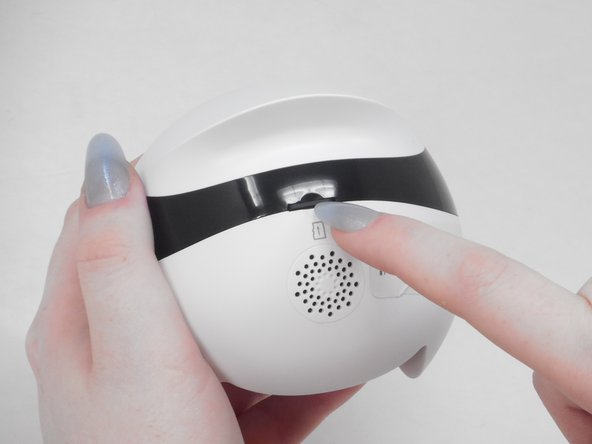
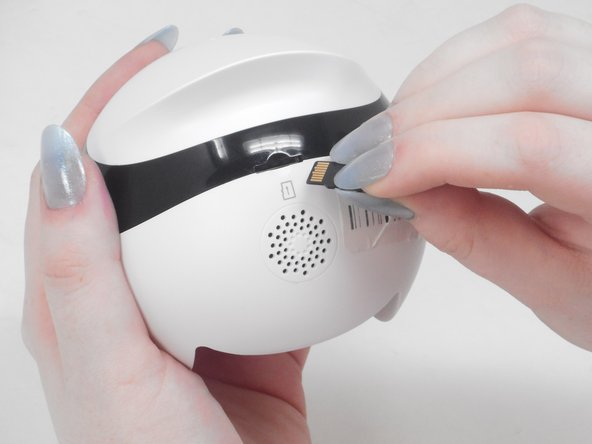
      • Use your fingernail to carefully press down and eject the Micro SD Card from the back of the Enabot.

      • Keep the Micro SD Card in a safe spot for later.

      FixBotに聞いてみる

      コメントを追加

    3. Enabot EBO SE Camera Replacement: 手順 6、 2の画像 1 Enabot EBO SE Camera Replacement: 手順 6、 2の画像 2
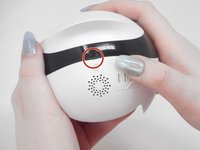
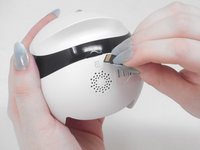
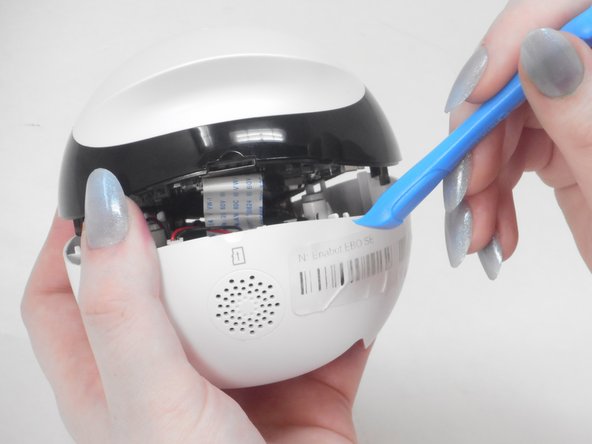
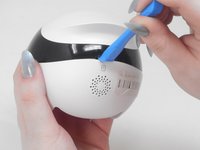
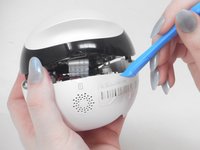
      • Place the iFixit opening tool inside the Micro SD slot.

      • Very carefully apply pressure to the top of the slot and pry open the casing to separate the upper and lower housing.

      FixBotに聞いてみる

      コメントを追加

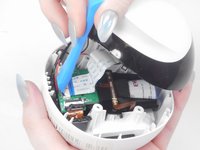
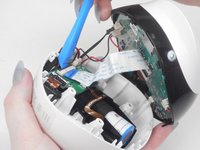
    4. Enabot EBO SE Camera Replacement: 手順 7、 3の画像 1 Enabot EBO SE Camera Replacement: 手順 7、 3の画像 2 Enabot EBO SE Camera Replacement: 手順 7、 3の画像 3
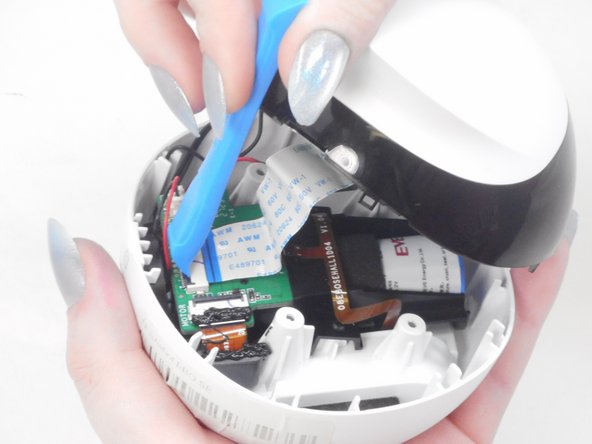
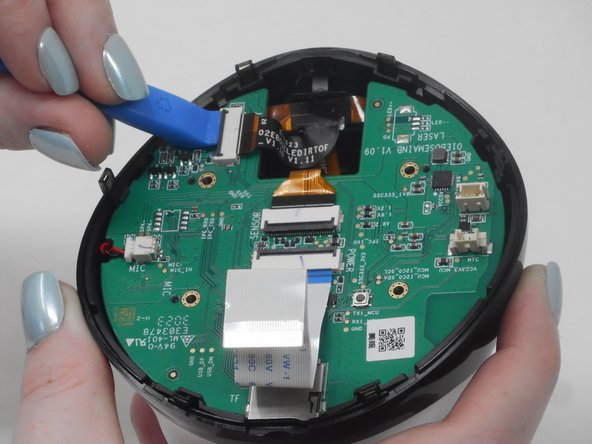
      • Using the iFixit opening tool or your fingernail, place it underneath the gray tab on the lower housing.

      • Lift the tab up and pull out the ribbon cable to disconnect it from the lower housing.

      FixBotに聞いてみる

      コメントを追加

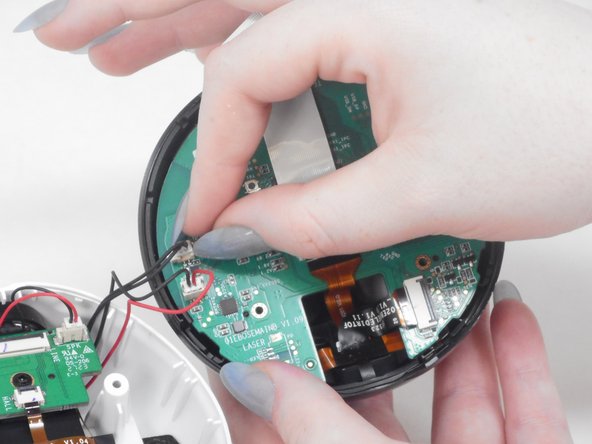
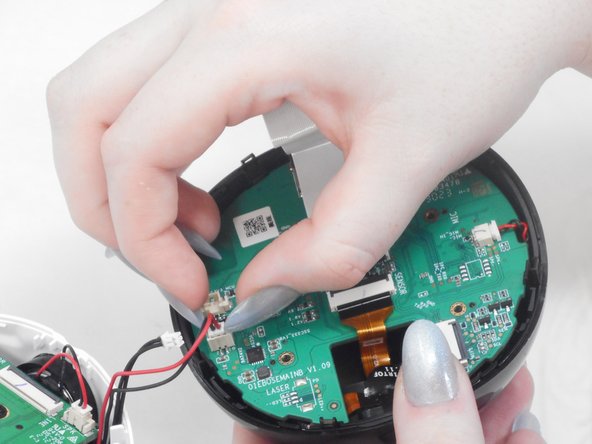
    5. Enabot EBO SE Camera Replacement: 手順 8、 3の画像 1 Enabot EBO SE Camera Replacement: 手順 8、 3の画像 2 Enabot EBO SE Camera Replacement: 手順 8、 3の画像 3
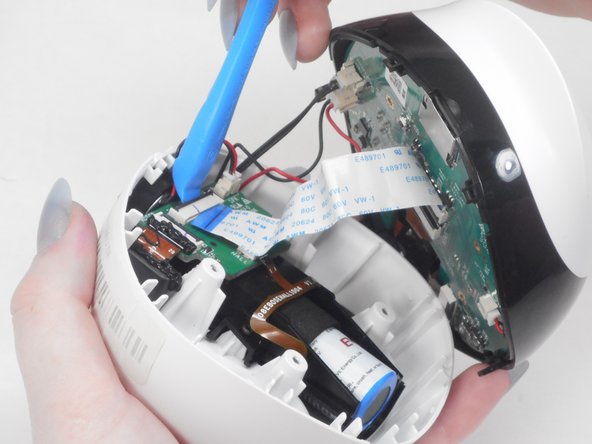
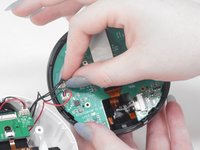
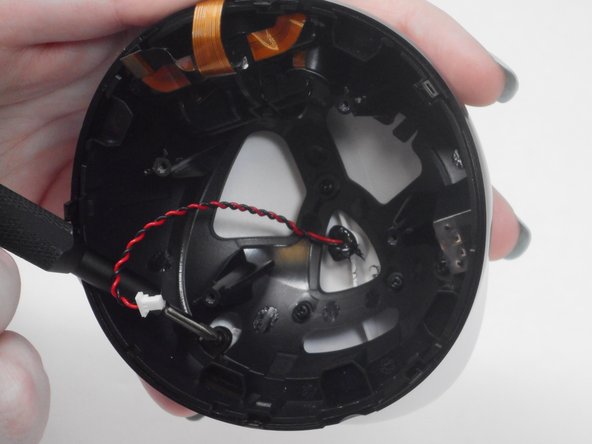
      • There are two black and red wire connectors attached to the upper and lower housing.

      • Gently use your finger nails to lift up and disconnect both wires to fully separate the upper and lower housings.

      FixBotに聞いてみる

      コメントを追加

    1. Enabot EBO SE Camera Replacement, Motherboard: 手順 9、 2の画像 1 Enabot EBO SE Camera Replacement, Motherboard: 手順 9、 2の画像 2
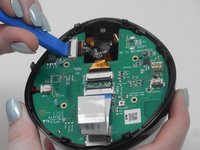
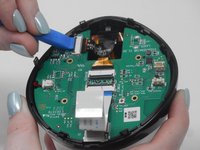
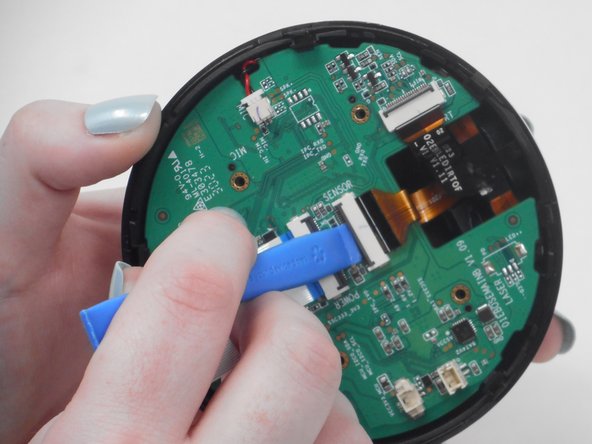
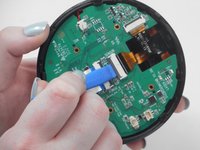
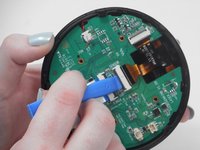
      • Use the iFixit opening tool to unlock the side gray tab and free the orange & black ribbon cable.

      FixBotに聞いてみる

      コメントを追加

    2. Enabot EBO SE Camera Replacement: 手順 10、 2の画像 1 Enabot EBO SE Camera Replacement: 手順 10、 2の画像 2
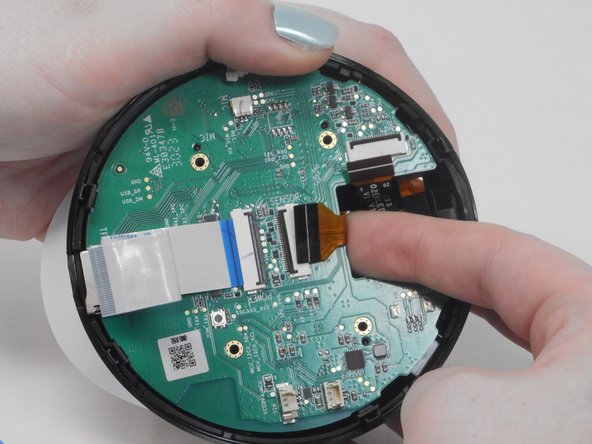
      • Use the iFixit opening tool to unlock the middle gray tab and free the orange & black ribbon cable.

      FixBotに聞いてみる

      コメントを追加

    3. Enabot EBO SE Camera Replacement: 手順 11、 3の画像 1 Enabot EBO SE Camera Replacement: 手順 11、 3の画像 2 Enabot EBO SE Camera Replacement: 手順 11、 3の画像 3
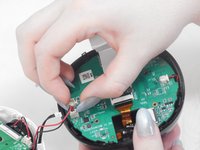
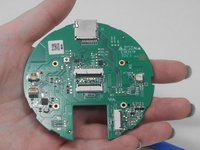
      • Select one of the release tabs on the edge of the upper casing that holds the motherboard in place.

      • Place one finger in between the motherboard and the upper casing.

      • Pull the release tab back while lifting the motherboard with your other finger to "pop" the motherboard out of the casing.

      FixBotに聞いてみる

      コメントを追加

    4. Enabot EBO SE Camera Replacement: 手順 12、 3の画像 1 Enabot EBO SE Camera Replacement: 手順 12、 3の画像 2 Enabot EBO SE Camera Replacement: 手順 12、 3の画像 3
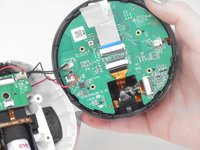
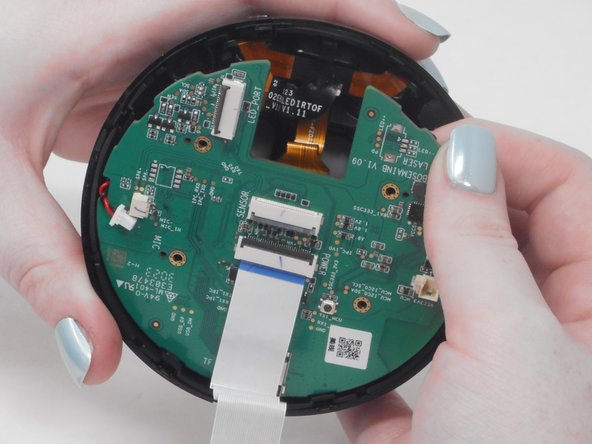
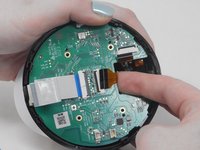
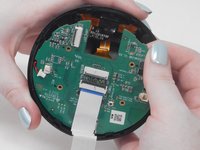
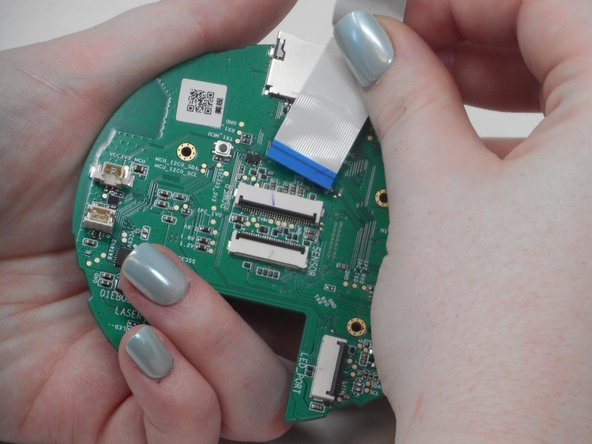
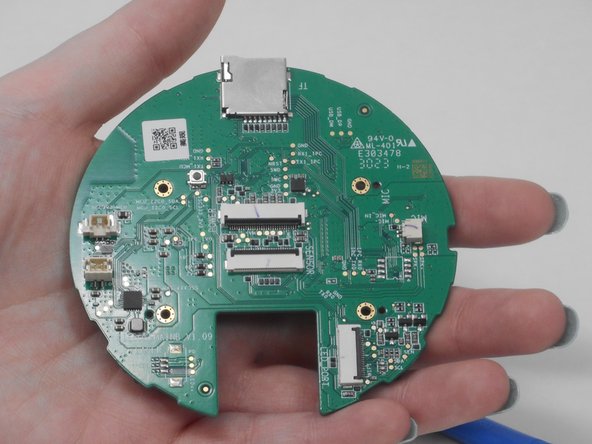
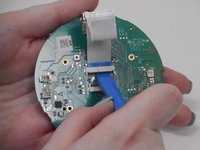
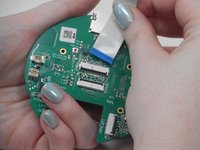
      • Use the ifixit opening tool to disconnect the blue & white ribbon cable.

      • Gently pull the blue & white ribbon cable out of the gray connector tab.

      FixBotに聞いてみる

      コメントを追加

    1. Enabot EBO SE Camera Replacement, Camera: 手順 13、 3の画像 1 Enabot EBO SE Camera Replacement, Camera: 手順 13、 3の画像 2 Enabot EBO SE Camera Replacement, Camera: 手順 13、 3の画像 3
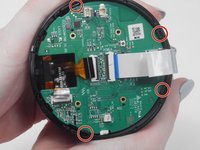
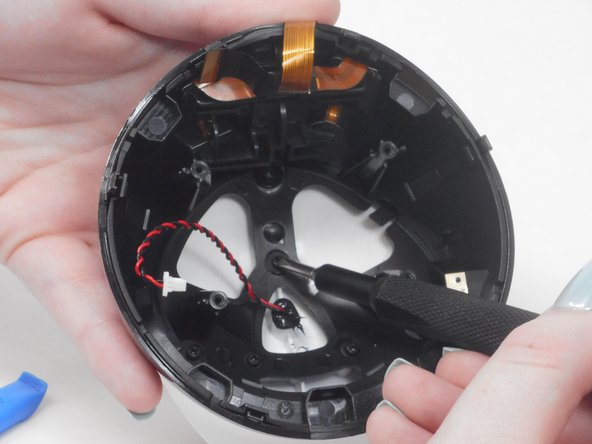
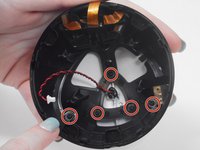
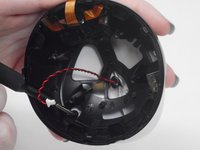
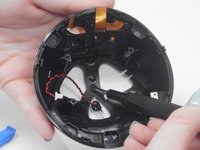
      • Use a Phillips #00 screwdriver to remove all five 7.4 mm screws from the upper casing.

      FixBotに聞いてみる

      コメントを追加

    2. Enabot EBO SE Camera Replacement: 手順 14、 2の画像 1 Enabot EBO SE Camera Replacement: 手順 14、 2の画像 2
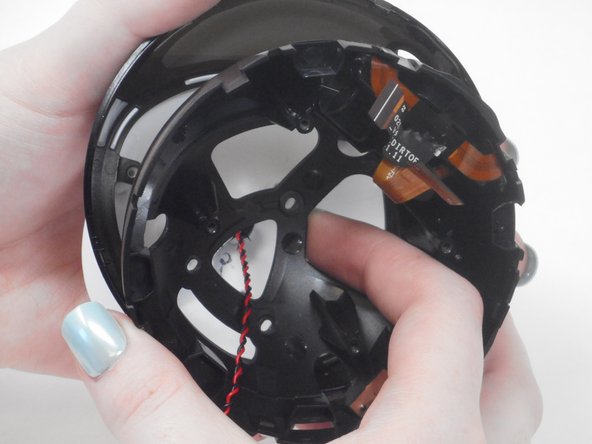
      • Place your fingers in the space between the black casing and white lid.

      • Pull black casing towards you to separate the two parts.

      FixBotに聞いてみる

      コメントを追加

    3. Enabot EBO SE Camera Replacement: 手順 15、 3の画像 1 Enabot EBO SE Camera Replacement: 手順 15、 3の画像 2 Enabot EBO SE Camera Replacement: 手順 15、 3の画像 3
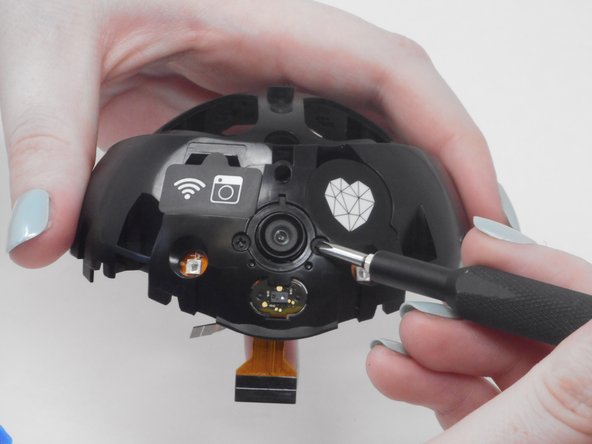
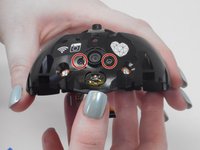
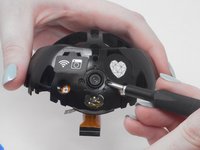
      • Remove the two 6 mm Phillips #00 screws on either side of the camera.

      FixBotに聞いてみる

      コメントを追加

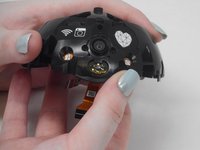
    4. Enabot EBO SE Camera Replacement: 手順 16、 3の画像 1 Enabot EBO SE Camera Replacement: 手順 16、 3の画像 2 Enabot EBO SE Camera Replacement: 手順 16、 3の画像 3
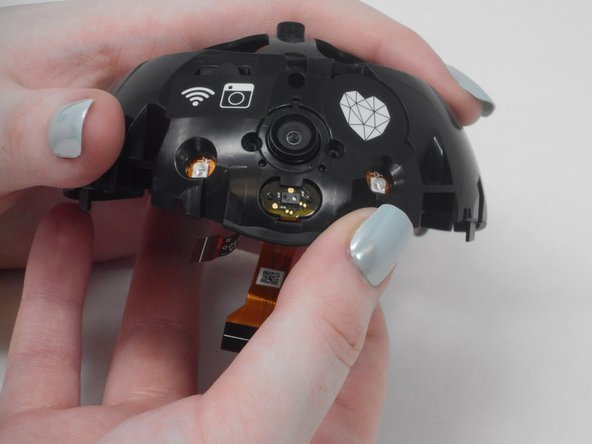
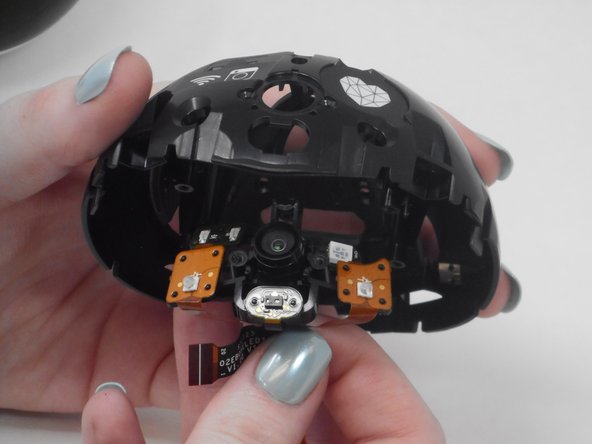
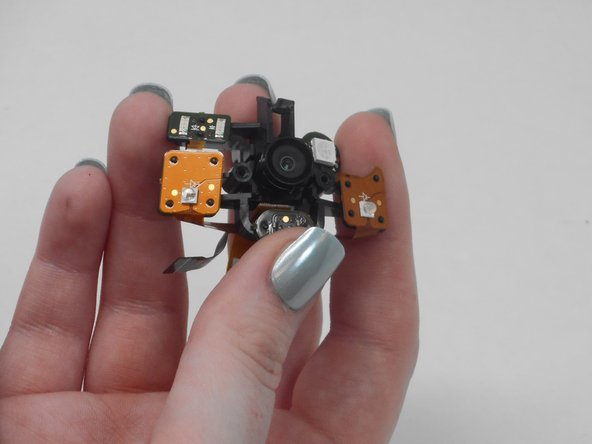
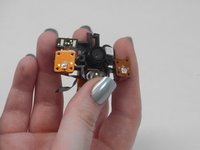
      • Gently remove the camera until it comes out of the casing.

      FixBotに聞いてみる

      コメントを追加

終わりに

To reassemble your device, follow these instructions in reverse order.

キャンセル: このガイドを終了できませんでした。

作成者

3人の作成者と共同で作成されました。

Oscar Parra

メンバー登録日: 02/16/24

109 ポイント

1ガイドが承認済み

チーム

University of Memphis, Team 4-5, Sneed Spring 2024 University of Memphis, Team 4-5, Sneed Spring 2024人のメンバー

UM-SNEED-S24S4G5

4 メンバー

34のガイドは作成済み

0件のガイドコメント

コメントを追加

統計データ:

過去 24時間: 1

過去 7 日: 8

過去 30 日: 26

今までの合計 649