メインコンテンツにスキップ
リペアコミュニティに参加 - アカウントの作成

Element GC-1020 Screen Replacement

必要な工具と部品

    1. Element GC-1020 Screen  Replacement, Back Cover Replacement Guide: 手順 1、 1の画像 1
      • Unscrew the four screws (size: 3.175mm) on the left and right side of the Element Electronics GC-1020 device using the PH#0 screwdriver.

      FixBotに聞いてみる

      コメントを追加

    2. Element GC-1020 Screen  Replacement: 手順 2、 1の画像 1
      • Carefully pull the back of the device (the silver portion) apart from the rest of the device.

      • If you pull back too forcefully the power button would move out of place.

      FixBotに聞いてみる

      コメントを追加

    1. Element GC-1020 Screen  Replacement, Screen: 手順 3、 1の画像 1
      • Unscrew the bottom of left and right sides of the motherboard.

      • Notice these screws are slightly larger than the ones on the outside of the device.

      FixBotに聞いてみる

      コメントを追加

    2. Element GC-1020 Screen  Replacement: 手順 4、 2の画像 1 Element GC-1020 Screen  Replacement: 手順 4、 2の画像 2
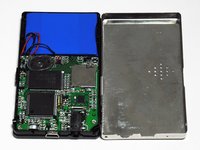
      • Carefully bend the plastic frame to remove the motherboard.

      • Be sure that the power button, stays attached to the outer frame, as moving the motherboard it may cause it to loosen.

      FixBotに聞いてみる

      コメントを追加

    3. Element GC-1020 Screen  Replacement: 手順 5、 3の画像 1 Element GC-1020 Screen  Replacement: 手順 5、 3の画像 2 Element GC-1020 Screen  Replacement: 手順 5、 3の画像 3
      この手順で使用する道具:
      Tweezers
      $4.99
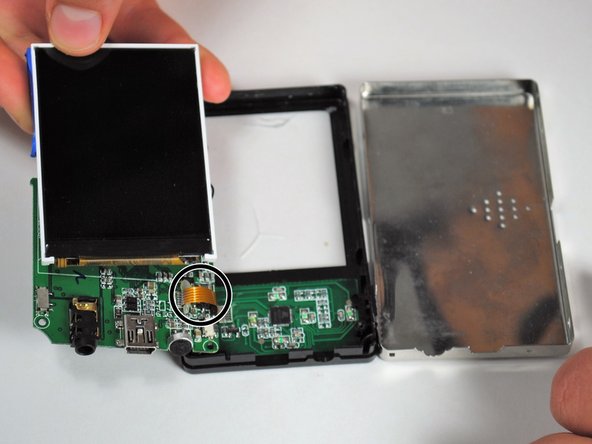
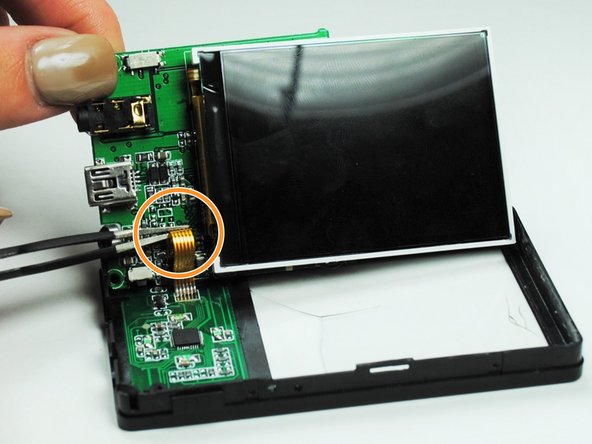
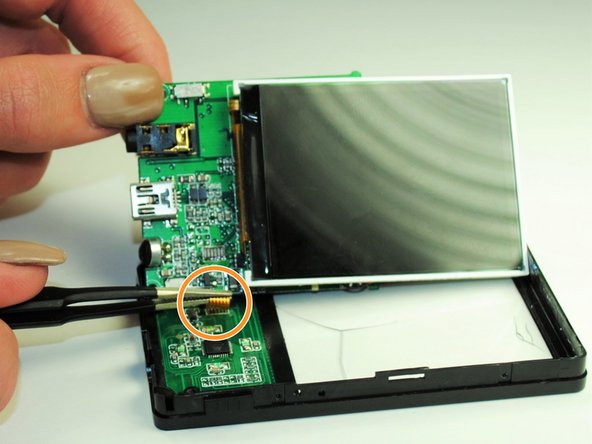
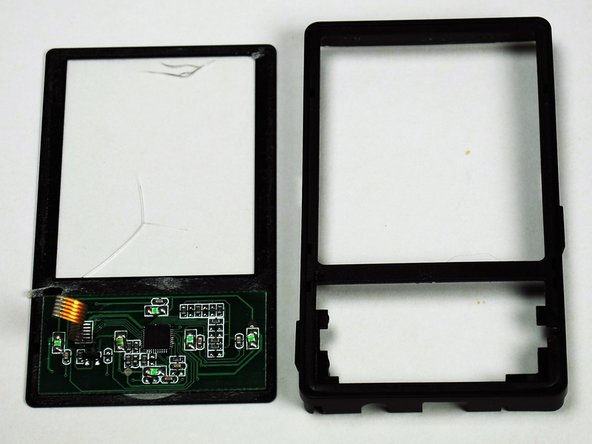
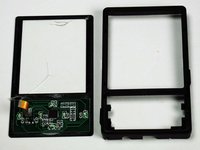
      • Detach the screen by disconnecting the thin piece of ribbon cable attached to the PCB (printed circuit board).

      • Use a pair of tweezers to carefully pull the ribbon from the circuit board.

      • Take care not to damage the ribbon, as you will need it intact to reattach your new screen.

      FixBotに聞いてみる

      コメントを追加

    4. Element GC-1020 Screen  Replacement: 手順 6、 3の画像 1 Element GC-1020 Screen  Replacement: 手順 6、 3の画像 2 Element GC-1020 Screen  Replacement: 手順 6、 3の画像 3
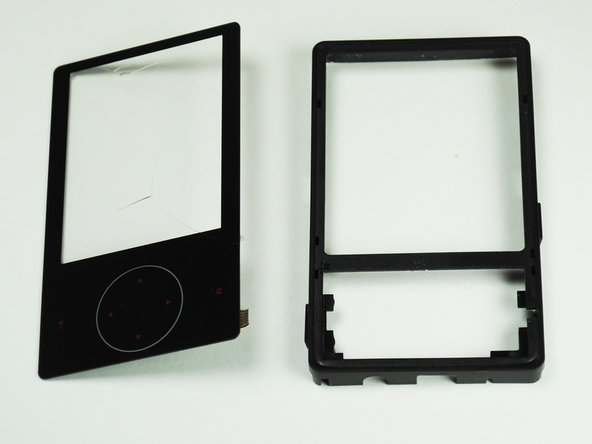
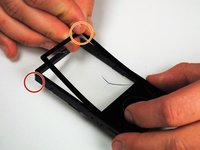
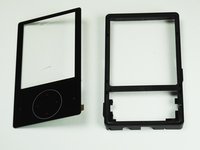
      • Carefully pry apart the screen from the frame of the device.

      • Separate the two by peeling away the thin plastic layer that makes up the screen of the device.

      • If done correctly, your detached screen will look like this.

      FixBotに聞いてみる

      コメントを追加

終わりに

To reassemble your device, follow these instructions in reverse order.

キャンセル: このガイドを終了できませんでした。

2 の人々がこのガイドを完成させました。

作成者

4人の作成者と共同で作成されました。

Lashaun Noel

メンバー登録日: 09/25/15

591 ポイント

5のガイドは作成済み

チーム

University of Tampa, Team 1-4, Whiteside Fall 2015 University of Tampa, Team 1-4, Whiteside Fall 2015人のメンバー

UT-WHITESIDE-F15S1G4

4 メンバー

10のガイドは作成済み

0件のガイドコメント

コメントを追加

統計データ:

過去 24時間: 0

過去 7 日: 7

過去 30 日: 44

今までの合計 627