メインコンテンツにスキップ
リペアコミュニティに参加 - アカウントの作成

Electrohome EAAC475 Display Replacement

必要な工具と部品

    1. Electrohome EAAC475 Display Replacement, Battery: 手順 1、 2の画像 1 Electrohome EAAC475 Display Replacement, Battery: 手順 1、 2の画像 2
      • Remove the 10 mm Phillips #1 screw from the battery cover.

      • Remove the battery cover.

      FixBotに聞いてみる

      コメントを追加

    2. Electrohome EAAC475 Display Replacement: 手順 2、 1の画像 1
      • Remove the flat lithium battery.

      FixBotに聞いてみる

      コメントを追加

    1. Electrohome EAAC475 Display Replacement, Buttons: 手順 3、 2の画像 1 Electrohome EAAC475 Display Replacement, Buttons: 手順 3、 2の画像 2
      • Disconnect the radio from all power sources.

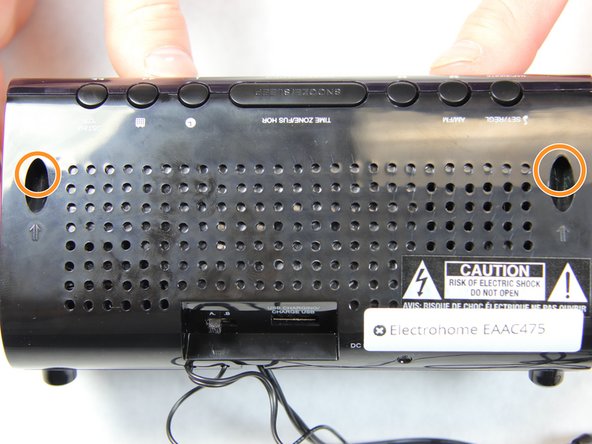
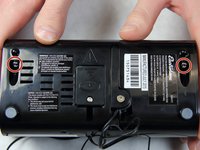
      • Remove the two 10 mm Phillips #1 screws from the bottom of the device.

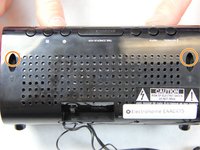
      • Remove two 10 mm Phillips #1 screws from the back side of the device.

      FixBotに聞いてみる

      コメントを追加

    2. Electrohome EAAC475 Display Replacement: 手順 4、 3の画像 1 Electrohome EAAC475 Display Replacement: 手順 4、 3の画像 2 Electrohome EAAC475 Display Replacement: 手順 4、 3の画像 3
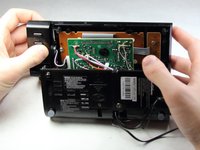
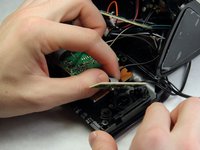
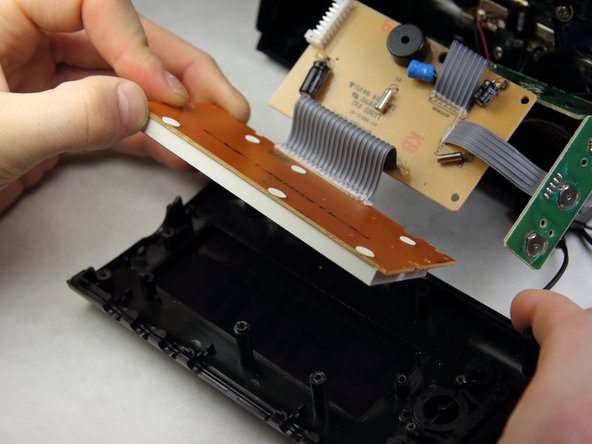
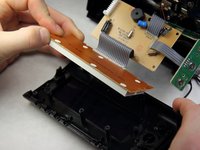
      • Carefully and slowly pull the lower case away from the rest of the device.

      • Do not completely separate the lower case. There are several wires connecting the two halves of the device.

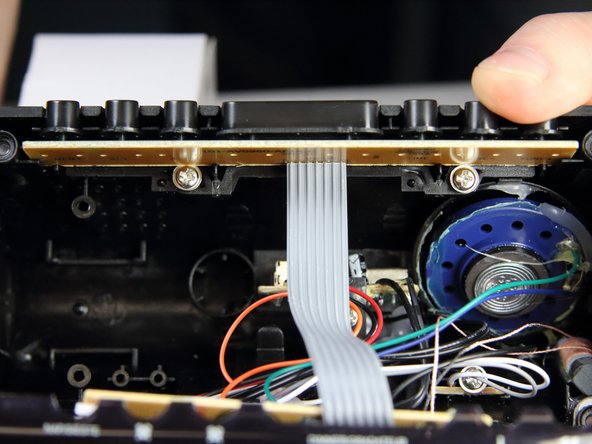
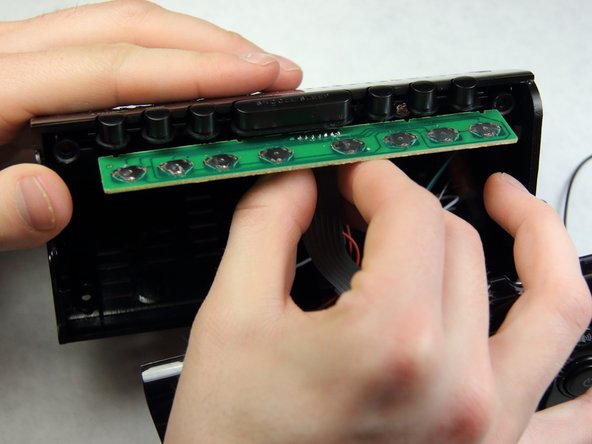
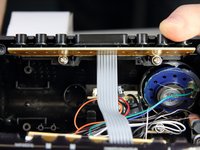
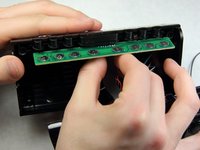
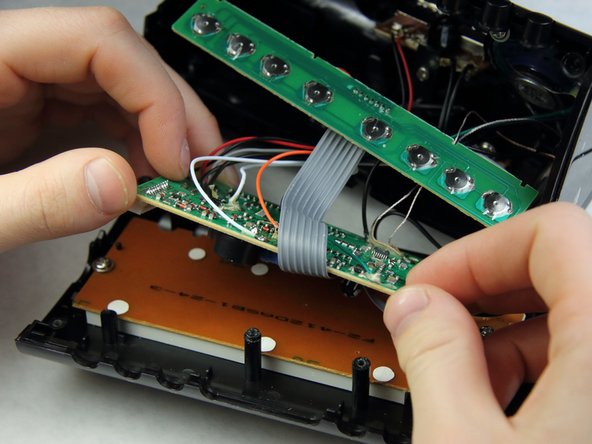
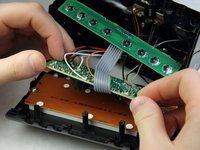
      • Flip the device over to access the button assembly.

      • Slowly remove the button contact board from the assembly.

      FixBotに聞いてみる

      コメントを追加

    3. Electrohome EAAC475 Display Replacement: 手順 5、 2の画像 1 Electrohome EAAC475 Display Replacement: 手順 5、 2の画像 2
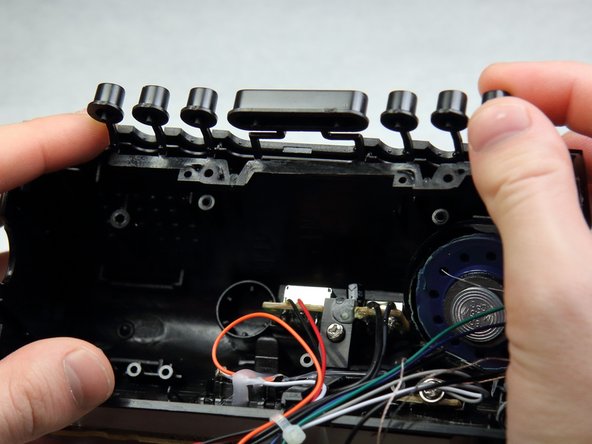
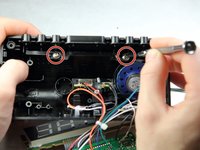
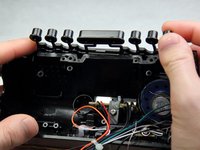
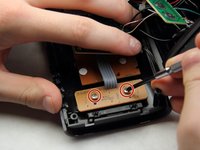
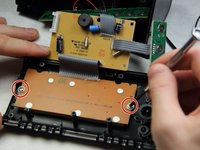
      • Remove the two 7 mm Phillips # 1 screws holding the buttons.

      • Remove the plastic buttons.

      FixBotに聞いてみる

      コメントを追加

    1. Electrohome EAAC475 Display Replacement, Display: 手順 6、 2の画像 1 Electrohome EAAC475 Display Replacement, Display: 手順 6、 2の画像 2
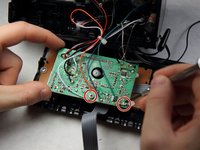
      • Remove the two 8 mm Phillips screws supporting the circuit board.

      • Pull off the circuit board to access the panels below.

      FixBotに聞いてみる

      コメントを追加

    2. Electrohome EAAC475 Display Replacement: 手順 7、 2の画像 1 Electrohome EAAC475 Display Replacement: 手順 7、 2の画像 2
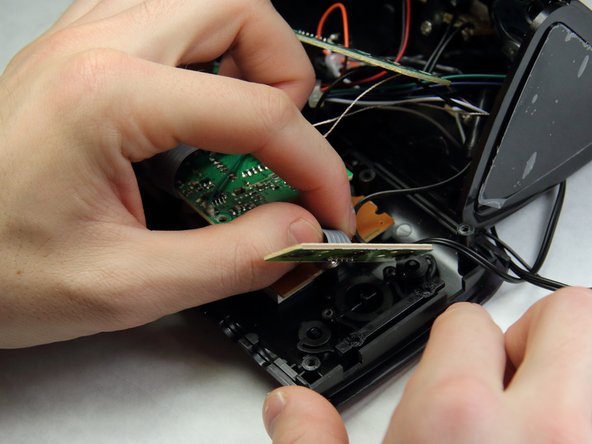
      • Remove the two 6 mm Phillips screws supporting the mini circuit board for the frontal buttons.

      • Remove the mini circuit board.

      FixBotに聞いてみる

      コメントを追加

    3. Electrohome EAAC475 Display Replacement: 手順 8、 2の画像 1 Electrohome EAAC475 Display Replacement: 手順 8、 2の画像 2
      • Move the now free circuit boards away from the display.

      • Remove the final two 7 mm Phillips screws securing the display.

      • Pull the display screen away from the casing.

      FixBotに聞いてみる

      コメントを追加

    4. Electrohome EAAC475 Display Replacement: 手順 9、 1の画像 1
      • You have successfully accessed the display.

      • Replacing the display with a new one will be challenging as soldering and connecting micro wires are necessary.

      FixBotに聞いてみる

      コメントを追加

終わりに

To reassemble your device, follow these instructions in reverse order.

キャンセル: このガイドを終了できませんでした。

作成者

4人の作成者と共同で作成されました。

Sohail Khatri

メンバー登録日: 02/16/16

201 ポイント

2のガイドは作成済み

チーム

IUPUI, Team 2-1, Harley Spring 2016 IUPUI, Team 2-1, Harley Spring 2016人のメンバー

IUPUI-HARLEY-S16S2G1

4 メンバー

12のガイドは作成済み

0件のガイドコメント

コメントを追加

統計データ:

過去 24時間: 1

過去 7 日: 15

過去 30 日: 39

今までの合計 1,334