メインコンテンツにスキップ
リペアコミュニティに参加 - アカウントの作成

Eclipse 180BL Battery Replacement

必要な工具と部品

    1. Eclipse 180BL Battery Replacement, Battery: 手順 1、 1の画像 1
      • Remove the two screws located on the bottom of the device with a phillips head screw driver.

      • The two screws can be removed using the PH00 head from the iFixit repair toolkit.

      • Both screws are 1/8 inch in length.

      • The bottom cap will come off to reveal the inside main component.

      FixBotに聞いてみる

      コメントを追加

    2. Eclipse 180BL Battery Replacement: 手順 2、 2の画像 1 Eclipse 180BL Battery Replacement: 手順 2、 2の画像 2
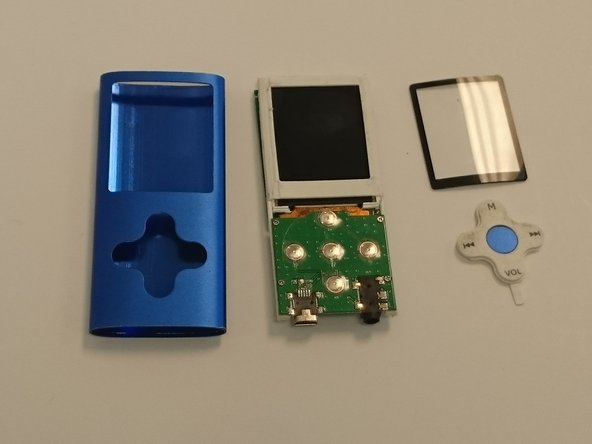
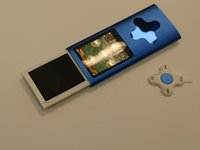
      • Remove the main inner component using Spudger, by pushing on the USB port. This will take some force.

      • Hold on the sides with your fingers, and push to release from the top.

      FixBotに聞いてみる

      コメントを追加

    3. Eclipse 180BL Battery Replacement: 手順 3、 3の画像 1 Eclipse 180BL Battery Replacement: 手順 3、 3の画像 2 Eclipse 180BL Battery Replacement: 手順 3、 3の画像 3
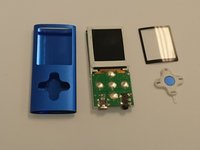
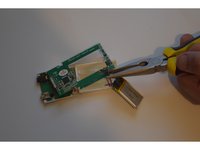
      • The plastic LCD cover and the key pad will now be loose; they were held in place by the tension between the case and the internal main component.

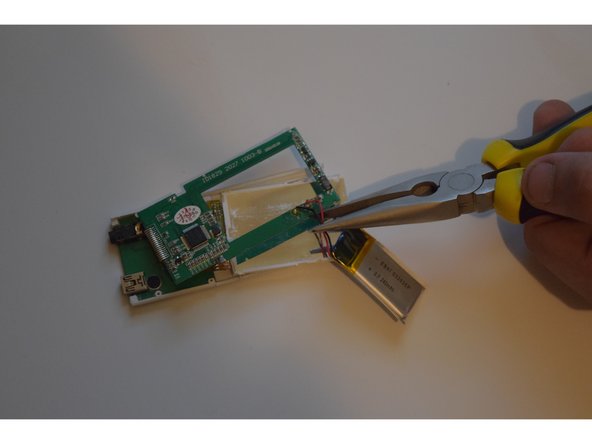
      • Locate the large square pack with a black and red wire coming out of it, this is the battery.

      • Cut the red and black wires to remove the old battery.

      FixBotに聞いてみる

      コメントを追加

    4. Eclipse 180BL Battery Replacement: 手順 4、 1の画像 1
      • To Replace, connect the two new lines ( red and black) between the new battery and the device.

      • You have successfully replaced the battery!

      FixBotに聞いてみる

      コメントを追加

終わりに

To reassemble your device, follow these instructions in reverse order.

キャンセル: このガイドを終了できませんでした。

3 の人々がこのガイドを完成させました。

作成者

2人の作成者と共同で作成されました。

Thomas Schwarz

メンバー登録日: 09/07/15

499 ポイント

3のガイドは作成済み

0件のガイドコメント

コメントを追加

統計データ:

過去 24時間: 2

過去 7 日: 15

過去 30 日: 54

今までの合計 2,239