はじめに
EasySMX X15コントローラーのボタンは、経年劣化により反応が悪くなったり、戻らなくなったりすることがあります。ボタンの交換は比較的簡単な作業であり、いくつかの基本的なツールがあれば自宅で行うことができます。この修理ガイドでは、ボタンの交換手順を説明します。
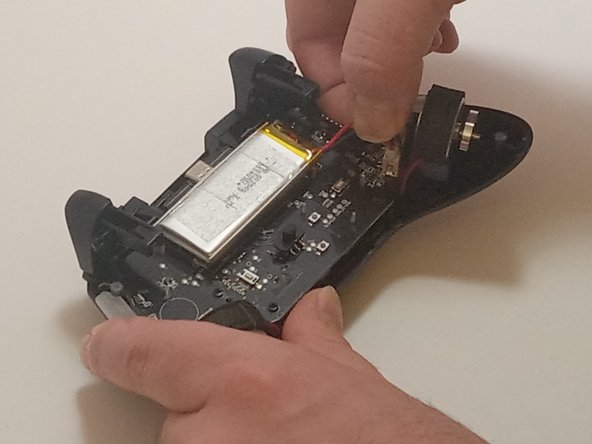
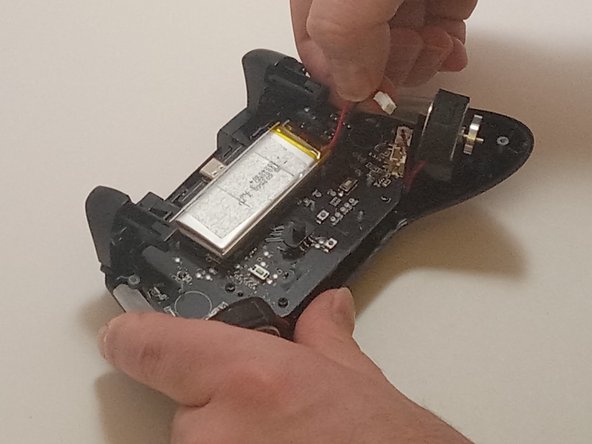
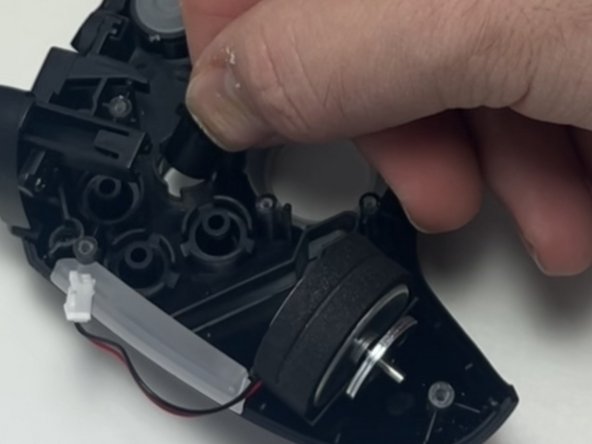
注意:手順3で示されているようにバッテリーを取り外す必要はありません。ただし、作業を進める前に、ボードからバッテリーの接続を外すことが重要です。
必要な工具と部品
-
-
-
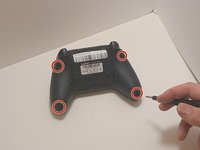
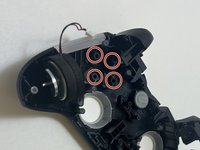
プラスドライバー #00を使用して、EasySMX X15の底面から9 mmのネジを4本外します。
-
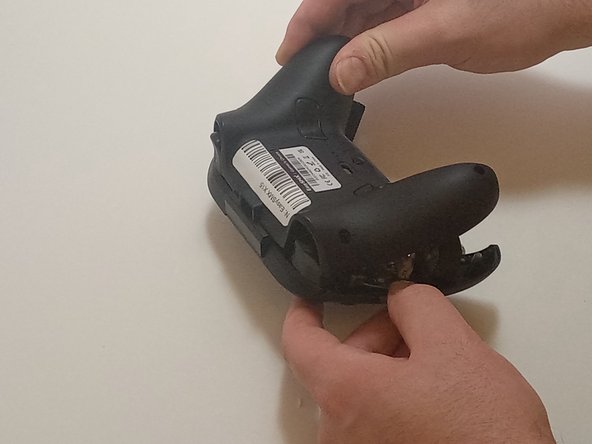
オープニングツールを使用して、コントローラーの継ぎ目を優しくこじ開けて、下部ケースと上部ケースを分離します。
 FixBotに聞いてみる
-
-
-
-
-


終わりに
デバイスを再組み立てするには、これらのインストラクションを逆の順番に従って作業を進めてください。
以下の翻訳者の皆さんにお礼を申し上げます:
en jp
100%

Translation Botさんは世界中で修理する私たちを助けてくれています! あなたも貢献してみませんか?
翻訳を始める ›

チーム

Austin Community College, Team 7-3, Watkins Fall 2024 Austin Community College, Team 7-3, Watkins Fall 2024人のメンバー
AUSTINCC-WATKINS-F24S7G3
3 メンバー
77のガイドは作成済み