はじめに
It is very annoying to carry around the powerhead when it does not click together. Usually this results from wear on the plastic neck joint, which can be replaced.
必要な工具と部品
-
-
-
Position the device so brushes are upwards and visible
-
Unscrew the 6 outer screws. 2 on the edge of the brush crevice, and 4 nearer to the wheels.
-
Turn over the device.
-
Pull the cover off gently.
 FixBotに聞いてみる
-
-
-
-
Unscrew the 2 screws indicated, one visible, the other within a deep hole
-
Gently pull off the cover. Careful not to torque the plastic teeth shown in orange.
-
-
-
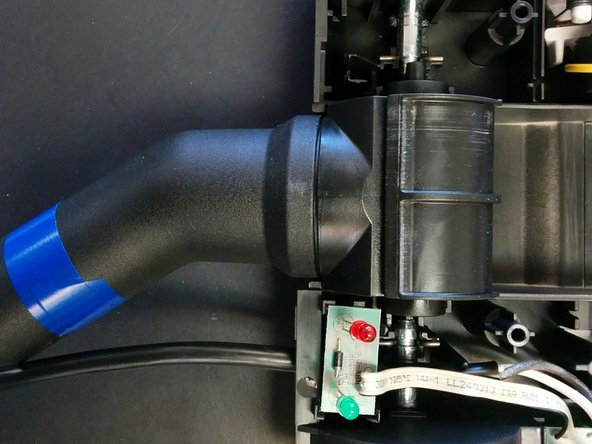
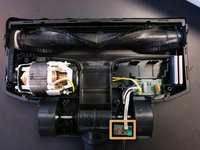
Gently lift the two LED lights upwards and away for the moment.
-
Gently lift out the defective neck joint.
-
Slide in the replacement joint.
-
Replace the lights into the molded corners that hold their board.
-
-


To reassemble your device, follow these instructions in reverse order.
ある他の人がこのガイドを完成しました。

