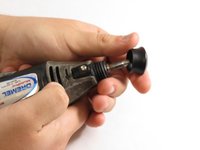
メインコンテンツにスキップ

Dremel MultiPro 395 Casing Replacement

必要な工具と部品

  1. Dremel MultiPro 395 Casing Replacement, Casing: 手順 1、 2の画像 1 Dremel MultiPro 395 Casing Replacement, Casing: 手順 1、 2の画像 2
    この手順で使用する道具:
    Flathead 3/32" or 2.5 mm Screwdriver
    $5.49
    購入する
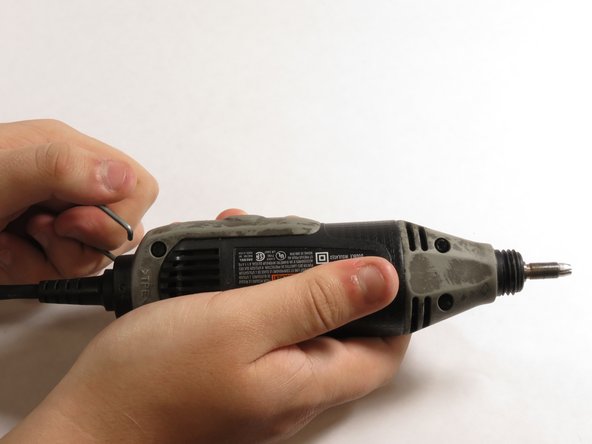
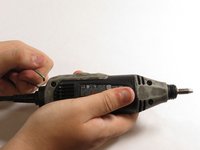
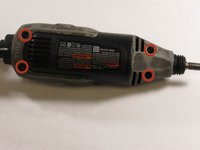
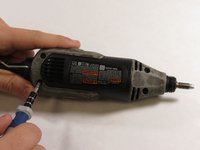
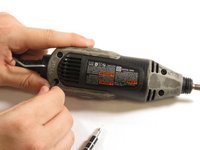
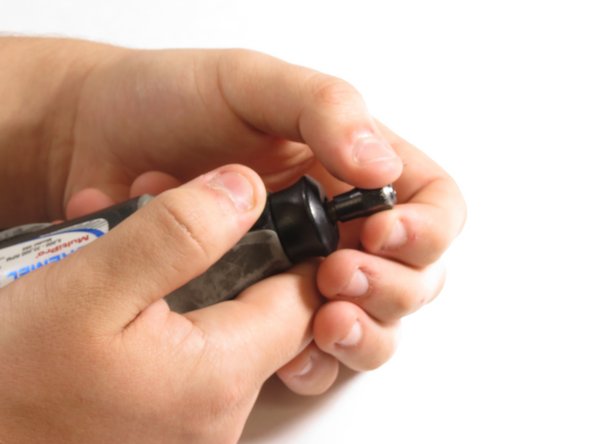
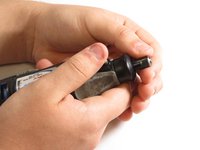
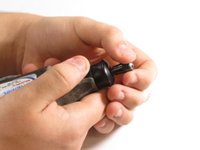
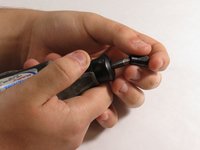
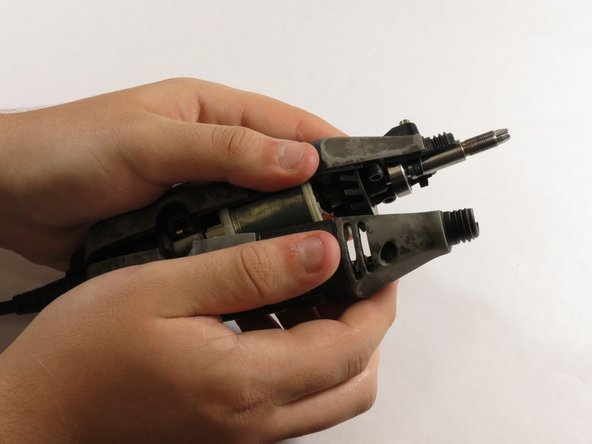
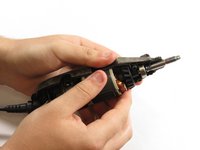
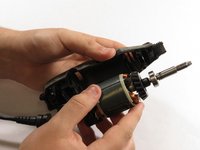
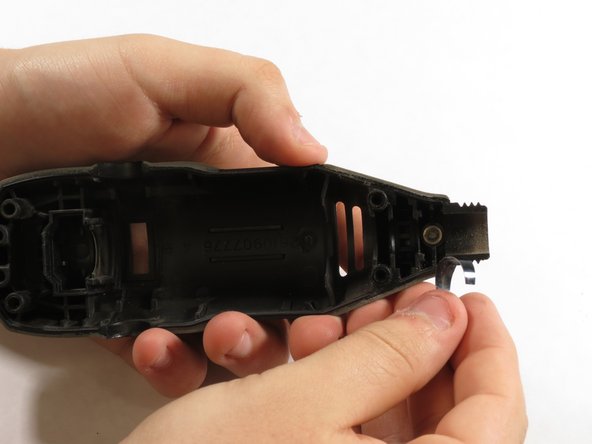
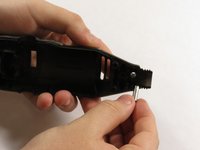
    • Remove the blue caps located on either side of the MultiPro, using a 3 mm flathead screwdriver.

  2. Dremel MultiPro 395 Casing Replacement: 手順 2、 2の画像 1 Dremel MultiPro 395 Casing Replacement: 手順 2、 2の画像 2
    • Carefully remove the carbon brushes attached at the end of the springs by gently pulling on the springs using your hands.

  3. Dremel MultiPro 395 Casing Replacement: 手順 3、 2の画像 1 Dremel MultiPro 395 Casing Replacement: 手順 3、 2の画像 2
    • Pull one side of the hanger up and then pull away from the Multipro until the other side can be pulled out.

  4. Dremel MultiPro 395 Casing Replacement: 手順 4、 3の画像 1 Dremel MultiPro 395 Casing Replacement: 手順 4、 3の画像 2 Dremel MultiPro 395 Casing Replacement: 手順 4、 3の画像 3
    • Remove the 4 screws located on the bottom of the Multipro with a T15 screwdriver.

  5. Dremel MultiPro 395 Casing Replacement: 手順 5、 3の画像 1 Dremel MultiPro 395 Casing Replacement: 手順 5、 3の画像 2 Dremel MultiPro 395 Casing Replacement: 手順 5、 3の画像 3
    • Hold down the collet lock, remove the chuck cap from the top of the Multipro by screwing counterclockwise.

  6. Dremel MultiPro 395 Casing Replacement: 手順 6、 3の画像 1 Dremel MultiPro 395 Casing Replacement: 手順 6、 3の画像 2 Dremel MultiPro 395 Casing Replacement: 手順 6、 3の画像 3
    • Remove the black housing cap from the Multipro located directly below the chuck cap.

  7. Dremel MultiPro 395 Casing Replacement: 手順 7、 3の画像 1 Dremel MultiPro 395 Casing Replacement: 手順 7、 3の画像 2 Dremel MultiPro 395 Casing Replacement: 手順 7、 3の画像 3
    • Pull the bottom side of the casing up to remove it.

  8. Dremel MultiPro 395 Casing Replacement: 手順 8、 3の画像 1 Dremel MultiPro 395 Casing Replacement: 手順 8、 3の画像 2 Dremel MultiPro 395 Casing Replacement: 手順 8、 3の画像 3
    • Gently lift the motor shaft out of the Multipro.

  9. Dremel MultiPro 395 Casing Replacement: 手順 9、 3の画像 1 Dremel MultiPro 395 Casing Replacement: 手順 9、 3の画像 2 Dremel MultiPro 395 Casing Replacement: 手順 9、 3の画像 3
    • Pull the lock pin and its casing out of the other side of the Multipro case.

終わりに

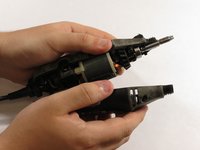
To reassemble your device, follow these instructions in reverse order.

2 の人々がこのガイドを完成させました。

作成者

4人の作成者と共同で作成されました。

Matthew Satton

メンバー登録日: 09/17/14

520 ポイント

2のガイドは作成済み

チーム

University of Kentucky Louisville, Team 1-5, Mathis Fall 2014 University of Kentucky Louisville, Team 1-5, Mathis Fall 2014人のメンバー

LOUISVILLE-MATHIS-F14S1G5

5 メンバー

4のガイドは作成済み

コメント 1 件

A link to parts is always nice,

bari - 返信

コメントを追加

統計データ:

過去 24時間: 0

過去 7 日: 3

過去 30 日: 8

今までの合計 2,107