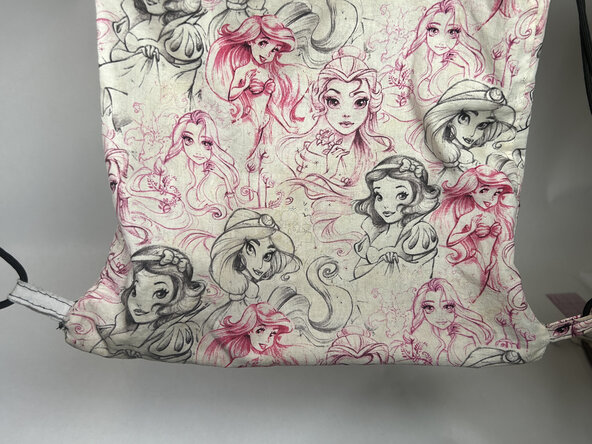
メインコンテンツにスキップ
リペアコミュニティに参加 - アカウントの作成

Drawstring Bag Tab Replacement

必要な工具と部品

  1. Drawstring Bag Tab Replacement, Drawstring Bag Tab: 手順 1、 3の画像 1 Drawstring Bag Tab Replacement, Drawstring Bag Tab: 手順 1、 3の画像 2 Drawstring Bag Tab Replacement, Drawstring Bag Tab: 手順 1、 3の画像 3
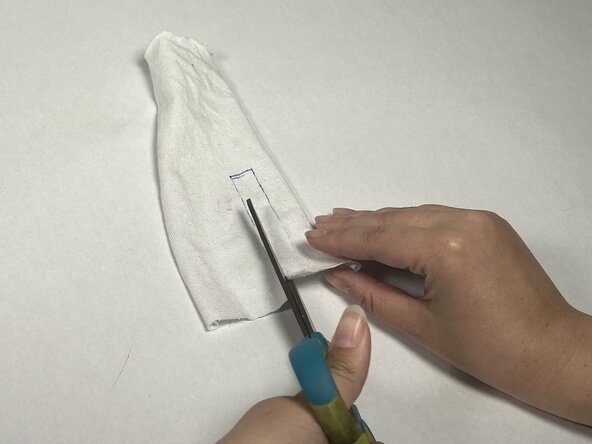
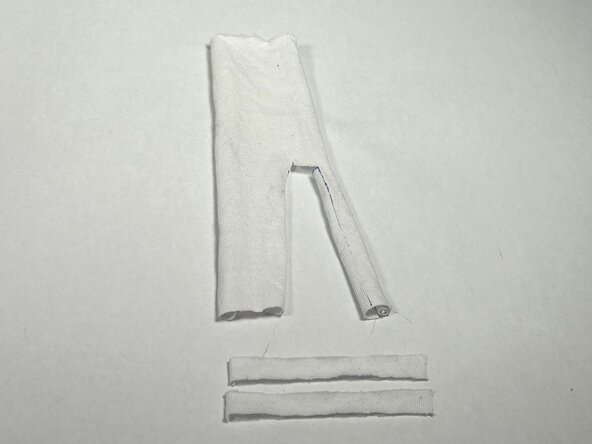
    • Using your pen and ruler, draw two strips of 3.5" x 0.5" pieces of cloth.

    • Cut those two strips with your scissors.

  2. Drawstring Bag Tab Replacement: 手順 2、 1の画像 1
    • Align your two strips back to back.

    • Use two sewing pins to hold the strips in place for easy alignment during the sewing process.

    • Carefully handle the pins to avoid accidental punctures or injury. Use a thimble if needed.

  3. Drawstring Bag Tab Replacement: 手順 3、 3の画像 1 Drawstring Bag Tab Replacement: 手順 3、 3の画像 2 Drawstring Bag Tab Replacement: 手順 3、 3の画像 3
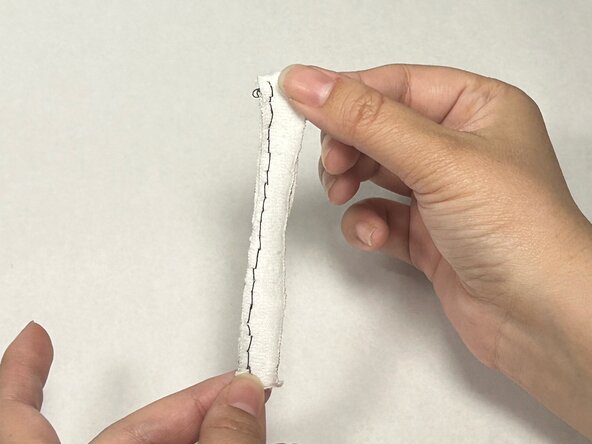
    • Using your thread and sewing needle, sew along the long edge in a straight line using a straight stitch.

    • Use a seam allowance of 1/8"

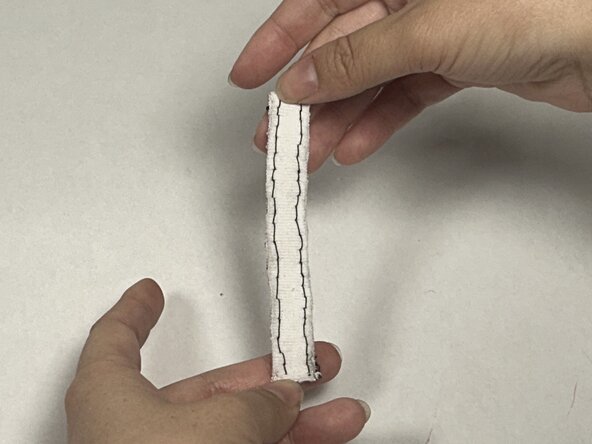
    • Repeat on the other side.

    • Carefully handle the needle to avoid accidental punctures or injury. Use a thimble if neede.

  4. Drawstring Bag Tab Replacement: 手順 4、 2の画像 1 Drawstring Bag Tab Replacement: 手順 4、 2の画像 2
    • Fold your strip around the cord to your drawstring bag to create a loop.

  5. Drawstring Bag Tab Replacement: 手順 5、 3の画像 1 Drawstring Bag Tab Replacement: 手順 5、 3の画像 2 Drawstring Bag Tab Replacement: 手順 5、 3の画像 3
    • Using the whipstitch technique, sew the two ends together.

    • Carefully handle the needle to avoid accidental punctures or injury. Use a thimble if needed.

  6. Drawstring Bag Tab Replacement: 手順 6、 3の画像 1 Drawstring Bag Tab Replacement: 手順 6、 3の画像 2 Drawstring Bag Tab Replacement: 手順 6、 3の画像 3
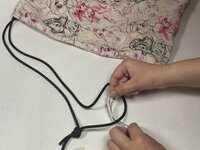
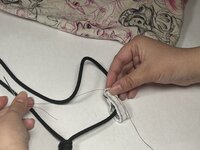
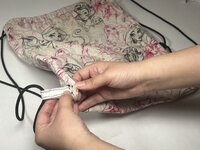
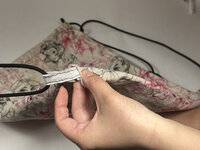
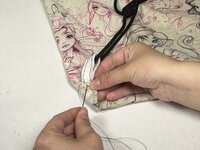
    • Take the sewn ends and insert them 1/4" into the ripped hole where the original tab was.

  7. Drawstring Bag Tab Replacement: 手順 7、 3の画像 1 Drawstring Bag Tab Replacement: 手順 7、 3の画像 2 Drawstring Bag Tab Replacement: 手順 7、 3の画像 3
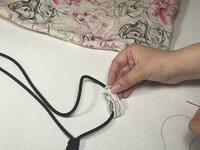
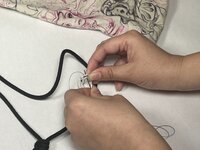
    • Align the fabric with the seam line.

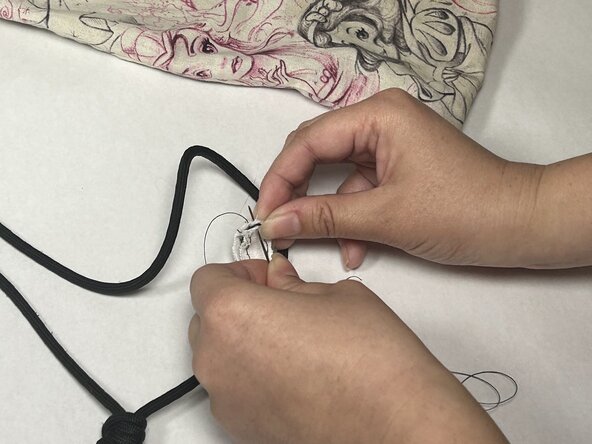
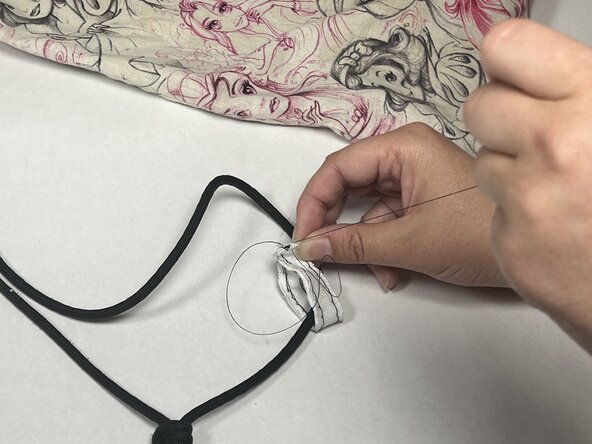
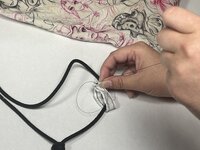
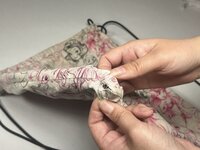
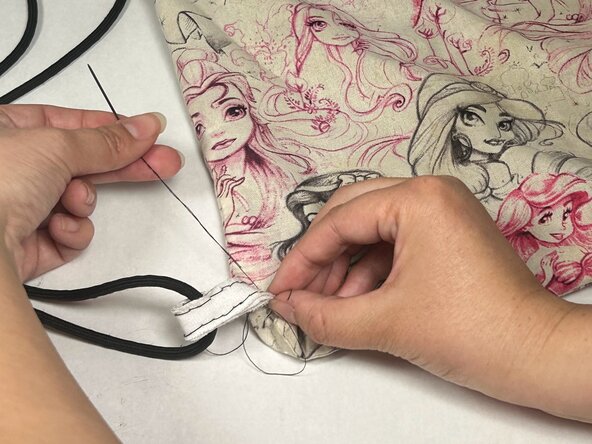
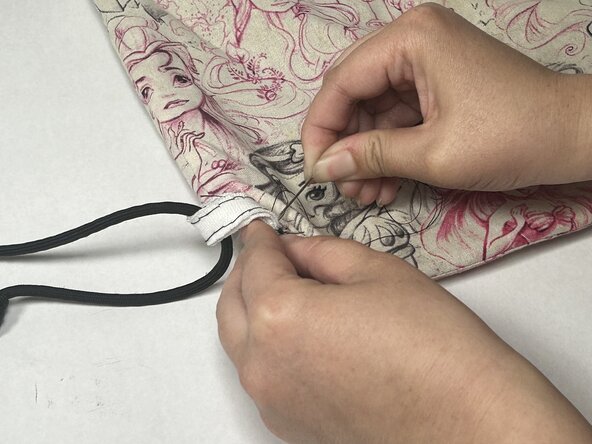
    • Using the whipstitch technique, sew it to the bag from the outside ensuring the stitches are along the seam.

    • Carefully handle the needle to avoid accidental punctures or injury. Use a thimble if needed.

  8. Drawstring Bag Tab Replacement: 手順 8、 2の画像 1 Drawstring Bag Tab Replacement: 手順 8、 2の画像 2
    • Now you have a working drawstring bag!

ゴール

作成者

3人の作成者と共同で作成されました。

Ava Overton

メンバー登録日: 02/19/25

157 ポイント

1ガイドが承認済み

チーム

UC Davis, Team 3-1, Andersen Winter 2025 UC Davis, Team 3-1, Andersen Winter 2025人のメンバー

UCD-ANDERSEN-W25S3G1

3 メンバー

1のガイドは作成済み

0件のガイドコメント

コメントを追加

統計データ:

過去 24時間: 2

過去 7 日: 7

過去 30 日: 18

今までの合計 321