はじめに
This guide will assist the user in the screen replacement process.
必要な工具と部品
-
-
-
Remove the two screws from the top of the tablet as shown in the figure using a J0 philips head bit.
 FixBotに聞いてみる
-
-
-
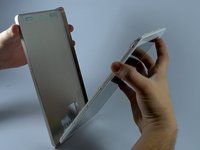
Use the large plastic opening tool to separate the back cover from the device. Wedge the sharp end of the tool into the crack and use leverage to further separate the back cover from the device.
-
Still holding pressure on the opening tool, slowly and carefully slide the tool along the gap to separate it further. You should hear slight snapping as it comes apart. Work your way around all sides until the cover is able to be removed.
-
-
-
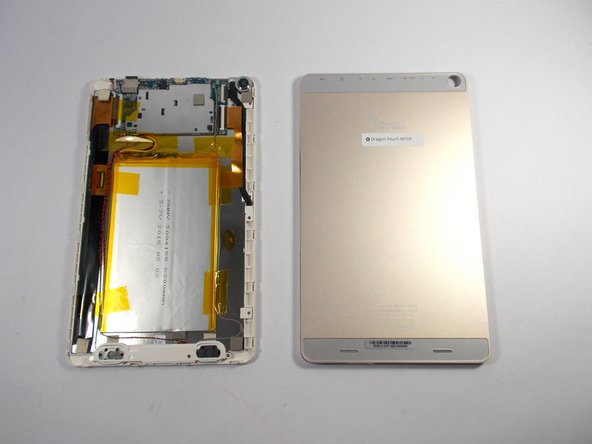
Using your hands and the separating tool, remove the back cover from the device.
-
-
-
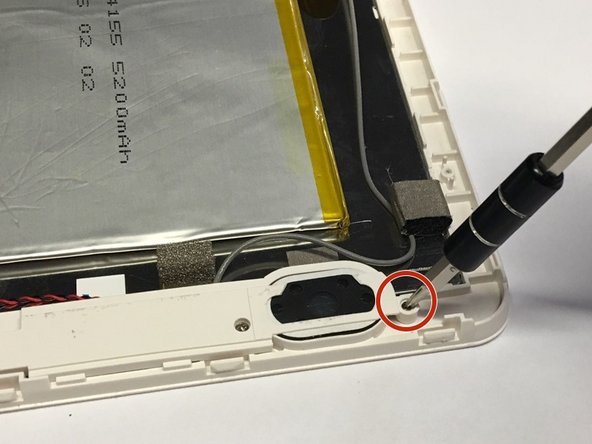
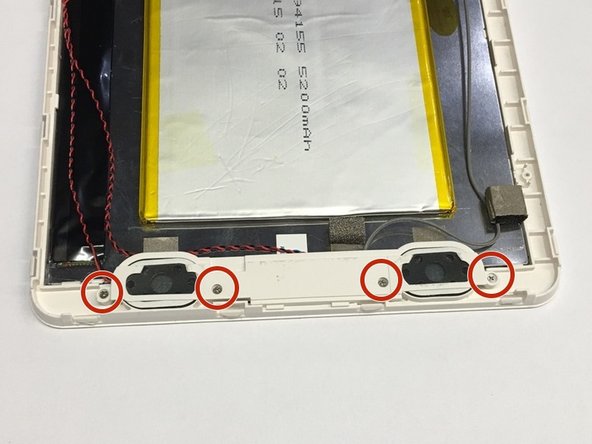
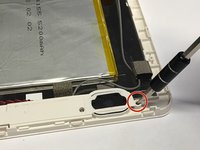
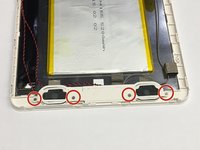
Using a J0 phillips head bit, remove the four 1mm screws from the speaker cover. Remove the cover and all four screws.
-
-
-
-
Using a plastic opening tool, carefully peel off the yellow tape holding the battery in place.
-
-
-
The battery is held onto the surface with a strong epoxy. The battery can be bent easily so extreme care must be taken in removing it from the surface. A plastic opening tool must be used to loosen the battery from the surface.
-
Once it is loose, it may be fully separated by using either your hands or the plastic opening tool.
-
-
-
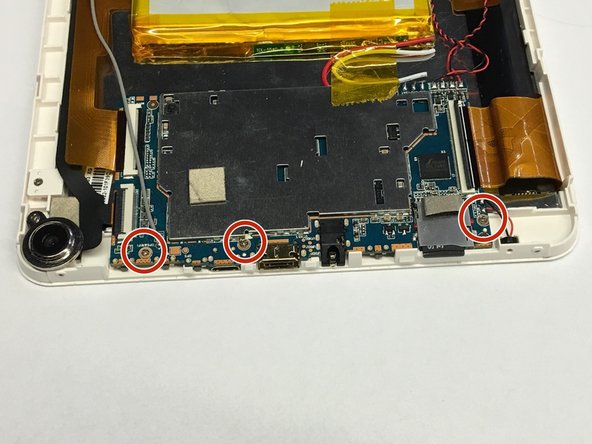
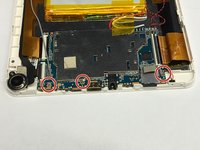
Using a J0 phillips head bit unscrew the three 1 mm screws from the motherboard as shown. Remove all three and place them aside.
-
-
この手順で使用する道具:Tweezers$4.99
-
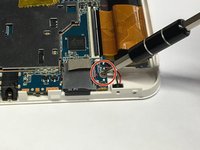
Using a plastic opening tool, lift up the latch that secures the right side of the motherboard to the screen's ribbon cable.
-
Using tweezers remove the screen's ribbon cable from the motherboard.
-
-
-
Using a plastic opening tool, lift up the latch that secures the left side of the motherboard to the screen's ribbon cable.
-
Using tweezers remove the screen's ribbon cable from the motherboard.
-
-
-
Completely remove the conjoined battery, speakers, and motherboard from the device.
-
-
-
Once all components have been cleared out, you can pry the corners of the device screen away from the LCD panel using a plastic opening tool. Work your way around until it is loose enough to remove.
-
-






To reassemble your device, follow these instructions in reverse order.
3 の人々がこのガイドを完成させました。

チーム

UMass Dartmouth, Team 4-7, Catania Spring 2016 UMass Dartmouth, Team 4-7, Catania Spring 2016人のメンバー
UMASSD-CATANIA-S16S4G7
3 メンバー
8のガイドは作成済み
