はじめに
This guide has been updated by iFixit staff! Read the new, official guide here.
必要な工具と部品
-
手順1 Battery
注意: 手順 1-2 は、作業進行中としてマークされている ガイド から引用されています。
-
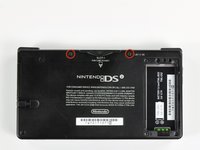
Loosen the two screws on the battery panel. Then lift the panel up to remove it.
-
-
-
Two screws are hidden underneath two rubber feet highlighted in red.
-
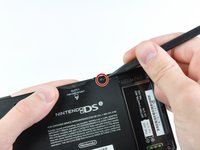
Use the tip of a spudger to pry the rubber feet out of the lower case.
-
-
-
-
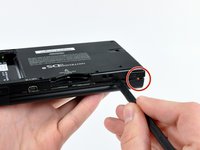
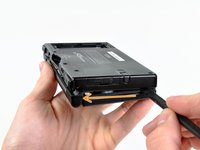
Insert the spudger in between the lower casing and lower panel near the top right corner of the DSi.
-
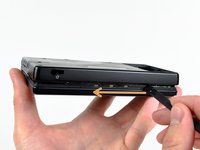
Carefully run the spudger along the edge of the outer casing, creating an opening between the body and the casing.
-
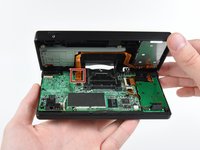
Continue running the spudger around the body of the DSi until the majority of the lower case has been separated.
-
-
-
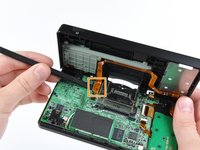
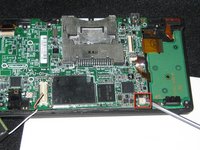
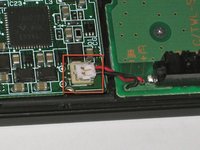
The connector is two pieces -- a white "male" piece (connected to the wires), and a beige "female" part (soldered to the main board).
-
There is a small "notch" in the female part, to give you a place to insert a small flat-head screwdriver. Put the corner of your screwdriver in there, and twist it gently to push the white part up (away from the main board). Do not try to pull it to the right (towards the battery board).
-


To reassemble your device, follow these instructions in reverse order.
To reassemble your device, follow these instructions in reverse order.
2 の人々がこのガイドを完成させました。
