はじめに
Samsung Captivate Glideは、比較的簡単に分解・修理ができるデバイスです。必要なドライバーの先端は1種類のみで、各パーツはモジュール化されており、簡単に交換可能です。Samsung Captivateと構造が似ていますが、Samsung Captivate Glideはその名の通りスライド式のQWERTYキーボードを搭載しています。
必要な工具と部品
-
-
-
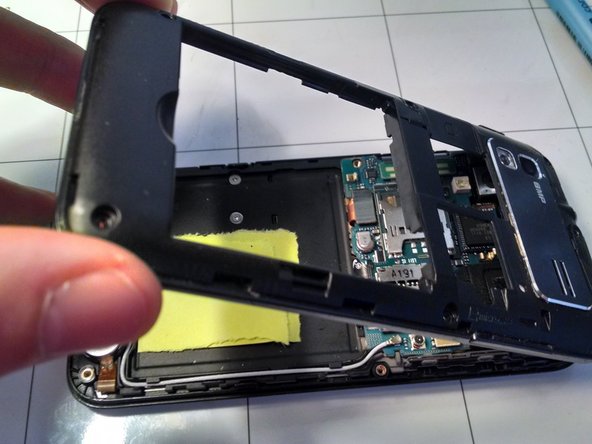
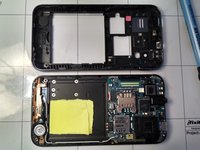
背面パネルはプラスチック製の成形クリップで固定されています。オープニングツールを指定された位置に差し込み、上にこじ開けて背面パネルを浮かせます。
-
次に、より幅の広いプラスチック製のオープニングツールを使用してハウジングの外側をこじ開けると、背面パネルがきれいに取り外せます。
-
-
-
-
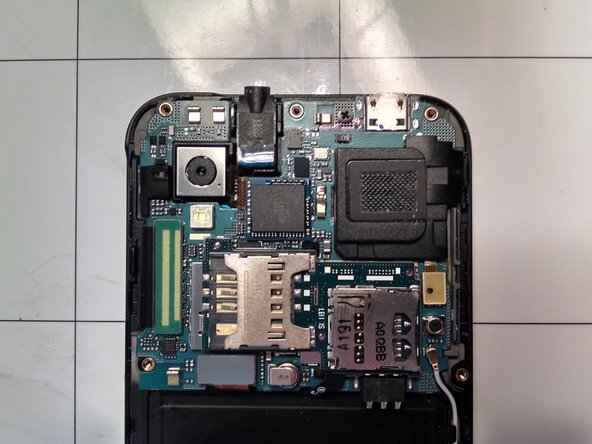
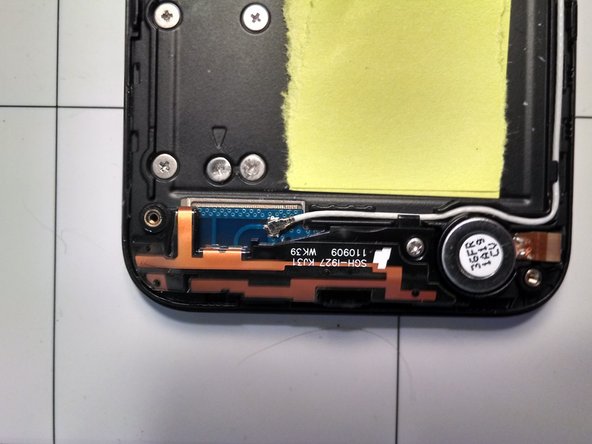
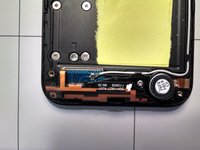
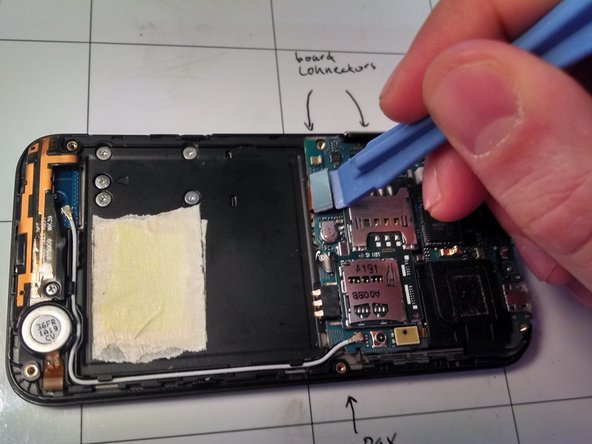
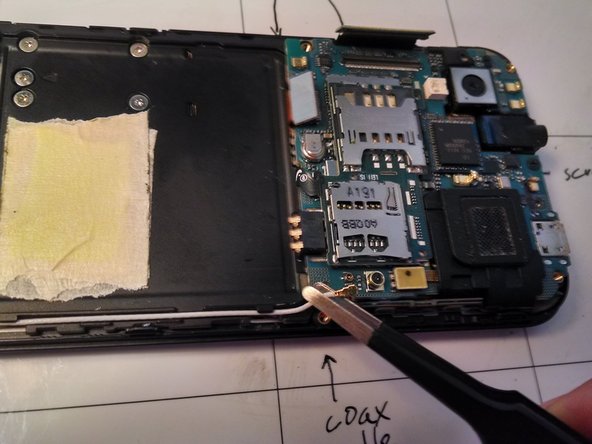
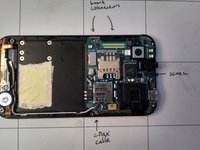
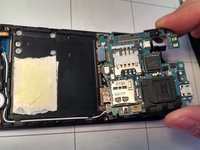
マザーボードを外すには、プラスドライバー #00 を使用してネジを1本取り外し、ボード上の2つのコネクタを慎重に上にこじ開け、最後に同軸ケーブルを引き抜きます。
-
-
-
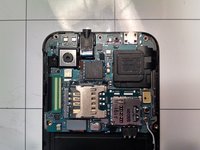
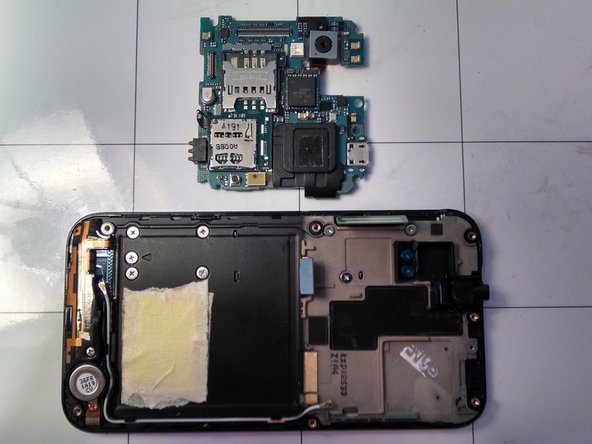
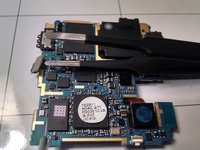
マザーボードのモジュール部品は、必要に応じて簡単に取り外して交換できます。
-
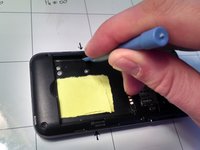
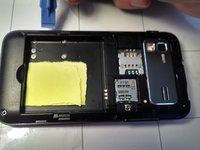
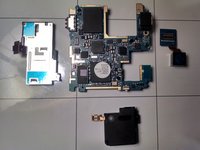
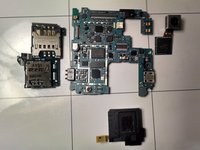
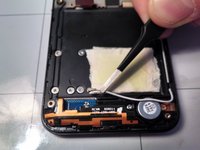
まず、SIMカードとmicroSDカードを搭載したドーターボードを外します。ボードに接続されている1つのポップコネクタを外してから、ドーターボードを慎重に上にこじ開けると取り外せます。ドーターボードは、プレス加工された金属製のボードレベルシールドケージによってマザーボードに固定されています。
-
-
-
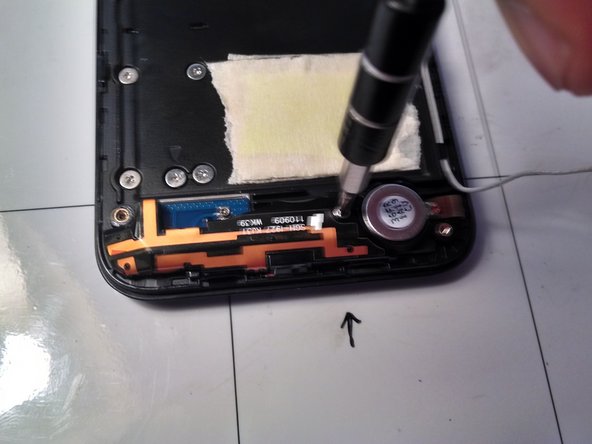
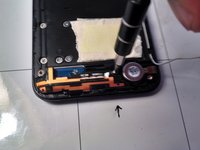
アンテナモジュールは、同軸ケーブルとプラスネジ1本(#00)を外すことで取り外せます。
-
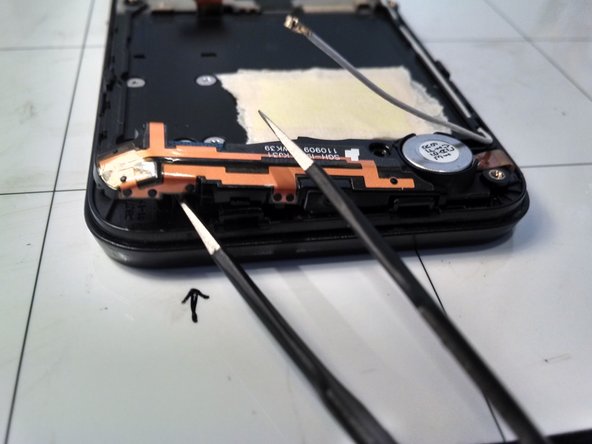
示された位置からアンテナモジュールを上にこじ上げます。
-


デバイスを再組み立てするには、これらのインストラクションを逆の順番に従って作業を進めてください。
3 の人々がこのガイドを完成させました。
以下の翻訳者の皆さんにお礼を申し上げます:
100%

Translation Botさんは世界中で修理する私たちを助けてくれています! あなたも貢献してみませんか?
翻訳を始める ›