メインコンテンツにスキップ
リペアコミュニティに参加 - アカウントの作成

Disassembling Over-Ear Headphone Sennheiser HD4199

必要な工具と部品

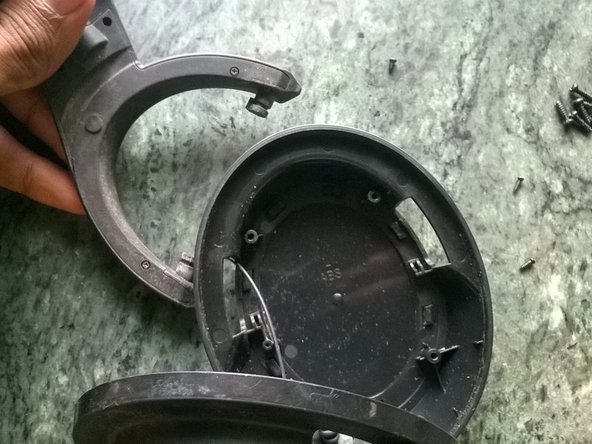
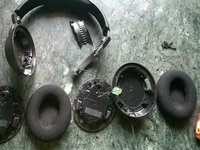
    1. Disassembling Over-Ear Headphone Sennheiser HD4199, Disassembling Over-Ear Headphone Sennheiser HD4199: 手順 1、 3の画像 1 Disassembling Over-Ear Headphone Sennheiser HD4199, Disassembling Over-Ear Headphone Sennheiser HD4199: 手順 1、 3の画像 2 Disassembling Over-Ear Headphone Sennheiser HD4199, Disassembling Over-Ear Headphone Sennheiser HD4199: 手順 1、 3の画像 3
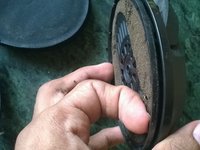
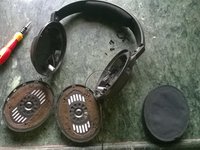
      • Use two or three fingers slowly pull the cushion.

      • Caution: go gently and try not to apply too much force.

      FixBotに聞いてみる

      コメントを追加

    2. Disassembling Over-Ear Headphone Sennheiser HD4199: 手順 2、 2の画像 1 Disassembling Over-Ear Headphone Sennheiser HD4199: 手順 2、 2の画像 2
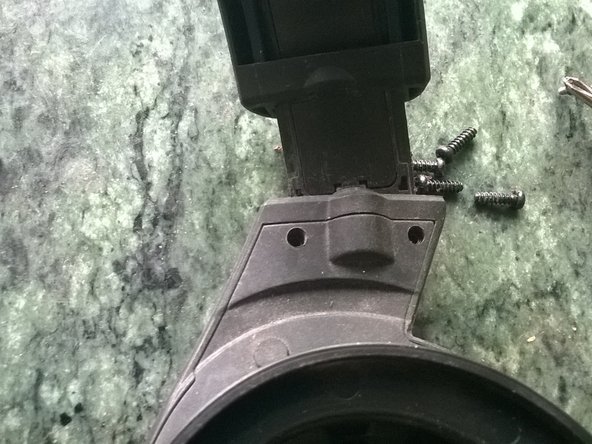
      • By feel, locate 4 screws under the foam, 2 each side.

      • Scrap away just sufficient foam in order to be able to remove the screws, and remove them.

      FixBotに聞いてみる

      コメントを追加

    3. Disassembling Over-Ear Headphone Sennheiser HD4199: 手順 3、 2の画像 1 Disassembling Over-Ear Headphone Sennheiser HD4199: 手順 3、 2の画像 2
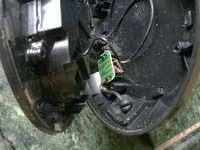
      • The speaker assembly is now held in the shell just be a number of tabs around the edges. Gently prise it out from these tabs and remove it.

      • Take care not to strain the wires.

      • On reassembly, make sure the headband fork is correctly positioned otherwise it will be impossible locate the speaker faceplate correctly in the shell.

      • Also on reassembly, make sure the speaker face plate is secured behind all the tabs.

      FixBotに聞いてみる

      コメントを追加

    4. Disassembling Over-Ear Headphone Sennheiser HD4199: 手順 4、 2の画像 1 Disassembling Over-Ear Headphone Sennheiser HD4199: 手順 4、 2の画像 2
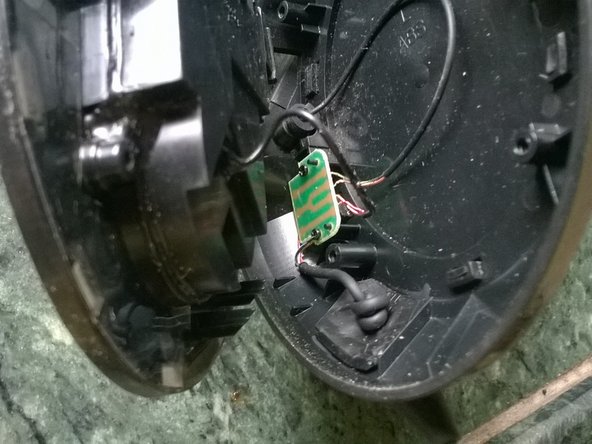
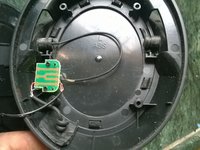
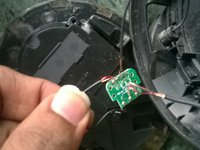
      • On the right side connection are made via a small printed circuit board. Remove 2 screws in order to remove this for re-soldering or replacement of any of the wires.

      • On replacing this circuit board, take care to ensure that it's both the right way round and the right way up

      • If you are replacing the main lead with the jack plug on the end, make sure that you have suitable strain relief to prevent the lead pulling on the soldered connections.

      • The wire colours are:

      • Right: Red

      • Left: Green

      • Common (Ground): Gold.

      FixBotに聞いてみる

      コメントを追加

    5. Disassembling Over-Ear Headphone Sennheiser HD4199: 手順 5、 2の画像 1 Disassembling Over-Ear Headphone Sennheiser HD4199: 手順 5、 2の画像 2
      • Insert wisdom here.

      FixBotに聞いてみる

      コメントを追加

    6. Disassembling Over-Ear Headphone Sennheiser HD4199: 手順 6、 3の画像 1 Disassembling Over-Ear Headphone Sennheiser HD4199: 手順 6、 3の画像 2 Disassembling Over-Ear Headphone Sennheiser HD4199: 手順 6、 3の画像 3
      • Insert wisdom here.

      FixBotに聞いてみる

      コメントを追加

終わりに

To reassemble your device, follow these instructions in reverse order.

Camera used : lumia 520

キャンセル: このガイドを終了できませんでした。

7 の人々がこのガイドを完成させました。

作成者

6人の作成者と共同で作成されました。

forevergoku

メンバー登録日: 11/29/14

307 ポイント

1ガイドが承認済み

1件のガイドコメント

Hola Buenas, gracias por las fotos y la información. Te quiero hacer una consulta por si me puedes ayudar, quiero instalar un circuito de Bluetooth a los cascos, lo pondría entre el cable de salida del jack y el circuito verde? Supongo que el circuito sirve para unir los cables de ambos altavoces en una sola salida.

Muchas gracias de antemano

Marcos Riol González - 返信 共有

コメントを追加

統計データ:

過去 24時間: 2

過去 7 日: 18

過去 30 日: 68

今までの合計 12,628