メインコンテンツにスキップ
リペアコミュニティに参加 - アカウントの作成

Disassembling Motorola i90c Logic Board

必要な工具と部品

    1. Disassembling Motorola i90c Logic Board, Battery: 手順 1、 3の画像 1 Disassembling Motorola i90c Logic Board, Battery: 手順 1、 3の画像 2 Disassembling Motorola i90c Logic Board, Battery: 手順 1、 3の画像 3
      • Slide the notch downward while pulling the back cover off to remove it.

      FixBotに聞いてみる

      コメントを追加

    2. Disassembling Motorola i90c Logic Board: 手順 2、 3の画像 1 Disassembling Motorola i90c Logic Board: 手順 2、 3の画像 2 Disassembling Motorola i90c Logic Board: 手順 2、 3の画像 3
      • Use your fingers to push the battery upward from the bottom.

      • Lift upwards to remove the battery.

      FixBotに聞いてみる
      コメントを追加

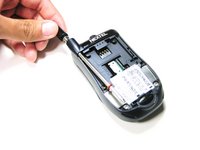
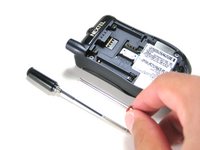
    1. Disassembling Motorola i90c Logic Board, Antenna: 手順 3、 2の画像 1 Disassembling Motorola i90c Logic Board, Antenna: 手順 3、 2の画像 2
      • Unscrew the antenna in a counter-clockwise fashion.

      • Remove the aluminum cover.

      FixBotに聞いてみる
      コメントを追加

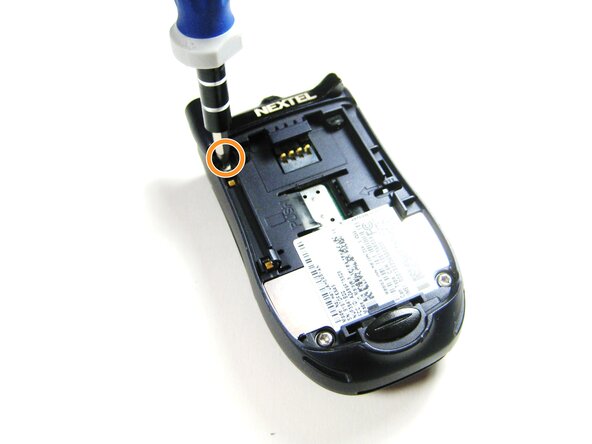
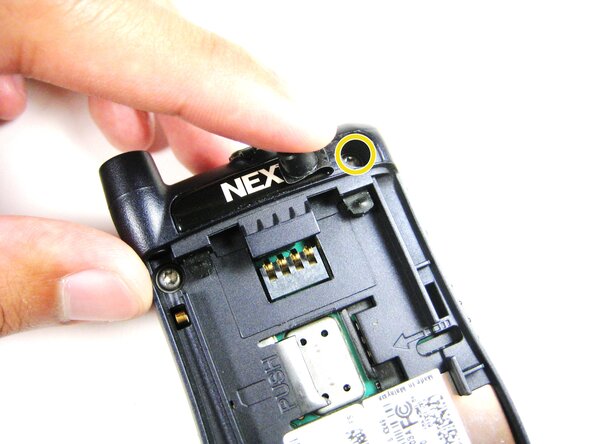
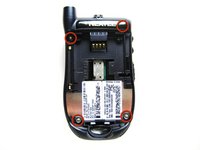
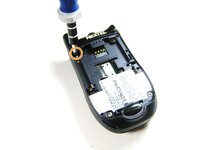
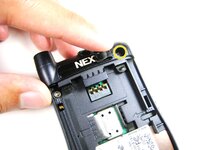
    1. Disassembling Motorola i90c Logic Board, Midframe: 手順 4、 3の画像 1 Disassembling Motorola i90c Logic Board, Midframe: 手順 4、 3の画像 2 Disassembling Motorola i90c Logic Board, Midframe: 手順 4、 3の画像 3
      • Unscrew the 3 screws shown.

      • Lift the right part of the Nextel logo

      • Remove the screw underneath.

      FixBotに聞いてみる
      コメントを追加

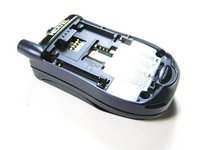
    2. Disassembling Motorola i90c Logic Board: 手順 5、 2の画像 1 Disassembling Motorola i90c Logic Board: 手順 5、 2の画像 2
      • Forcing the cover off could damage the ribbon cable, so be careful when doing so.

      • Gently lift the back cover off.

      FixBotに聞いてみる

      コメントを追加

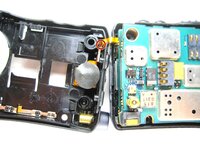
    3. Disassembling Motorola i90c Logic Board: 手順 6、 3の画像 1 Disassembling Motorola i90c Logic Board: 手順 6、 3の画像 2 Disassembling Motorola i90c Logic Board: 手順 6、 3の画像 3
      • Find the connection between the headphone jack and logic board.

      • Begin separating the two pieces, slowly and carefully.

      FixBotに聞いてみる

      コメントを追加

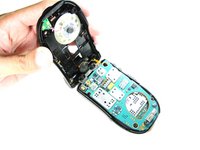
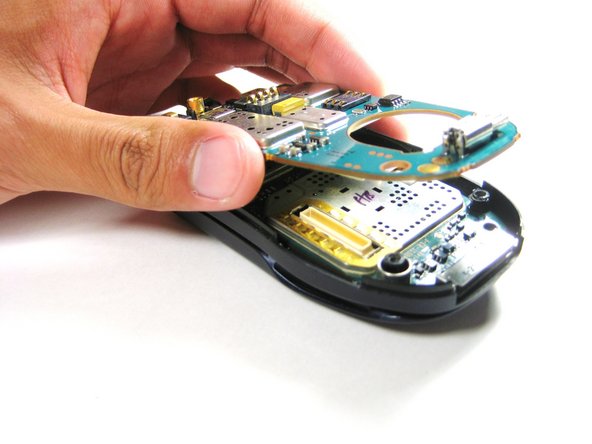
    1. Disassembling Motorola i90c Logic Board, Logic Board: 手順 7、 2の画像 1 Disassembling Motorola i90c Logic Board, Logic Board: 手順 7、 2の画像 2
      • Lift the first logic board off of the rest of the device.

      FixBotに聞いてみる
      コメントを追加

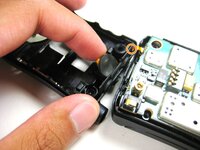
    2. Disassembling Motorola i90c Logic Board: 手順 8、 1の画像 1
      • Gently lift the second logic board from the rest of the device.

      • DO NOT force the board straight off as it could damage the ribbon cable!

      FixBotに聞いてみる

      コメントを追加

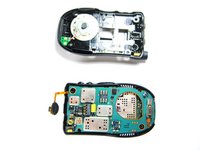
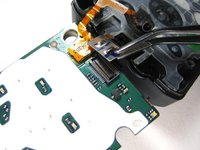
    3. Disassembling Motorola i90c Logic Board: 手順 9、 2の画像 1 Disassembling Motorola i90c Logic Board: 手順 9、 2の画像 2
      この手順で使用する道具:
      Tweezers
      $4.99
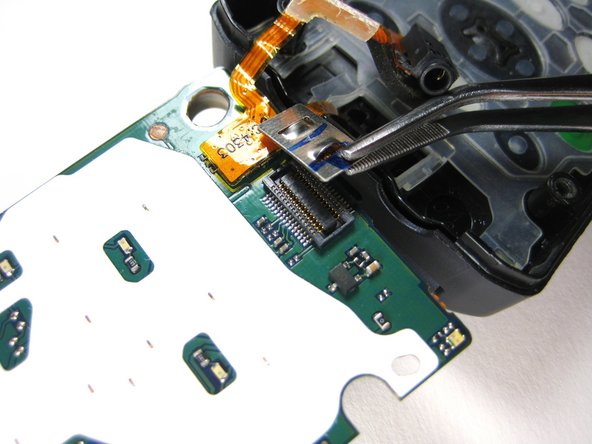
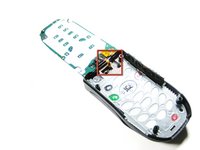
      • Using tweezers, carefully pull off the connector shown.

      FixBotに聞いてみる
      コメントを追加

終わりに

To reassemble your device, follow these instructions in reverse order.

キャンセル: このガイドを終了できませんでした。

作成者

6人の作成者と共同で作成されました。

Grant Glazebrook

メンバー登録日: 04/14/10

7 ポイント

2のガイドは作成済み

チーム

Cal Poly, Team 29-61, Johann Spring 2010 Cal Poly, Team 29-61, Johann Spring 2010人のメンバー

CPSU-JOHANN-S10S29G61

4 メンバー

18のガイドは作成済み

0件のガイドコメント

コメントを追加

統計データ:

過去 24時間: 0

過去 7 日: 9

過去 30 日: 40

今までの合計 1,332