メインコンテンツにスキップ
リペアコミュニティに参加 - アカウントの作成

必要な工具と部品

この分解は修理ガイドでは ありません。 お持ちのMotorola ES400を修理する際は、iFixitの修理ガイドをご利用ください。

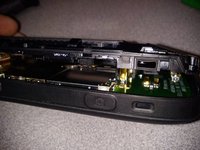
  1. Disassembling Motorola ES400, Logic Board: 手順 1、 2の画像 1 Disassembling Motorola ES400, Logic Board: 手順 1、 2の画像 2
    • Take the battery cover and battery out of the device and put the unit on its front.

    FixBotに聞いてみる

    コメントを追加

  2. Disassembling Motorola ES400: 手順 2、 2の画像 1 Disassembling Motorola ES400: 手順 2、 2の画像 2
    • Remove a total of 6 T5 torx screws

    FixBotに聞いてみる

    コメントを追加

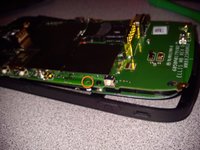
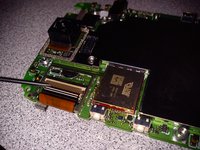
  3. Disassembling Motorola ES400: 手順 3、 3の画像 1 Disassembling Motorola ES400: 手順 3、 3の画像 2 Disassembling Motorola ES400: 手順 3、 3の画像 3
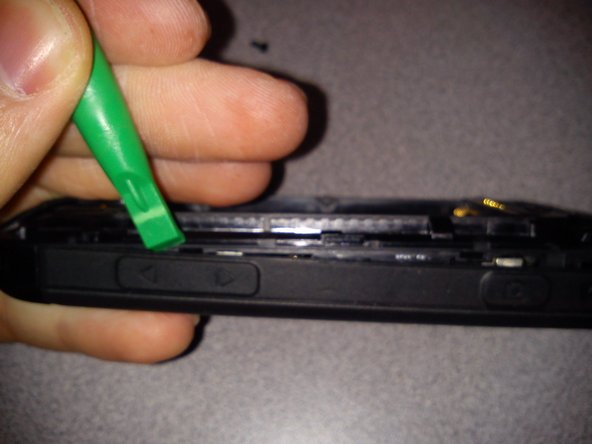
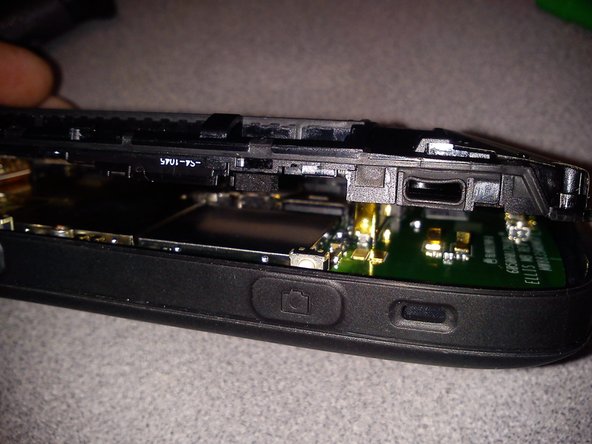
    • After all 6 screws have been removed, start by using a plastic pry tool to separate the back panel from the side frame.

    • Continue along the side near the volume buttons slowly seperating the back panel from the frame.

    • Once the back panel has been seperated from the frame slowly take it off, being careful not to break any plastic parts/clips.

    • Keep track of your screws.

    FixBotに聞いてみる
    コメントを追加

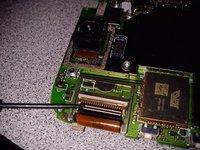
  4. Disassembling Motorola ES400: 手順 4、 1の画像 1
    • Remove the back panel and set it aside.

    FixBotに聞いてみる
    コメントを追加

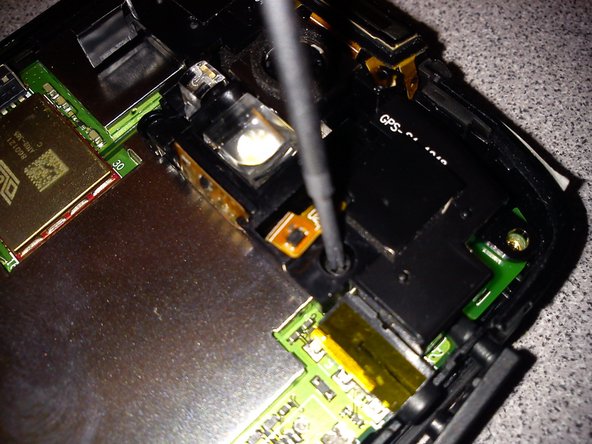
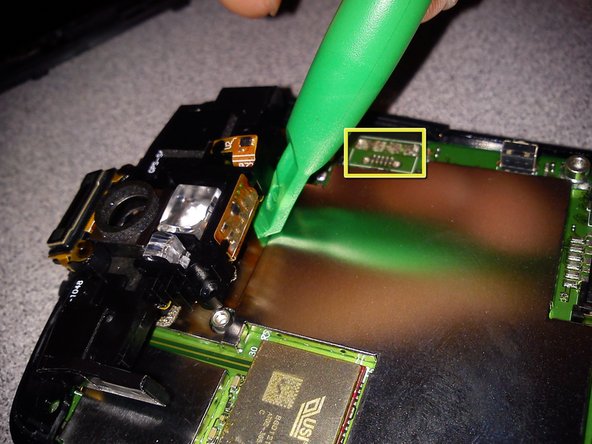
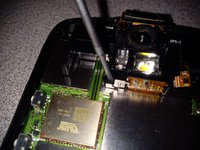
  5. Disassembling Motorola ES400: 手順 5、 3の画像 1 Disassembling Motorola ES400: 手順 5、 3の画像 2 Disassembling Motorola ES400: 手順 5、 3の画像 3
    • Unscrew the 2 Philips head (+) screws to remove the camera flash module.

    • This unit has a broken micro usb charging port.

    FixBotに聞いてみる

    コメントを追加

  6. Disassembling Motorola ES400: 手順 6、 1の画像 1
    • After the camera module has been removed pull up any tape covering the digitizer flex cable.

    • Flip up the plastic lever and then slowly nudge the flex cable out of the socket.

    FixBotに聞いてみる

    コメントを追加

  7. Disassembling Motorola ES400: 手順 7、 1の画像 1
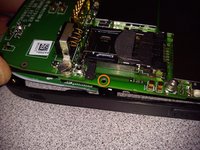
    • Near the memory card slot on the right side carefully lift the logic board over the finger to release the logic board from the frame.

    FixBotに聞いてみる

    コメントを追加

  8. Disassembling Motorola ES400: 手順 8、 1の画像 1
    • On the left side carefully lift the logic board over the finger to release the logic board from the frame.

    FixBotに聞いてみる

    コメントを追加

  9. Disassembling Motorola ES400: 手順 9、 1の画像 1
    • After all the fingers and clips have been released/removed, use a plastic prying tool to carefully pry the logic board out of the frame.

    FixBotに聞いてみる

    コメントを追加

  10. Disassembling Motorola ES400: 手順 10、 2の画像 1 Disassembling Motorola ES400: 手順 10、 2の画像 2
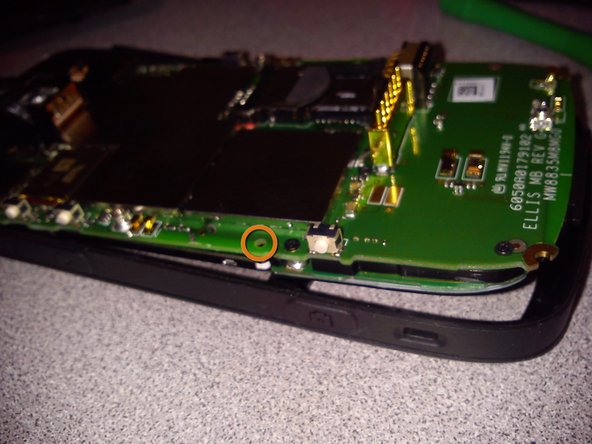
    • Slowly lift the logic board out of the frame starting at the bottom of the phone.

    • (Fingers are released shown in orange)

    FixBotに聞いてみる

    コメントを追加

  11. Disassembling Motorola ES400: 手順 11、 1の画像 1
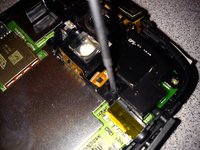
    • Pry off metal cap to remove shielding to access LCD flex cable.

    FixBotに聞いてみる

    コメントを追加

  12. Disassembling Motorola ES400: 手順 12、 2の画像 1 Disassembling Motorola ES400: 手順 12、 2の画像 2
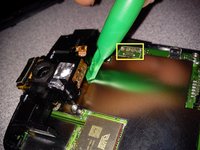
    • Use a flat head screwdriver to flip up the FPC connector.

    • Once the plastic flipper has been flipped, slowly nudge the flex cable out of the socket.

    FixBotに聞いてみる

    コメントを追加

  13. Disassembling Motorola ES400: 手順 13、 1の画像 1
    • Slowly lift the LCD from the logic board

    • Be mindful of double-sided tape on the backside of the LCD holding the mainboard to the screen.

    • Always handle the LCD with care so you do not crack it or apply any finger prints to the face of the LCD

    FixBotに聞いてみる

    コメントを追加

  14. Disassembling Motorola ES400: 手順 14、 1の画像 1
    • Lay all the parts out so you can easily see what needs replacing or repairing.

    FixBotに聞いてみる

    コメントを追加

作成者

1人の作成者と共同作成されました。

Jordan Wires

メンバー登録日: 07/28/11

141 ポイント

1ガイドが承認済み

1件のガイドコメント

This disassembly guide was provided by Wires Computing Electronics Repair. for help with any repairs in Burlington Vermont please visit: www.wirescomputing.com

Wires Computing Repairs - 返信 共有

コメントを追加

統計データ:

過去 24時間: 0

過去 7 日: 6

過去 30 日: 23

今までの合計 6,373