メインコンテンツにスキップ

Disassembling HTC Touch Pro CDMA Verizon Basic Parts

必要条件のみ
この修理ガイドは、他のガイドの前提条件として使用されます。それ自体は不完全で、単独で使用されることはありません。

必要な工具と部品

  1. Disassembling HTC Touch Pro CDMA Verizon Basic Parts, Battery: 手順 1、 1の画像 1
    • Remove the back cover (not pictured) to your phone.

  2. Disassembling HTC Touch Pro CDMA Verizon Basic Parts: 手順 2、 2の画像 1 Disassembling HTC Touch Pro CDMA Verizon Basic Parts: 手順 2、 2の画像 2
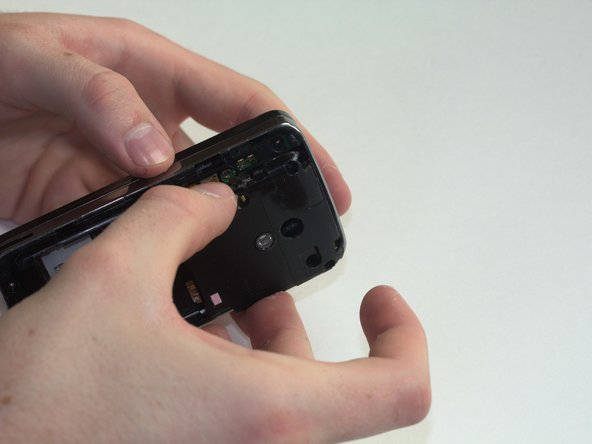
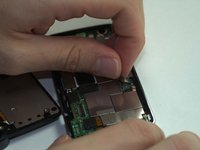
    • To remove the battery, place your thumb beneath the tab and begin to lift.

    • Pinching the battery, lift up at an angle from the bottom of the phone.

  3. Disassembling HTC Touch Pro CDMA Verizon Basic Parts, Basic Parts: 手順 3、 1の画像 1
    • Place the battery in a container off to the side. If you do this for every step beyond this point, you will keep better track of your parts and make reassembling the device far easier when you get around to it.

    • It might not be necessary, but we recommend using an anti-static bracelet or anti-static mat from this point on. Any charge on your finger tips may cause harm to the device.

  4. Disassembling HTC Touch Pro CDMA Verizon Basic Parts: 手順 4、 3の画像 1 Disassembling HTC Touch Pro CDMA Verizon Basic Parts: 手順 4、 3の画像 2 Disassembling HTC Touch Pro CDMA Verizon Basic Parts: 手順 4、 3の画像 3
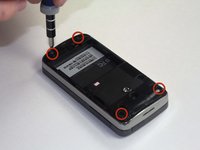
    • Use a T6 screwdriver to remove the four screws on the rear plate of the HTC Touch Pro.

    • Place your screws in a bag labeled with where they came from, what screwdriver you used, and the order in which you removed them. For example, this bag would say "Rear casing. T6. #1."

  5. Disassembling HTC Touch Pro CDMA Verizon Basic Parts: 手順 5、 3の画像 1 Disassembling HTC Touch Pro CDMA Verizon Basic Parts: 手順 5、 3の画像 2 Disassembling HTC Touch Pro CDMA Verizon Basic Parts: 手順 5、 3の画像 3
    • Next, remove the casing that covers the camera and motherboard.

    • To do this, place your thumbnail in any of the grooves along either side and pry it open.

  6. Disassembling HTC Touch Pro CDMA Verizon Basic Parts: 手順 6、 2の画像 1 Disassembling HTC Touch Pro CDMA Verizon Basic Parts: 手順 6、 2の画像 2
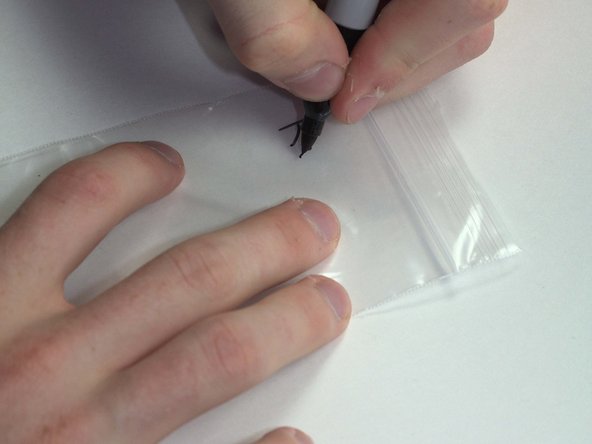
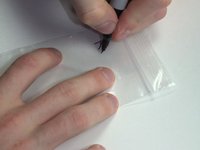
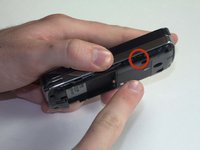
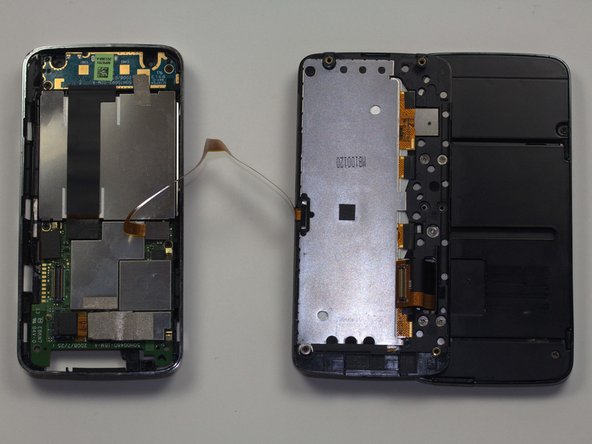
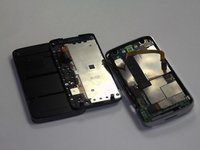
    • Insert your spudger along the slit between the keyboard and the external casing. Pry open as shown.

    • Careful! The ribbon connecting the keyboard to the motherboard will still connect the two halves of the phone when you separate them. Be sure to take your time and move slowly to avoid damage to the cable.

  7. Disassembling HTC Touch Pro CDMA Verizon Basic Parts: 手順 7、 3の画像 1 Disassembling HTC Touch Pro CDMA Verizon Basic Parts: 手順 7、 3の画像 2 Disassembling HTC Touch Pro CDMA Verizon Basic Parts: 手順 7、 3の画像 3
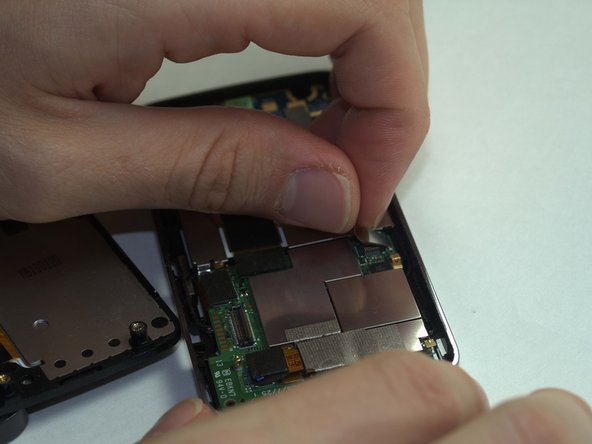
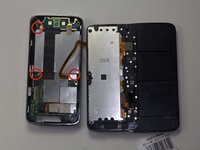
    • Remove the keyboard ribbon from the motherboard. To do this, simply grasp the ribbon at its base and pry it up at an angle. The ribbon has a metal end that is easily removed from the motherboard.

  8. Disassembling HTC Touch Pro CDMA Verizon Basic Parts: 手順 8、 3の画像 1 Disassembling HTC Touch Pro CDMA Verizon Basic Parts: 手順 8、 3の画像 2 Disassembling HTC Touch Pro CDMA Verizon Basic Parts: 手順 8、 3の画像 3
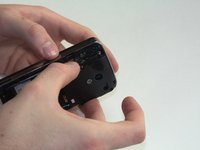
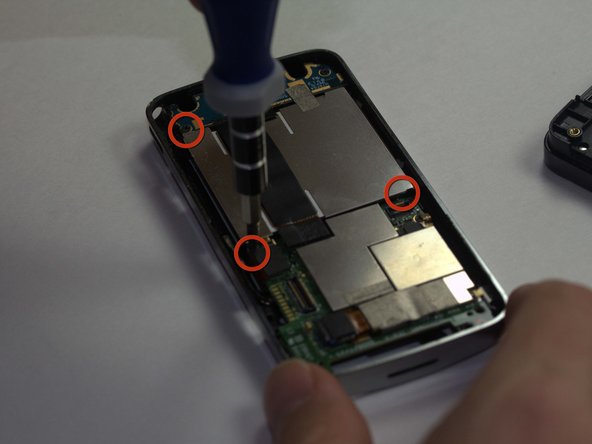
    • Using a Phillips Head size 0 screwdriver, remove the 3 screws holding in the battery compartment.

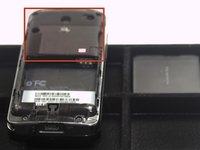
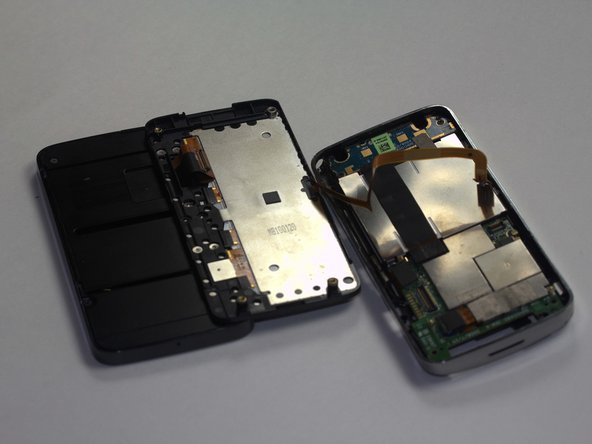
    • Remove the ribbon covering the battery compartment by pinching it at the base and lifting.

終わりに

To reassemble your device, follow these instructions in reverse order.

作成者

8人の作成者と共同で作成されました。

Jack Bowen

メンバー登録日: 04/09/11

79 ポイント

5のガイドは作成済み

チーム

Cal Poly, Team 20-67, Walters Spring 2011 Cal Poly, Team 20-67, Walters Spring 2011人のメンバー

CPSU-WALTERS-S11S20G67

4 メンバー

10のガイドは作成済み

0 件のコメント

コメントを追加

統計データ:

過去 24時間: 0

過去 7 日: 4

過去 30 日: 8

今までの合計 1,599