はじめに
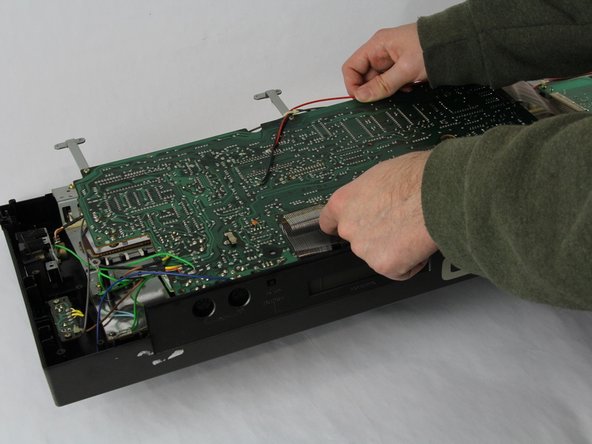
Many Casio CZ-1000 troubleshooting symptoms require opening up the back plate of the digital synthesizer. Inside the keyboard, a number of components are located under the two main motherboards. In this guide, we take you step by step through how to open up the back plate and remove the two main motherboards, giving access to the components below.
必要な工具と部品
-
-
-
Use a Phillips #1 screwdriver to remove the eleven 7.5 mm screws securing the back plate.
 FixBotに聞いてみる
-
-
-
-
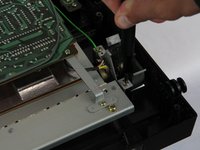
Using a Phillips #1 screwdriver, remove all 14 5.5 mm screws from the two motherboards.
-
-
-
Carefully cut the zip tie located in the right-hand corner using a pair of scissors or wire cutters.
-
Gently slide all the plugs out of their sockets.
-
-






To reassemble your device, follow these instructions in reverse order.

チーム

Cuesta, Team 60-3, Krynen Fall 2024 Cuesta, Team 60-3, Krynen Fall 2024人のメンバー
CUESTA-KRYNEN-F24S60G3
4 メンバー
5のガイドは作成済み
