はじめに
This guide will help users properly and safely disassemble their Dell XPS M140 laptop to reach the LCD (Liquid Crystal Display). Users will be able to see which exact step-wise components they will have to remove in order to gain access to the LCD screen.
必要な工具と部品
-
-
-
-
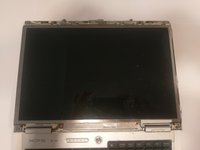
The plastic casing around the screen has a gray rubber circle, lining the perimeter of the casing.
-
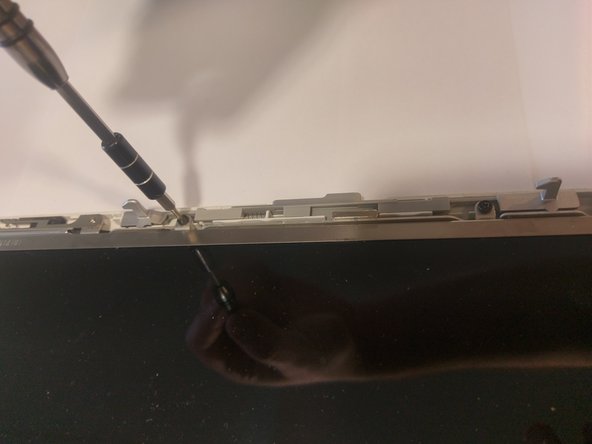
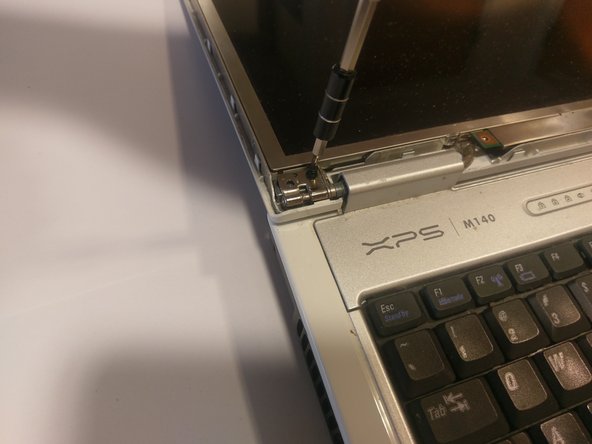
Remove the casing by peeling them off. This will expose the screws underneath.
-
-
-
-
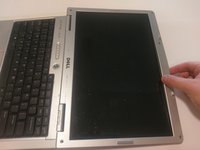
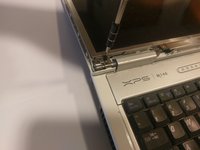
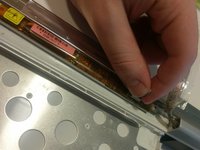
With care, pop off the plastic clips sourrounding the casing.
-
Run your hand, or a tool, around the perimeter, to remove the casing.
-
-
-
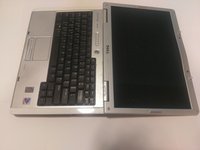
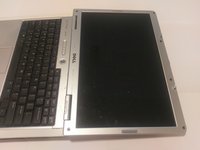
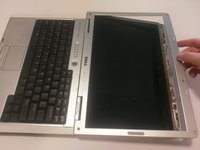
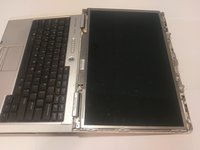
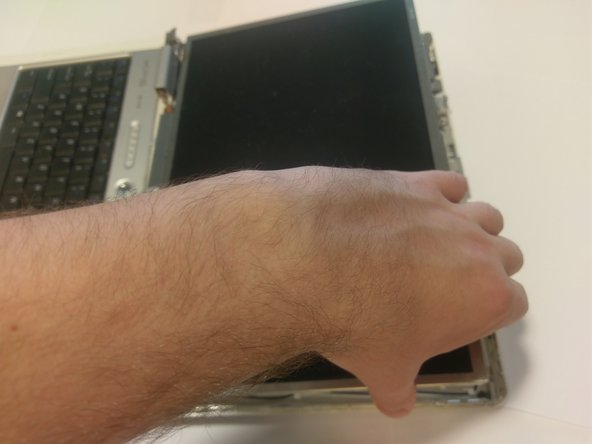
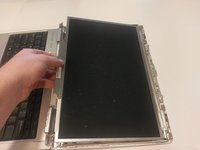
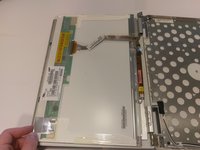
Once all of the screws are removed, the screen should be loose.
-
Gently pick it up and place it face down onto the keyboard.
-
-
-
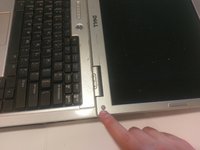
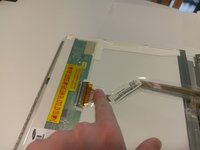
There should be two connections.
-
One with a blue looking handle, and one with clips.
-
To remove the connection with the clips, squeeze the two clips together and pull the ribbon cable.
-
To remove the connection with the blue handle, gently pull on the blue handle, it should come right off.
-
-


To reassemble your device, follow these instructions in reverse order.
チーム

UMass Dartmouth, Team S9-G5, Martin Spring 2017 UMass Dartmouth, Team S9-G5, Martin Spring 2017人のメンバー
UMASSD-MARTIN-S17S9G5
4 メンバー
5のガイドは作成済み