メインコンテンツにスキップ
リペアコミュニティに参加 - アカウントの作成

Dell XPS M140 CPU Heatsink Replacement

必要な工具と部品

    1. Dell XPS M140 CPU Heatsink Replacement, Battery: 手順 1、 1の画像 1
      • Turn over the laptop.

      FixBotに聞いてみる

      コメントを追加

    2. Dell XPS M140 CPU Heatsink Replacement: 手順 2、 3の画像 1 Dell XPS M140 CPU Heatsink Replacement: 手順 2、 3の画像 2 Dell XPS M140 CPU Heatsink Replacement: 手順 2、 3の画像 3
      • Open the slide lock and pull out the battery.

      FixBotに聞いてみる

      コメントを追加

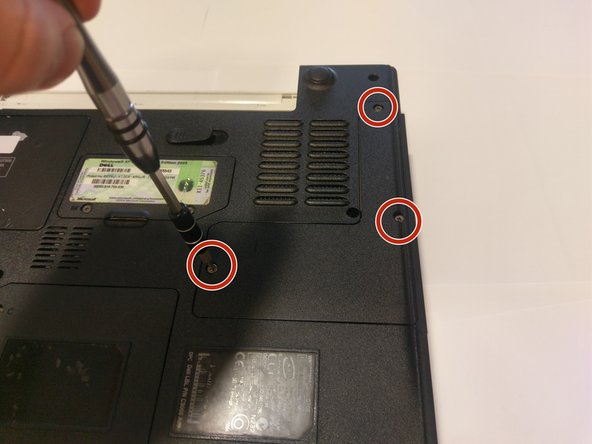
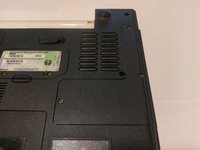
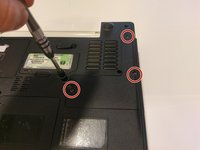
    1. Dell XPS M140 CPU Heatsink Replacement, CPU Heatsink: 手順 3、 2の画像 1 Dell XPS M140 CPU Heatsink Replacement, CPU Heatsink: 手順 3、 2の画像 2
      • Unscrew all of the screws on the underside of the computer that hold the cooling module cover in place and remove the cover.

      FixBotに聞いてみる

      コメントを追加

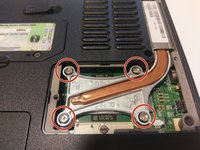
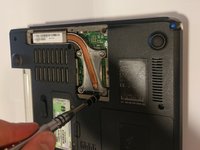
    2. Dell XPS M140 CPU Heatsink Replacement: 手順 4、 2の画像 1 Dell XPS M140 CPU Heatsink Replacement: 手順 4、 2の画像 2
      • Unscrew the screws holding the metal bracket in place.

      FixBotに聞いてみる

      コメントを追加

    3. Dell XPS M140 CPU Heatsink Replacement: 手順 5、 1の画像 1
      • Carefully remove the bracket and the module it is attached to.

      FixBotに聞いてみる

      コメントを追加

    4. Dell XPS M140 CPU Heatsink Replacement: 手順 6、 1の画像 1
      • The inside should look like this after the bracket and module are removed:

      FixBotに聞いてみる

      コメントを追加

終わりに

To reassemble your device, follow these instructions in reverse order.

キャンセル: このガイドを終了できませんでした。

ある他の人がこのガイドを完成しました。

作成者

5人の作成者と共同で作成されました。

Brian Dougenik

メンバー登録日: 03/20/17

322 ポイント

2のガイドは作成済み

チーム

UMass Dartmouth, Team S9-G5, Martin Spring 2017 UMass Dartmouth, Team S9-G5, Martin Spring 2017人のメンバー

UMASSD-MARTIN-S17S9G5

4 メンバー

55のガイドは作成済み

0件のガイドコメント

コメントを追加

統計データ:

過去 24時間: 1

過去 7 日: 5

過去 30 日: 28

今までの合計 524