メインコンテンツにスキップ
リペアコミュニティに参加 - アカウントの作成

Dell Inspiron B130 Fan Replacement

必要な工具と部品

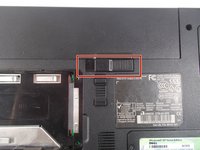
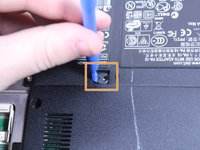
  1. Dell Inspiron B130 Fan Replacement, Battery: 手順 1、 3の画像 1 Dell Inspiron B130 Fan Replacement, Battery: 手順 1、 3の画像 2 Dell Inspiron B130 Fan Replacement, Battery: 手順 1、 3の画像 3
    • First, make sure your computer is turned off.

    • Remove the battery by flipping the two switches under the battery and pulling it out

    FixBotに聞いてみる
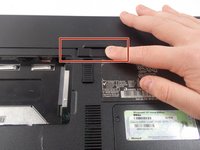
  2. Dell Inspiron B130 Fan Replacement: 手順 2、 3の画像 1 Dell Inspiron B130 Fan Replacement: 手順 2、 3の画像 2 Dell Inspiron B130 Fan Replacement: 手順 2、 3の画像 3
    • Push the tab from the battery, downwards to unlock the battery.

    • The tab should be in the position next to the unlocked indicator.

    FixBotに聞いてみる
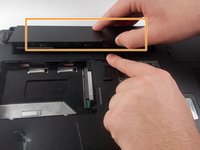
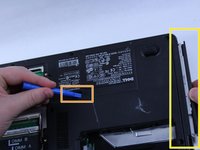
  3. Dell Inspiron B130 Fan Replacement: 手順 3、 3の画像 1 Dell Inspiron B130 Fan Replacement: 手順 3、 3の画像 2 Dell Inspiron B130 Fan Replacement: 手順 3、 3の画像 3
    • Now, push the other tab (the one right under the battery) from right to left.

    • Now the battery will be loose; lift the battery up and out of the computer.

    FixBotに聞いてみる
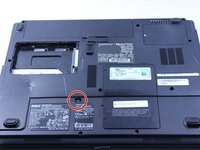
  4. Dell Inspiron B130 Fan Replacement, Disk Drive: 手順 4、 3の画像 1 Dell Inspiron B130 Fan Replacement, Disk Drive: 手順 4、 3の画像 2 Dell Inspiron B130 Fan Replacement, Disk Drive: 手順 4、 3の画像 3
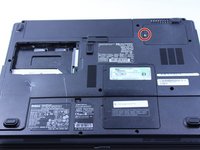
    • Remove the 8mm screw

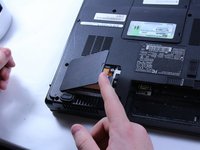
    • Use the plastic opening tool to push out the disk drive.

    • Pull the disk drive out with the opposite hand.

    FixBotに聞いてみる
  5. Dell Inspiron B130 Fan Replacement: 手順 5、 1の画像 1
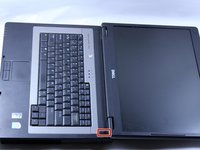
    • You can now remove the disk drive.

    FixBotに聞いてみる
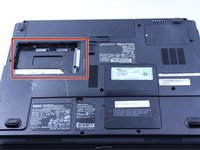
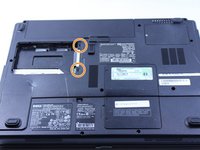
  6. Dell Inspiron B130 Fan Replacement, Hard Drive: 手順 6、 3の画像 1 Dell Inspiron B130 Fan Replacement, Hard Drive: 手順 6、 3の画像 2 Dell Inspiron B130 Fan Replacement, Hard Drive: 手順 6、 3の画像 3
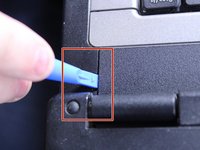
    • This particular computer is missing its hard drive.

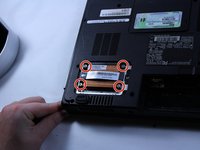
    • Remove the two screws.

    • Remove the plastic cover by lifting from the groove as indicated.

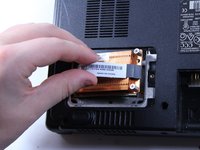
    • Remove the hard drive from the computer by lifting up and out.

    FixBotに聞いてみる
  7. Dell Inspiron B130 Fan Replacement, Keyboard: 手順 7、 1の画像 1
    • Put down the computer and open up the screen.

    • There is a long piece of plastic underneath the screen that you will have to remove.

    FixBotに聞いてみる
  8. Dell Inspiron B130 Fan Replacement: 手順 8、 3の画像 1 Dell Inspiron B130 Fan Replacement: 手順 8、 3の画像 2 Dell Inspiron B130 Fan Replacement: 手順 8、 3の画像 3
    • When you pry the plastic plate off, be careful and pry gently so you do not crack the plastic.

    • Insert the plastic opening tool into the little slot.

    • Lift up gently and remove the plastic cover.

    FixBotに聞いてみる
  9. Dell Inspiron B130 Fan Replacement: 手順 9、 1の画像 1
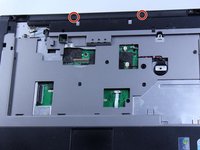
    • Remove the two 4mm screws at the top of the keyboard.

    • The keyboard is now loose but don't pull it out just yet. It is still connected underneath. Be gentle when lifting keyboard so you do not damage this connection.

    FixBotに聞いてみる
  10. Dell Inspiron B130 Fan Replacement: 手順 10、 2の画像 1 Dell Inspiron B130 Fan Replacement: 手順 10、 2の画像 2
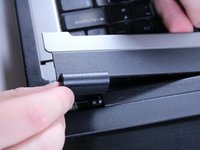
    • Lift keyboard up slightly and you will see the keyboard connection.

    • This black tab has to be lifted up to remove the keyboard.

    • Put your finger underneath the tab and pull back gently as indicated.

    • You can now remove the keyboard.

    FixBotに聞いてみる
  11. Dell Inspiron B130 Fan Replacement, Screen: 手順 11、 2の画像 1 Dell Inspiron B130 Fan Replacement, Screen: 手順 11、 2の画像 2
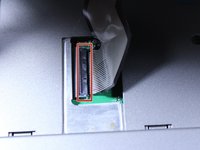
    • Detach the blue display connector.

    FixBotに聞いてみる
  12. Dell Inspiron B130 Fan Replacement: 手順 12、 2の画像 1 Dell Inspiron B130 Fan Replacement: 手順 12、 2の画像 2
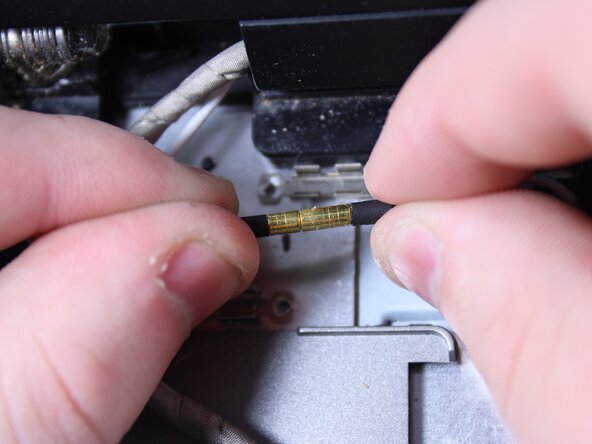
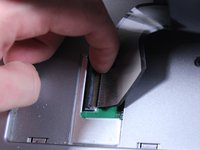
    • Detach the connector by pulling the two ends straight apart.

    • Avoid twisting or pulling at an angle to prevent damage.

    FixBotに聞いてみる
  13. Dell Inspiron B130 Fan Replacement: 手順 13、 1の画像 1
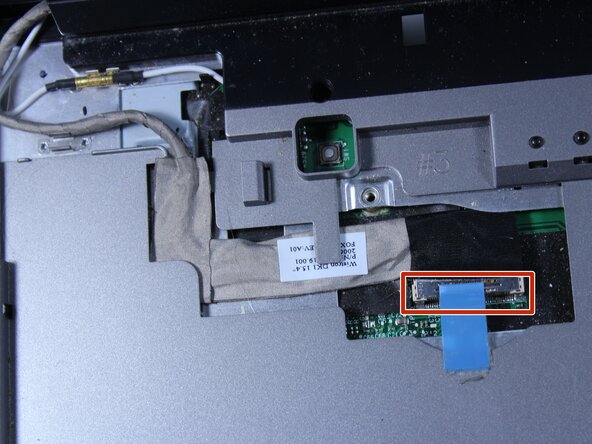
    • Use a Phillips #1 screwdriver to remove two 6 mm screws.

    FixBotに聞いてみる
  14. Dell Inspiron B130 Fan Replacement: 手順 14、 2の画像 1 Dell Inspiron B130 Fan Replacement: 手順 14、 2の画像 2
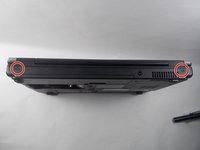
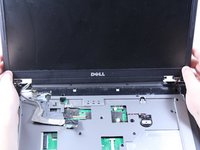
    • Close the computer and flip it over so that the back is facing up.

    • Remove the two 6mm screws that are behind each of the screen's pivot points using a Phillips #1 screwdriver.

    • Open up the screen and now it can be lifted up and off of the computer.

    FixBotに聞いてみる
  15. Dell Inspiron B130 Fan Replacement, CPU: 手順 15、 2の画像 1 Dell Inspiron B130 Fan Replacement, CPU: 手順 15、 2の画像 2
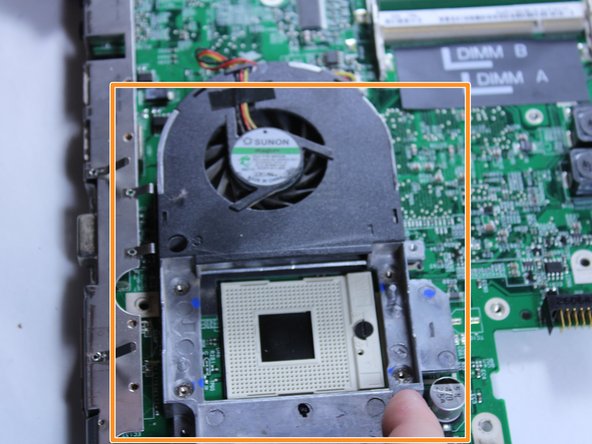
    • Remove the 6 mm screw.

    • Lift the plastic cover off.

    FixBotに聞いてみる
  16. Dell Inspiron B130 Fan Replacement: 手順 16、 2の画像 1 Dell Inspiron B130 Fan Replacement: 手順 16、 2の画像 2
    • Loosen the 4 screws.

    • These screws stay connected to the heat sink.

    • Remove the heat sink from the computer.

    FixBotに聞いてみる
  17. Dell Inspiron B130 Fan Replacement: 手順 17、 1の画像 1
    • Use a flat head screwdriver to turn the screw one quarter turn into the unlock position.

    • Remove the CPU.

    FixBotに聞いてみる
  18. Dell Inspiron B130 Fan Replacement, RAM and Wireless: 手順 18、 2の画像 1 Dell Inspiron B130 Fan Replacement, RAM and Wireless: 手順 18、 2の画像 2
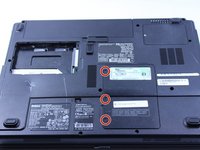
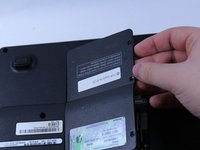
    • Remove the three 6mm screws.

    • Lift the plastic cover off to reveal the RAM and the Wireless.

    FixBotに聞いてみる
  19. Dell Inspiron B130 Fan Replacement: 手順 19、 3の画像 1 Dell Inspiron B130 Fan Replacement: 手順 19、 3の画像 2 Dell Inspiron B130 Fan Replacement: 手順 19、 3の画像 3
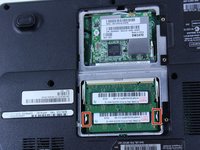
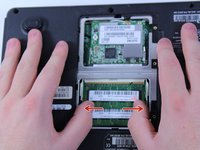
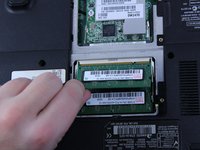
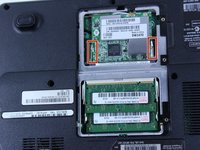
    • To remove the RAM, push outward against the metal brackets.

    • The first RAM will pop up so you can just pull it right out.

    • Repeat the first step again to remove the second RAM chip.

    • Installation is the reverse of removal.

    FixBotに聞いてみる
  20. Dell Inspiron B130 Fan Replacement: 手順 20、 2の画像 1 Dell Inspiron B130 Fan Replacement: 手順 20、 2の画像 2
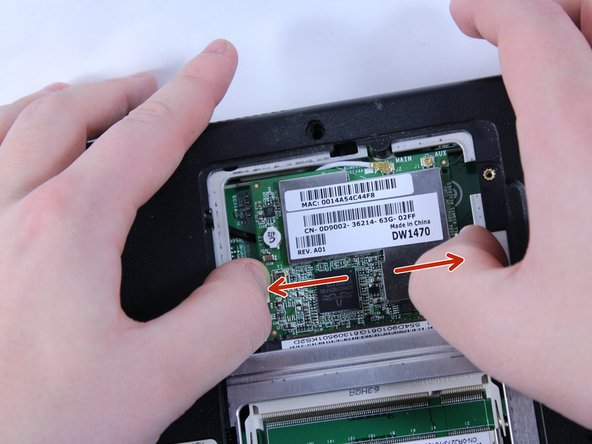
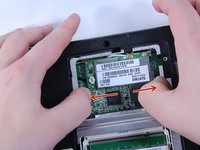
    • To remove the wireless chip, push outward on its two metal brackets.

    • Do not remove the chip just yet, the wire that connects this chip must first be removed.

    FixBotに聞いてみる
  21. Dell Inspiron B130 Fan Replacement: 手順 21、 2の画像 1 Dell Inspiron B130 Fan Replacement: 手順 21、 2の画像 2
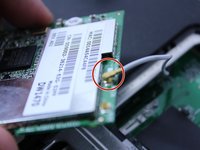
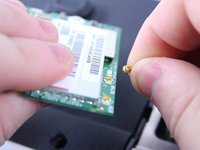
    • To remove the wire, hold the wireless chip firmly and pull the connection straight up off of the chip.

    FixBotに聞いてみる
  22. Dell Inspiron B130 Fan Replacement, Motherboard: 手順 22、 2の画像 1 Dell Inspiron B130 Fan Replacement, Motherboard: 手順 22、 2の画像 2
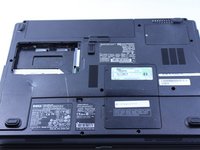
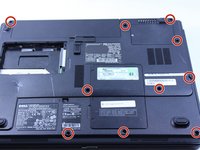
    • Use a Phillips #0 screwdriver to remove the twelve 8mm screws from the bottom of the laptop.

    • The picture shows everything still installed in the computer. At this point, the CPU, RAM, battery, hard drive and wireless chip should all be removed.

    FixBotに聞いてみる
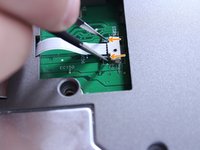
  23. Dell Inspiron B130 Fan Replacement: 手順 23、 2の画像 1 Dell Inspiron B130 Fan Replacement: 手順 23、 2の画像 2
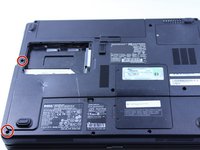
    • Turn the laptop over so that the keyboard side is facing up.

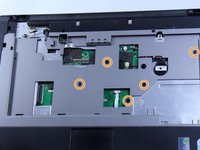
    • Remove the two 4mm screws positioned just below where the screen would be using a Phillips #0 screwdriver.

    • Remove the five remaining 6mm screws.

    FixBotに聞いてみる
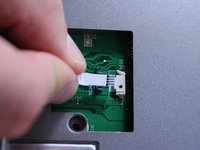
  24. Dell Inspiron B130 Fan Replacement: 手順 24、 2の画像 1 Dell Inspiron B130 Fan Replacement: 手順 24、 2の画像 2
    この手順で使用する道具:
    Tweezers
    $4.99
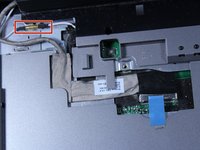
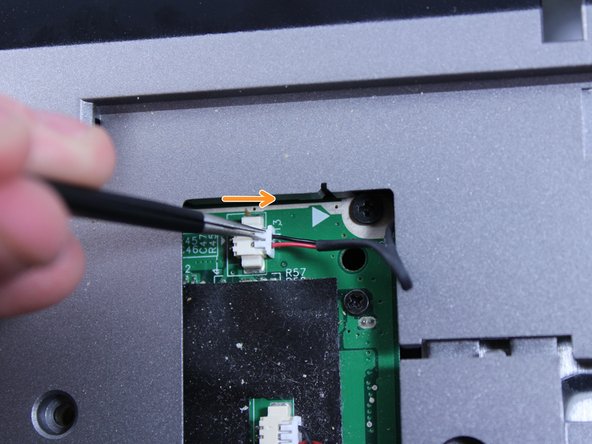
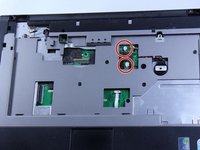
    • Disconnect the two connections carefully.

    • Do not pull by the wires! This can damage the connection. Use tweezers to grab by the white plastic piece and push outward.

    FixBotに聞いてみる
  25. Dell Inspiron B130 Fan Replacement: 手順 25、 3の画像 1 Dell Inspiron B130 Fan Replacement: 手順 25、 3の画像 2 Dell Inspiron B130 Fan Replacement: 手順 25、 3の画像 3
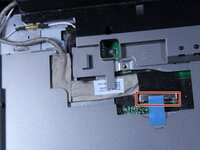
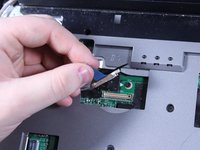
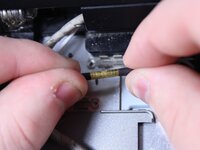
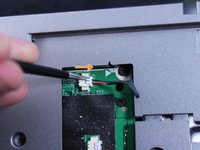
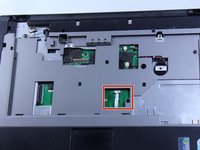
    • Disconnect this connection before proceeding.

    • Use tweezers to grab the small black connector and pull it straight back carefully. Avoid pulling on the wire directly, as this may cause damage to the connection.

    • You can now disconnect this wire.

    FixBotに聞いてみる
  26. Dell Inspiron B130 Fan Replacement: 手順 26、 3の画像 1 Dell Inspiron B130 Fan Replacement: 手順 26、 3の画像 2 Dell Inspiron B130 Fan Replacement: 手順 26、 3の画像 3
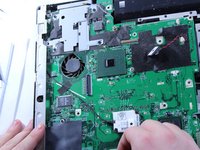
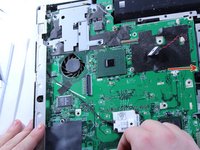
    • Lift and remove the entire cover/frame from the top of the motherboard. Gently pull up to detach it without using excessive force

    • Remove the motherboard by pulling it upward and sliding it to the right. Be careful not to damage any remaining connectors or components. If the motherboard feels stuck, double-check that all screws and cables have been disconnected.

    FixBotに聞いてみる
  27. Dell Inspiron B130 Fan Replacement, Fan: 手順 27、 3の画像 1 Dell Inspiron B130 Fan Replacement, Fan: 手順 27、 3の画像 2 Dell Inspiron B130 Fan Replacement, Fan: 手順 27、 3の画像 3
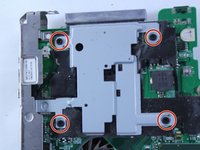
    • Remove these four 4 mm screws.

    • Turn the motherboard over and lift the fan up.

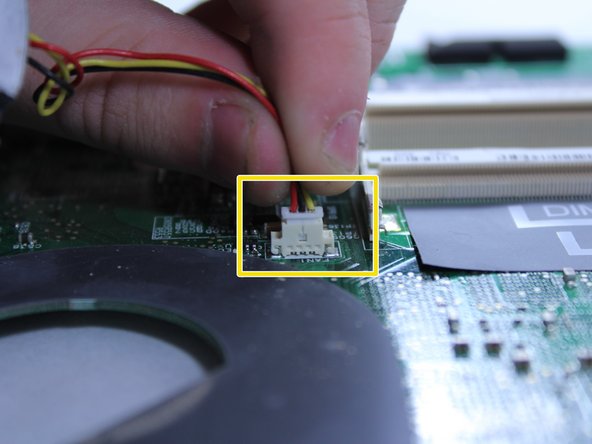
    • Disconnect the wire that connects the fan to the motherboard by pulling up gently.

    • You can now remove the fan.

    FixBotに聞いてみる
終わりに

To reassemble your device, follow these instructions in reverse order.

ある他の人がこのガイドを完成しました。

作成者

2人の作成者と共同で作成されました。

Patrick McNeil

メンバー登録日: 10/19/16

955 ポイント

8のガイドは作成済み

チーム

UMass Dartmouth, Team 1-8, Catania Fall 2016 UMass Dartmouth, Team 1-8, Catania Fall 2016人のメンバー

UMASSD-CATANIA-F16S1G8

3 メンバー

9のガイドは作成済み

0件のガイドコメント

コメントを追加

統計データ:

過去 24時間: 2

過去 7 日: 4

過去 30 日: 17

今までの合計 551