メインコンテンツにスキップ
リペアコミュニティに参加 - アカウントの作成

Dell Inspiron 9100 Optical Drive/Accessory Device Replacement

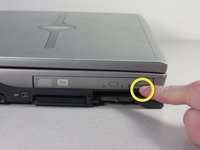
  1. Dell Inspiron 9100 Optical Drive/Accessory Device Replacement, Battery: 手順 1、 3の画像 1 Dell Inspiron 9100 Optical Drive/Accessory Device Replacement, Battery: 手順 1、 3の画像 2 Dell Inspiron 9100 Optical Drive/Accessory Device Replacement, Battery: 手順 1、 3の画像 3
    • Unplug the laptop from the power adapter and turn the power off.

    • Failure to unplug laptop before proceeding could result in risk of electric shock!

    FixBotに聞いてみる

    コメントを追加

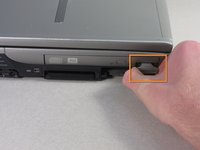
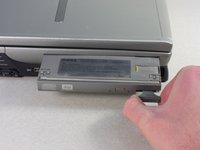
  2. Dell Inspiron 9100 Optical Drive/Accessory Device Replacement: 手順 2、 3の画像 1 Dell Inspiron 9100 Optical Drive/Accessory Device Replacement: 手順 2、 3の画像 2 Dell Inspiron 9100 Optical Drive/Accessory Device Replacement: 手順 2、 3の画像 3
    • Slide the battery-lock tab and hold.

    • Flip the battery away from the chassis to remove it.

    FixBotに聞いてみる

    コメントを追加

  3. Dell Inspiron 9100 Optical Drive/Accessory Device Replacement, Optical Drive/Accessory Device: 手順 3、 3の画像 1 Dell Inspiron 9100 Optical Drive/Accessory Device Replacement, Optical Drive/Accessory Device: 手順 3、 3の画像 2 Dell Inspiron 9100 Optical Drive/Accessory Device Replacement, Optical Drive/Accessory Device: 手順 3、 3の画像 3
    • Press the tab on the outside face of the optical drive to release a handle.

    • Pull the handle to eject the optical drive unit from the slot, and slide it out.

    FixBotに聞いてみる

    コメントを追加

終わりに

To reassemble your device, follow these instructions in reverse order.

キャンセル: このガイドを終了できませんでした。

作成者

6人の作成者と共同で作成されました。

charlierefvem

メンバー登録日: 01/11/11

854 ポイント

7のガイドは作成済み

チーム

Cal Poly, Team 13-2, Forte Winter 2011 Cal Poly, Team 13-2, Forte Winter 2011人のメンバー

CPSU-FORTE-W11S13G2

5 メンバー

8のガイドは作成済み

0件のガイドコメント

コメントを追加

統計データ:

過去 24時間: 1

過去 7 日: 6

過去 30 日: 37

今までの合計 2,561