メインコンテンツにスキップ
リペアコミュニティに参加 - アカウントの作成

Dell E193FPc Inverter Board Replacement

必要な工具と部品

    1. Dell E193FPc Inverter Board Replacement, Stand: 手順 1、 1の画像 1
      • Lay the monitor screen-down so the back screws are exposed.

      • Remove the four 11.9 mm Phillips #2 screws securing the stand to the back of the monitor.

      FixBotに聞いてみる
      コメントを追加

    2. Dell E193FPc Inverter Board Replacement: 手順 2、 1の画像 1
      • Gently lift and pull away the stand at a slight angle away from the monitor.

      FixBotに聞いてみる

      コメントを追加

    1. Dell E193FPc Inverter Board Replacement, Display Bezel: 手順 3、 2の画像 1 Dell E193FPc Inverter Board Replacement, Display Bezel: 手順 3、 2の画像 2
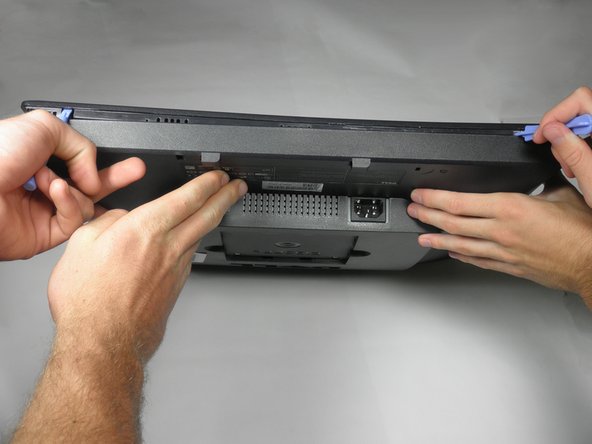
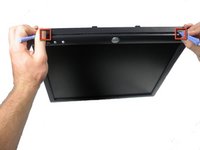
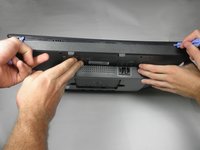
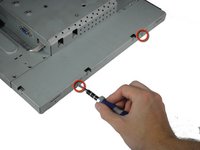
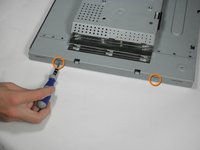
      • Locate the two holes on the bottom of the monitor.

      • Insert a plastic opening tool or spudger into the holes and gently pry the plastic apart along the groove.

      • This task is much easier if two people pry simultaneously at each hole.

      • Continue prying along the entire edge of the monitor.

      FixBotに聞いてみる
      コメントを追加

    2. Dell E193FPc Inverter Board Replacement: 手順 4、 2の画像 1 Dell E193FPc Inverter Board Replacement: 手順 4、 2の画像 2
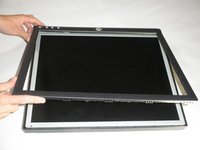
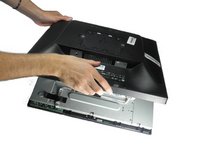
      • When finished prying, the plastic will partially fall away from the rest of the monitor.

      • Do not try to fully remove the front frame yet. The frame is still attached to the buttons.

      • While holding the frames together, carefully flip the monitor over so it faces screen down.

      • Gently lift and remove remove the rear case from the monitor.

      FixBotに聞いてみる
      コメントを追加

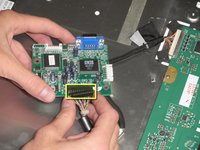
    3. Dell E193FPc Inverter Board Replacement: 手順 5、 3の画像 1 Dell E193FPc Inverter Board Replacement: 手順 5、 3の画像 2 Dell E193FPc Inverter Board Replacement: 手順 5、 3の画像 3
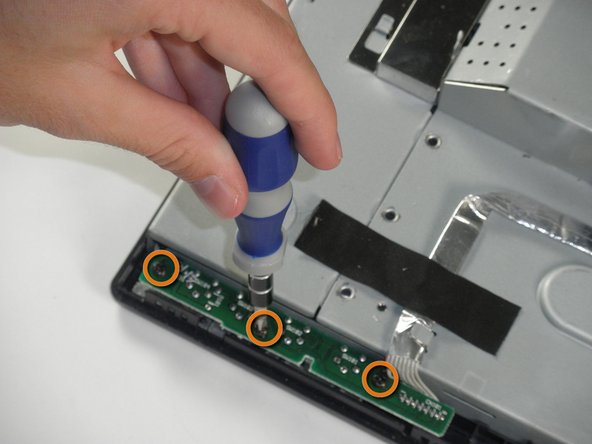
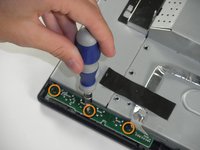
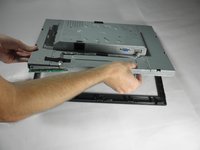
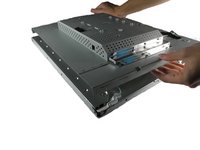
      • Locate the green interface button board.

      • Remove the three 9.71 mm Phillips #2 screws holding the interface button board to the display bezel.

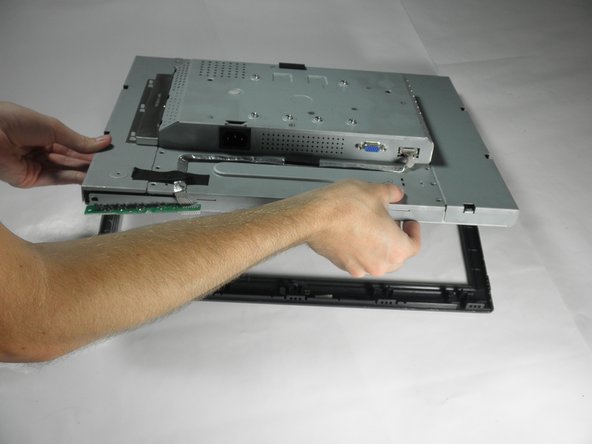
      • Lift the monitor interior away from the front cover.

      FixBotに聞いてみる
      コメントを追加

    1. Dell E193FPc Inverter Board Replacement, Inverter Board: 手順 6、 3の画像 1 Dell E193FPc Inverter Board Replacement, Inverter Board: 手順 6、 3の画像 2 Dell E193FPc Inverter Board Replacement, Inverter Board: 手順 6、 3の画像 3
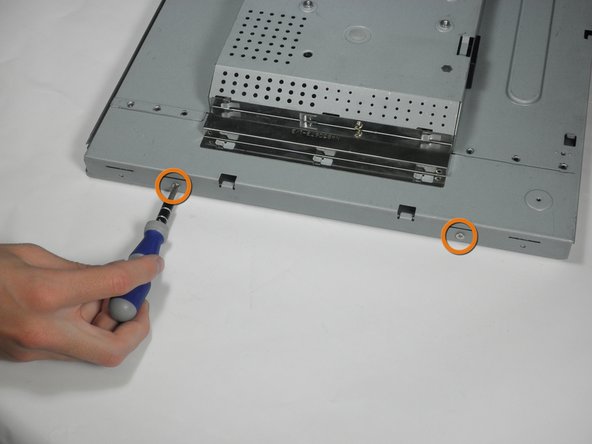
      • With the monitor facing down, remove the two 5.81 mm Phillips #2 screws on the right side of the metal casing.

      • With the monitor still facing down, remove the two 5.81 mm Phillips #2 screws on the left side of the casing.

      • Do attempt to pull apart the casing. There are still wires holding the front and back together.

      FixBotに聞いてみる

      コメントを追加

    2. Dell E193FPc Inverter Board Replacement: 手順 7、 1の画像 1
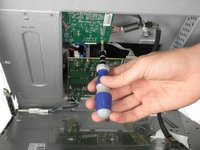
      • Using a 5 mm nut driver, unscrew the VGA port's mounting screws from the metal casing.

      FixBotに聞いてみる

      コメントを追加

    3. Dell E193FPc Inverter Board Replacement: 手順 8、 1の画像 1
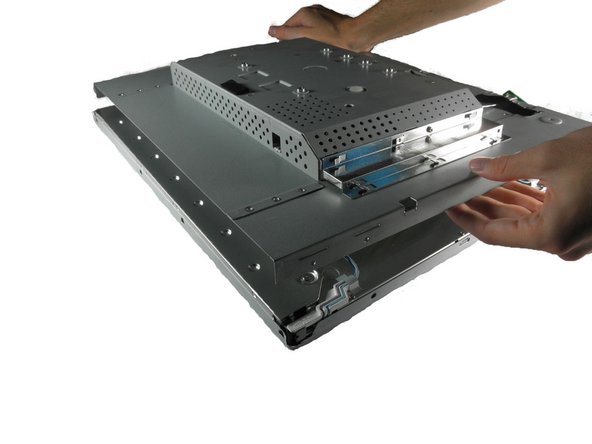
      • With the monitor facing down, gently lift the back case away from the rest of the monitor to expose the inverter board and mother board.

      • Recall that the casing is still held together by several wires. Do not attempt to fully remove the back casing.

      FixBotに聞いてみる

      コメントを追加

    4. Dell E193FPc Inverter Board Replacement: 手順 9、 2の画像 1 Dell E193FPc Inverter Board Replacement: 手順 9、 2の画像 2
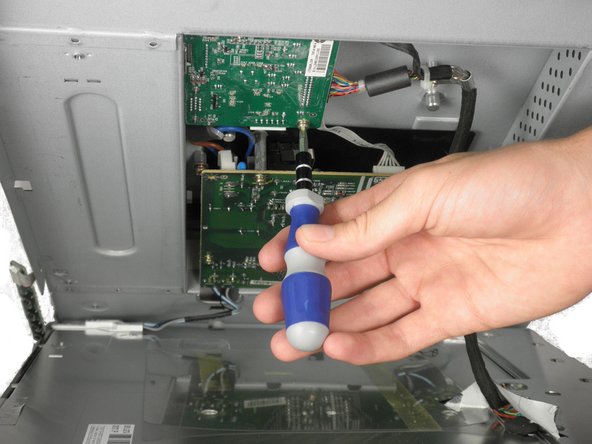
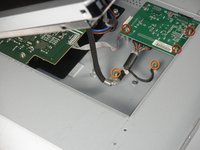
      • The inverter board is the smaller board in the corner.

      • Remove the three 7.69 mm Phillips #2 screws from the inverter board.

      • Remove the two 7.69 mm Phillips #2 grounding screws from the wire with the black connector.

      • Gently pull the inverter board away from the case. Note that the board is still connected to several components by wires.

      FixBotに聞いてみる

      コメントを追加

    5. Dell E193FPc Inverter Board Replacement: 手順 10、 2の画像 1 Dell E193FPc Inverter Board Replacement: 手順 10、 2の画像 2
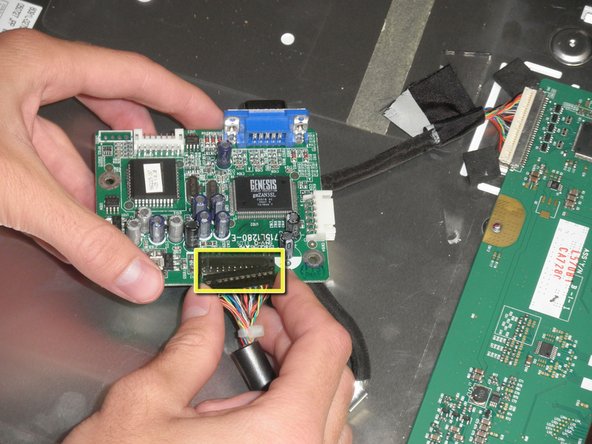
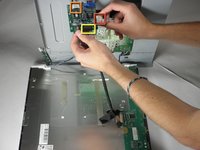
      • There is a wire connecting the motherboard to the inverter board. Squeeze both sides of the connector and pull to remove it from the socket.

      • There is another wire connecting the button board to the inverter board. Remove the second white wire connector.

      • A third wire connects the inverter board to the screen circuit board. Remove the black wire connector.

      • The inverter board can now be fully removed.

      FixBotに聞いてみる

      コメントを追加

終わりに

To reassemble your device, follow these instructions in reverse order.

キャンセル: このガイドを終了できませんでした。

3 の人々がこのガイドを完成させました。

作成者

5人の作成者と共同で作成されました。

Mackenzie Keane

メンバー登録日: 10/04/11

523 ポイント

5のガイドは作成済み

チーム

Cal Poly, Team 5-36, Amido Fall 2011 Cal Poly, Team 5-36, Amido Fall 2011人のメンバー

CPSU-AMIDO-F11S5G36

4 メンバー

24のガイドは作成済み

0件のガイドコメント

コメントを追加

統計データ:

過去 24時間: 1

過去 7 日: 6

過去 30 日: 34

今までの合計 5,432