はじめに
This guide will show the replacement of the trigger and battery terminal system. Please note that they cannot be replaced separately, and the unit cannot be disassembled.
必要な工具と部品
-
-
-
Remove the M3x16mm T10 screw from the back of the grip. Keep it separate from the rest of the grip screws
-
Remove the six M3.63x19 T15 screws from the grip.
 FixBotに聞いてみる
-
-
-
-
Remove the top half of the grip.
-
Turn the saw over and locate the power connectors to the motor.
-
Use needle nose pliers to remove the spade connectors. Take care not to grab the wires on removal, only the end of the spade terminal.
-
-
-
-
-
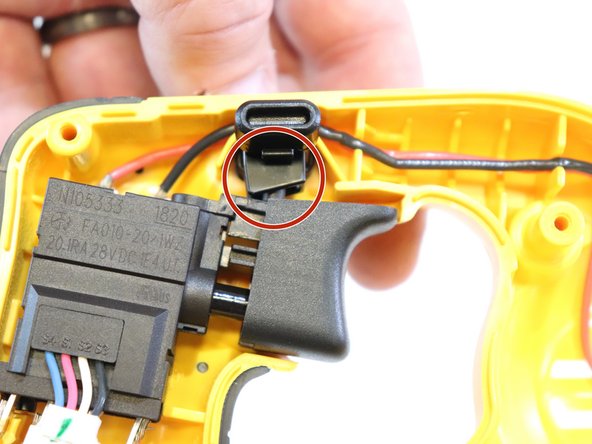
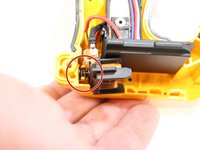
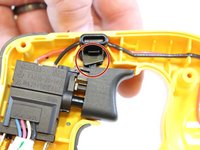
Take note of the position of the battery tension spring and safety switch before removal.
-
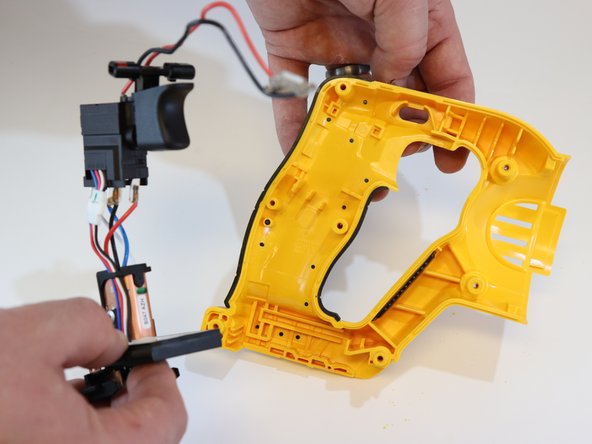
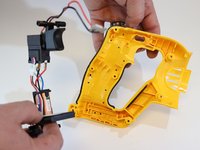
Lift the trigger assembly out of the grip.
-
-


To reassemble your device, follow these instructions in reverse order.

チーム

Eastern Washington University, Team S2-G5, Munoz Winter 2019 Eastern Washington University, Team S2-G5, Munoz Winter 2019人のメンバー
EWU-MUNOZ-W19S2G5
3 メンバー
28のガイドは作成済み
