メインコンテンツにスキップ
リペアコミュニティに参加 - アカウントの作成

CyberHome CH-DVD 300 Disc Tray Replacement

必要な工具と部品

    1. CyberHome CH-DVD 300 Disc Tray Replacement, Top Panel: 手順 1、 2の画像 1 CyberHome CH-DVD 300 Disc Tray Replacement, Top Panel: 手順 1、 2の画像 2
      • Turn the DVD player off. Unplugging the DVD player while it is on may result in damage to the DVD player or an inserted CD.

      • Unplug the DVD player from the wall socket.

      • Locate the 15mm Phillips screws on the left side (1 screw), right side (1 screw), and back (4 screws) of the DVD Player. Use the appropriate Phillips head screwdriver to remove the six screws.

      FixBotに聞いてみる

      コメントを追加

    2. CyberHome CH-DVD 300 Disc Tray Replacement: 手順 2、 2の画像 1 CyberHome CH-DVD 300 Disc Tray Replacement: 手順 2、 2の画像 2
      • Remove the top panel of the DVD Player by:

      • Sliding the top panel backwards.

      • Gently lifting the back of the top panel up.

      FixBotに聞いてみる

      コメントを追加

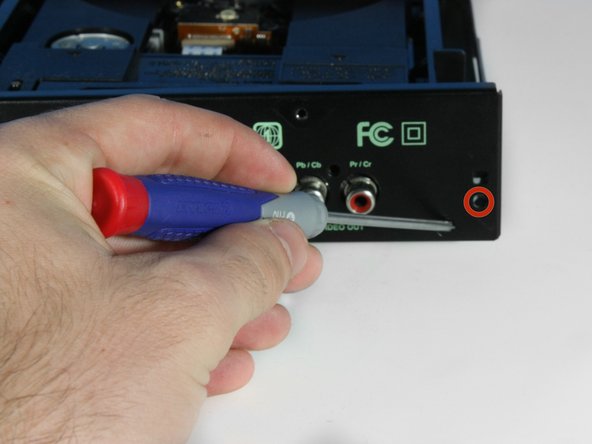
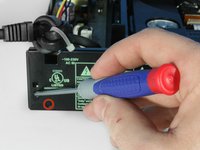
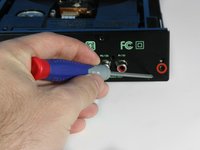
    1. CyberHome CH-DVD 300 Disc Tray Replacement, Back Panel: 手順 3、 2の画像 1 CyberHome CH-DVD 300 Disc Tray Replacement, Back Panel: 手順 3、 2の画像 2
      • Remove the remaining screws on the back of the DVD player:

      • There will be four 15 mm screws and two 6.3 mm screws.

      FixBotに聞いてみる

      コメントを追加

    2. CyberHome CH-DVD 300 Disc Tray Replacement: 手順 4、 1の画像 1
      • Remove the back panel by:

      • Lifting up on the back panel.

      • Pulling the back panel backwards from the DVD player.

      FixBotに聞いてみる

      コメントを追加

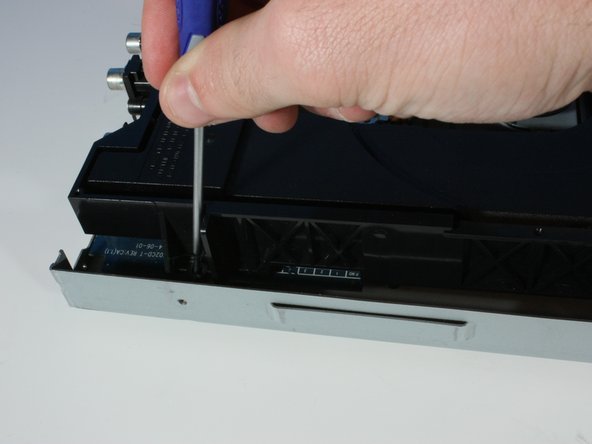
    1. CyberHome CH-DVD 300 Disc Tray Replacement, Disc Tray: 手順 5、 3の画像 1 CyberHome CH-DVD 300 Disc Tray Replacement, Disc Tray: 手順 5、 3の画像 2 CyberHome CH-DVD 300 Disc Tray Replacement, Disc Tray: 手順 5、 3の画像 3
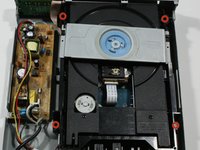
      • Remove the four 8.1mm screws in each of the corners of the disc tray.

      FixBotに聞いてみる

      コメントを追加

    2. CyberHome CH-DVD 300 Disc Tray Replacement: 手順 6、 2の画像 1 CyberHome CH-DVD 300 Disc Tray Replacement: 手順 6、 2の画像 2
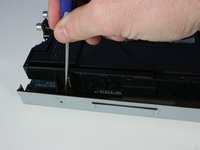
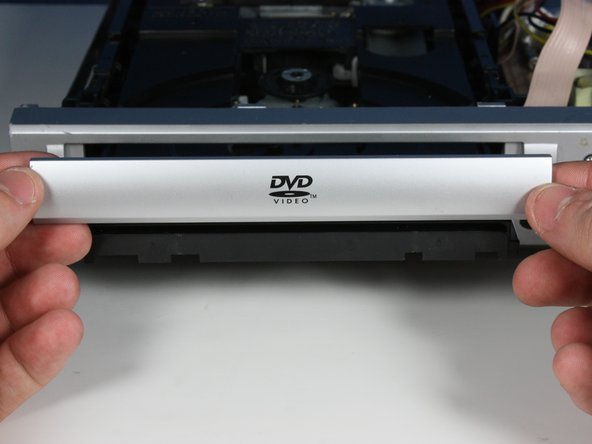
      • Orient the device so the front is facing towards you. Remove the disc tray faceplate by lifting up on both corners firmly.

      • The faceplate is located on the front of the DVD player and will prevent the disc tray removal if not removed.

      FixBotに聞いてみる

      コメントを追加

    3. CyberHome CH-DVD 300 Disc Tray Replacement: 手順 7、 2の画像 1 CyberHome CH-DVD 300 Disc Tray Replacement: 手順 7、 2の画像 2
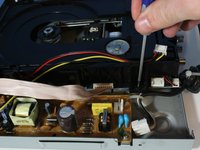
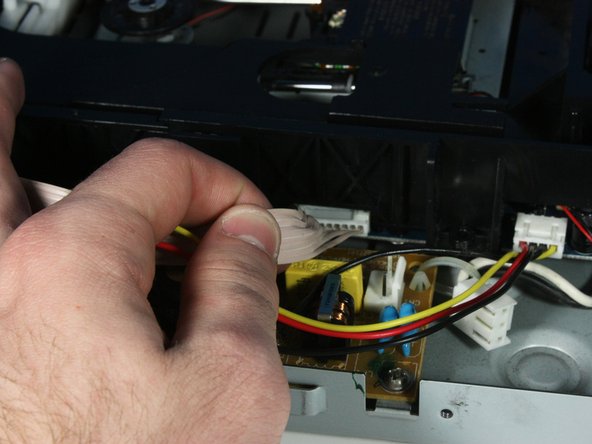
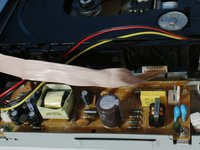
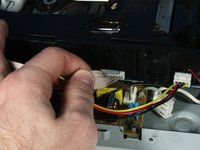
      • Detach the ribbon cable from the side of the DVD player by gently pulling it out.

      FixBotに聞いてみる

      コメントを追加

    4. CyberHome CH-DVD 300 Disc Tray Replacement: 手順 8、 1の画像 1
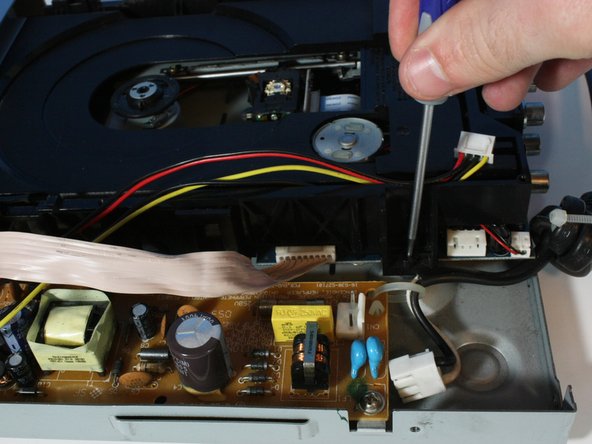
      • Orient the device so the back is facing towards you. Remove the disk tray out towards the back of the DVD player by lifting it.

      FixBotに聞いてみる

      コメントを追加

終わりに

To reassemble your device, follow these instructions in reverse order.

キャンセル: このガイドを終了できませんでした。

2 の人々がこのガイドを完成させました。

作成者

3人の作成者と共同で作成されました。

Chris Menezes

メンバー登録日: 04/07/14

699 ポイント

5のガイドは作成済み

チーム

Cal Poly, Team 6-5, Forte Spring 2014 Cal Poly, Team 6-5, Forte Spring 2014人のメンバー

CPSU-FORTE-S14S6G5

5 メンバー

20のガイドは作成済み

1件のガイドコメント

Bom dia. gostaria de obter informação sobre a referência desse componente CI u7 da placa ficarei muito grato

Gilvando - 返信 共有

コメントを追加

統計データ:

過去 24時間: 3

過去 7 日: 12

過去 30 日: 36

今までの合計 2,260