はじめに
To remove the disc tray bracket, you must first remove the top panel of the DVD, which exposes the disc tray bracket. The Disc tray bracket sits on top of the disc tray to keep the disc in place while in use.
必要な工具と部品
-
-
-
Unplug the DVD player from the wall socket.
-
Locate the 15mm Phillips screws on the left side (1 screw), right side (1 screw), and back (4 screws) of the DVD Player. Use the appropriate Phillips head screwdriver to remove the six screws.
 FixBotに聞いてみる
-
-
-
Remove the top panel of the DVD Player by:
-
Sliding the top panel backwards.
-
Gently lifting the back of the top panel up.
-
-
-
-
-
-
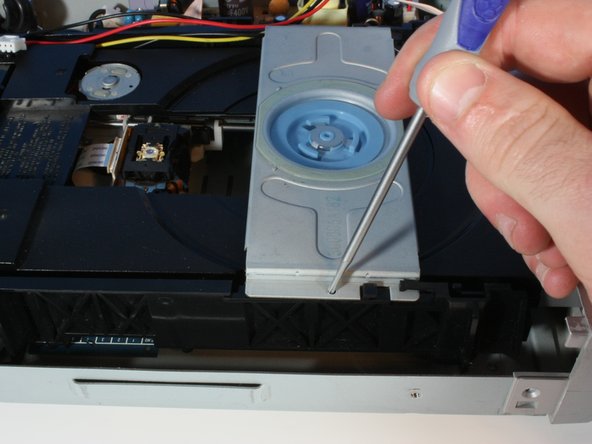
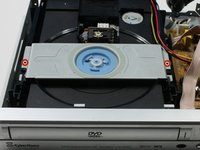
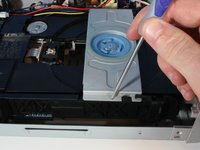
Remove the 6.3mm screws keeping the disc tray bracket connected to the disc tray.
-
-
-
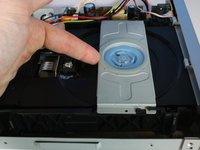
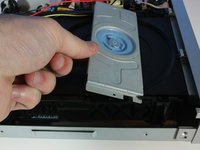
Lift up on the bracket by:
-
Sliding the disc tray bracket forward.
-
Lifting the back edge up.
-
-




To reassemble your device, follow these instructions in reverse order.
4 の人々がこのガイドを完成させました。

チーム

Cal Poly, Team 6-5, Forte Spring 2014 Cal Poly, Team 6-5, Forte Spring 2014人のメンバー
CPSU-FORTE-S14S6G5
5 メンバー
20のガイドは作成済み
