メインコンテンツにスキップ
リペアコミュニティに参加 - アカウントの作成

Creative Zen Vision M Screen Replacement

必要な工具と部品

    1. Creative Zen Vision M Screen Replacement, Opening the top: 手順 1、 2の画像 1 Creative Zen Vision M Screen Replacement, Opening the top: 手順 1、 2の画像 2
      • Pop off the top plastic on the device with a flat tool like a flathead screwdriver.

      • Unscrew and remove the two exposed Phillips head screws.

      FixBotに聞いてみる

      コメントを追加

    2. Creative Zen Vision M Screen Replacement, Opening the device: 手順 2、 2の画像 1 Creative Zen Vision M Screen Replacement, Opening the device: 手順 2、 2の画像 2
      • Work your way around the recess of the device with a flat tool like a flathead screwdriver.

      • Don't try attempt to open it from the recess between the buttons and the device.

      FixBotに聞いてみる

      コメントを追加

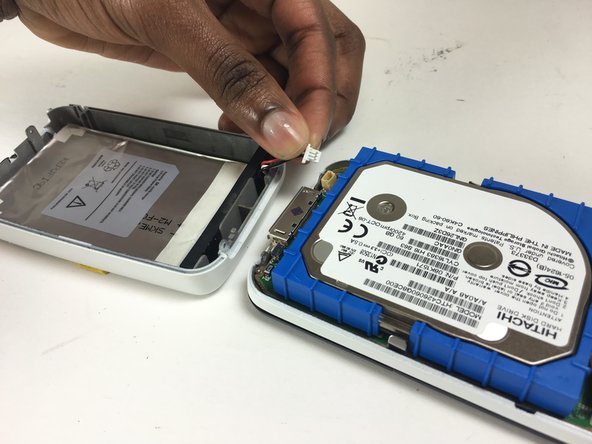
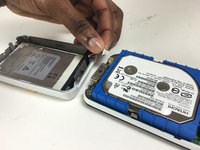
    3. Creative Zen Vision M Screen Replacement, Disconnecting the battery: 手順 3、 3の画像 1 Creative Zen Vision M Screen Replacement, Disconnecting the battery: 手順 3、 3の画像 2 Creative Zen Vision M Screen Replacement, Disconnecting the battery: 手順 3、 3の画像 3
      • Disconnect the wire from the bottom device.

      • Handle with care as the wires tend to disconnect easily.

      FixBotに聞いてみる

      コメントを追加

    4. Creative Zen Vision M Screen Replacement, Disconnecting the hard drive: 手順 4、 1の画像 1
      • In the top right corner, pull the black foam square off to separate the hard drive from the screen.

      • Handle with care as the hard drive also comes off easily.

      FixBotに聞いてみる

      コメントを追加

    5. Creative Zen Vision M Screen Replacement, Unscrewing from the mother board: 手順 5、 1の画像 1
      • Unscrew the seven screws placed around the mother board.

      • You will need a one millimeter Phillips head screwdriver.

      • The screws are small, so keep them safely.

      FixBotに聞いてみる

      コメントを追加

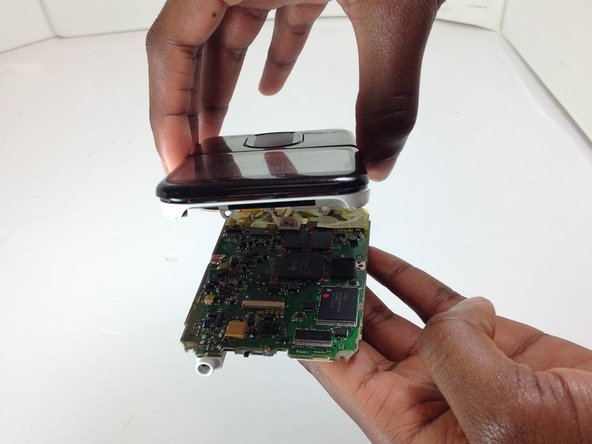
    6. Creative Zen Vision M Screen Replacement, Disconnecting the screen from the motherboard: 手順 6、 3の画像 1 Creative Zen Vision M Screen Replacement, Disconnecting the screen from the motherboard: 手順 6、 3の画像 2 Creative Zen Vision M Screen Replacement, Disconnecting the screen from the motherboard: 手順 6、 3の画像 3
      • Flip your device upside down so that the motherboard will loosen.

      • Detach the connector from the motherboard.

      FixBotに聞いてみる

      コメントを追加

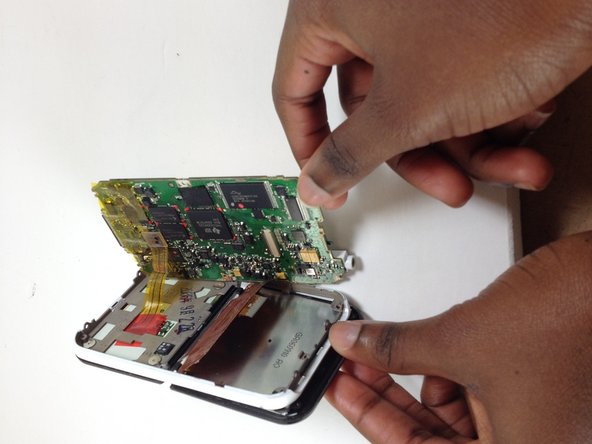
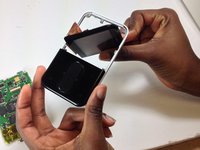
    7. Creative Zen Vision M Screen Replacement, Removing the screen: 手順 7、 2の画像 1 Creative Zen Vision M Screen Replacement, Removing the screen: 手順 7、 2の画像 2
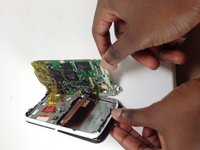
      • Tilt the screen diagonally. Separate the screen and motherboard from the device frame.

      • Lift the light gray flap to detach the screen from the motherboard.

      FixBotに聞いてみる

      コメントを追加

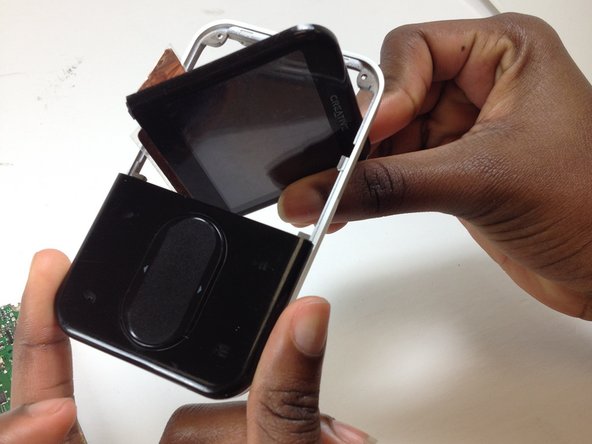
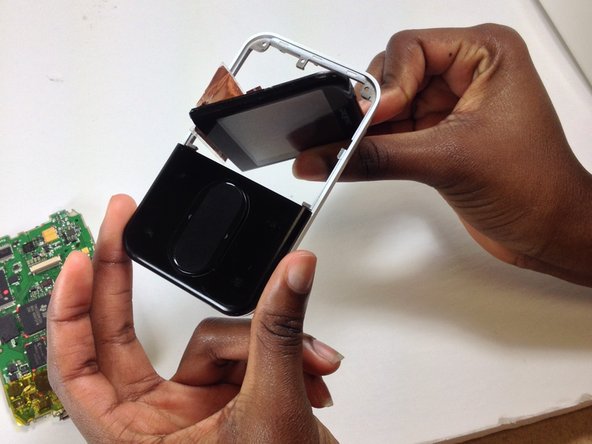
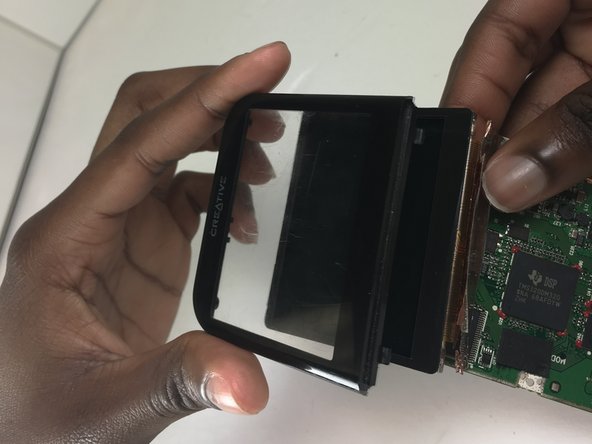
    8. Creative Zen Vision M Screen Replacement, Seperating the digital display: 手順 8、 2の画像 1 Creative Zen Vision M Screen Replacement, Seperating the digital display: 手順 8、 2の画像 2
      • Separate the clear screen frame from the digital display.

      FixBotに聞いてみる

      コメントを追加

終わりに

To reassemble your device, follow these instructions in reverse order.

キャンセル: このガイドを終了できませんでした。

ある他の人がこのガイドを完成しました。

作成者

9人の作成者と共同で作成されました。

Kirstie G

メンバー登録日: 10/12/16

488 ポイント

4のガイドは作成済み

チーム

Texas Tech, Team 12-1, Bennett Fall 2016 Texas Tech, Team 12-1, Bennett Fall 2016人のメンバー

TTU-BENNETT-F16S12G1

4 メンバー

8のガイドは作成済み

0件のガイドコメント

コメントを追加

統計データ:

過去 24時間: 2

過去 7 日: 8

過去 30 日: 36

今までの合計 1,983