はじめに
If your Cosori Pro II shell is cracked or broken and you want to replace it with a new shell, If so here is a guide to take apart your Cosori Pro II for easy shell replacement. For this guide, you will need a plastic opening tool and a Phillips #0 screwdriver head
必要な工具と部品
-
-
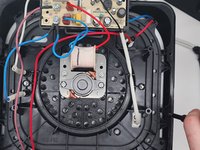
Use an opening tool to push on the retaining hooks to disengage them while prying slightly.
-
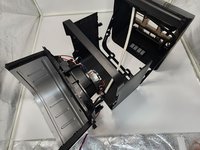
Remove the panel.
-
-
-
-
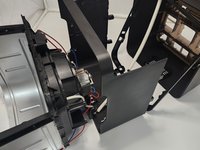
Use a Phillips #0 screwdriver to remove all the screws connecting to the shell.
-
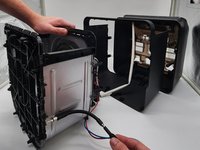
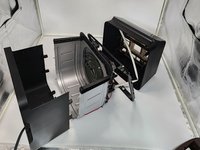
Dissemble the shell going up to separate the basket holder.
-
-
-
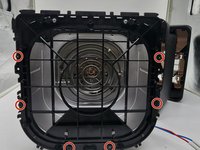
Use a Phillips #0 screwdriver and the 150 mm Flex Extension to unscrew the bottom plastic connecting to the basket holder.
-


To reassemble your device, follow these instructions in reverse order.

チーム

University of North Texas, Team 7-1, Kilpatrick Fall 2024 University of North Texas, Team 7-1, Kilpatrick Fall 2024人のメンバー
UNT-KILPATRICK-F24S7G1
3 メンバー
5のガイドは作成済み