メインコンテンツにスキップ
リペアコミュニティに参加 - アカウントの作成

ClickN Kids Tablet Camera Replacement

必要な工具と部品

    1. ClickN Kids Tablet Camera Replacement, Camera: 手順 1、 1の画像 1
      • Start on the side with the camera

      • Insert a plastic opening tool into the space between the screen and the back side.

      • The screen side is black, the back side is colored

      FixBotに聞いてみる

      コメントを追加

    2. ClickN Kids Tablet Camera Replacement: 手順 2、 1の画像 1
      • Press the plastic opening tool in until you hear a “click” and that part of the tablet opens.

      • Press and slide the plastic opening tool around all sides of the tablet until all sides pop off.

      • The corners can be tricky. Make sure to separate the pieces all the way around the tablet before attempting to open it.

      FixBotに聞いてみる

      コメントを追加

    3. ClickN Kids Tablet Camera Replacement: 手順 3、 1の画像 1
      • Lift the detached screen from the camera side until you can see the inside of the tablet.

      • Don't open too fast, or you might damage the ribbons cables.

      FixBotに聞いてみる

      コメントを追加

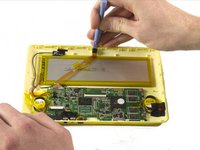
    4. ClickN Kids Tablet Camera Replacement: 手順 4、 2の画像 1 ClickN Kids Tablet Camera Replacement: 手順 4、 2の画像 2
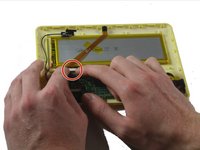
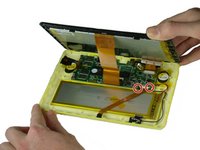
      • Be careful not to damage any wires or ribbon cables during this step.

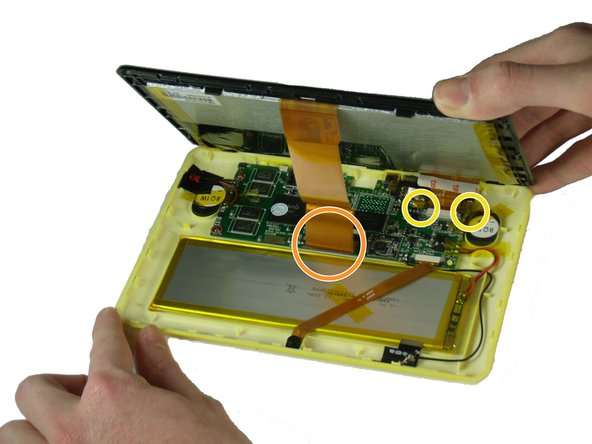
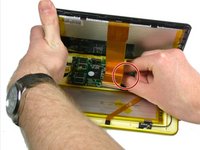
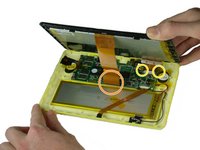
      • There are two ribbon cables to remove during this step. Each is connected to a base on the motherboard.

      • There is a black tab behind the long ribbon cable. Lift up the black tab.

      • For the ribbon cable in the back, pull the black tabs on the side out.

      • Detach the ribbon cables connecting the screen to the motherboard.

      • Remove any tape that is holding down the ribbon cables. Set it aside.

      FixBotに聞いてみる

      コメントを追加

    5. ClickN Kids Tablet Camera Replacement: 手順 5、 1の画像 1
      • Pull off the tape that holds the ribbon cable to the battery.

      FixBotに聞いてみる

      コメントを追加

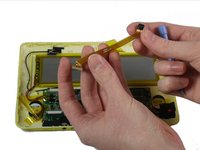
    6. ClickN Kids Tablet Camera Replacement: 手順 6、 2の画像 1 ClickN Kids Tablet Camera Replacement: 手順 6、 2の画像 2
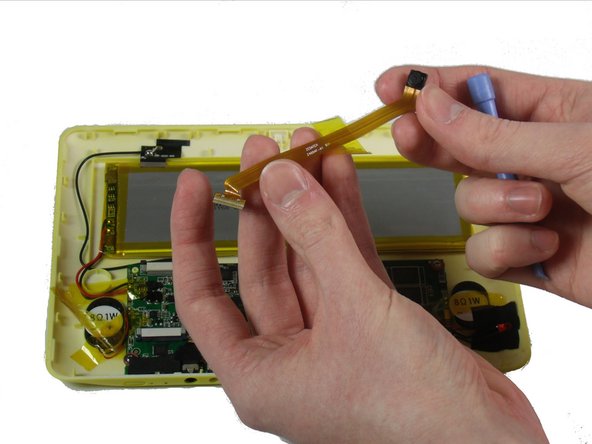
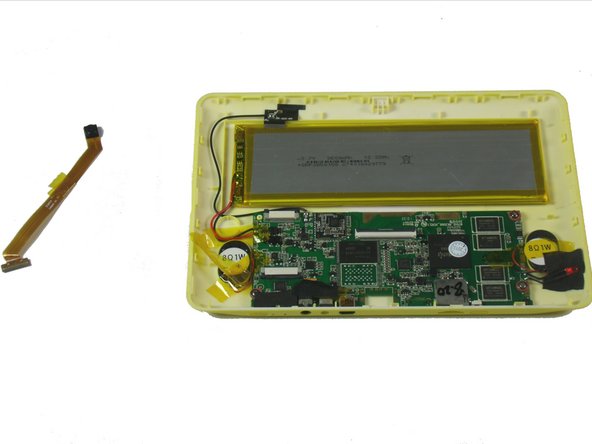
      • Be careful not to damage the wires or ribbon cables.

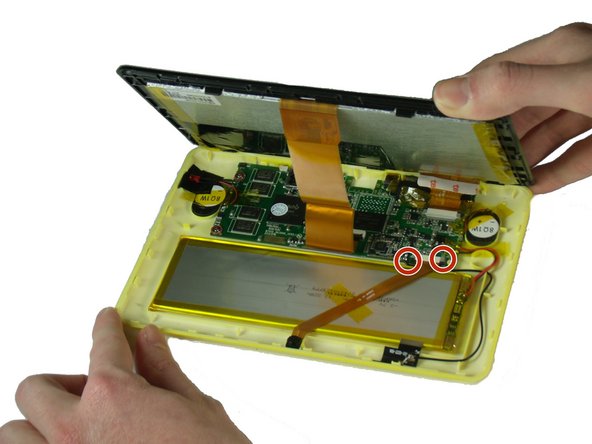
      • Pull out the two black ends of the base on the motherboard.

      • Slide out the camera’s ribbon cable once the ends are loosened.

      FixBotに聞いてみる

      コメントを追加

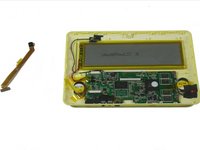
    7. ClickN Kids Tablet Camera Replacement: 手順 7、 3の画像 1 ClickN Kids Tablet Camera Replacement: 手順 7、 3の画像 2 ClickN Kids Tablet Camera Replacement: 手順 7、 3の画像 3
      • Use a plastic opening tool to pry the camera out of its place.

      FixBotに聞いてみる

      コメントを追加

終わりに

To reassemble your device, follow these instructions in reverse order.

キャンセル: このガイドを終了できませんでした。

ある他の人がこのガイドを完成しました。

作成者

3人の作成者と共同で作成されました。

Kevin Finney

メンバー登録日: 03/22/15

562 ポイント

4のガイドは作成済み

チーム

Baylor, Team 4-4, Williams Spring 2015 Baylor, Team 4-4, Williams Spring 2015人のメンバー

BU-WILLIAMS-S15S4G4

3 メンバー

8のガイドは作成済み

0件のガイドコメント

コメントを追加

統計データ:

過去 24時間: 2

過去 7 日: 10

過去 30 日: 37

今までの合計 1,160