メインコンテンツにスキップ
リペアコミュニティに参加 - アカウントの作成

Cirago M9030 Screen Protector Replacement

必要な工具と部品

  1. Cirago M9030 Screen Protector Replacement, Cover: 手順 1、 1の画像 1
    • Use a Phillips #00 screwdriver to unscrew the four 1.1mm long screws on each corner located at the top of the cover.

    FixBotに聞いてみる

    コメントを追加

  2. Cirago M9030 Screen Protector Replacement: 手順 2、 1の画像 1
    • Similar to the last step, flip the cover over and use a Phillips #00 screwdriver to unscrew the four 1.1mm long screws on each corner located at the bottom of the cover.

    • Remove the warranty sticker across the bottom.

    FixBotに聞いてみる

    コメントを追加

  3. Cirago M9030 Screen Protector Replacement: 手順 3、 2の画像 1 Cirago M9030 Screen Protector Replacement: 手順 3、 2の画像 2
    • Gently take the cover apart using your hands separating the top and bottom.

    • The outer shell is expected to easily come apart.

    FixBotに聞いてみる

    コメントを追加

  4. Cirago M9030 Screen Protector Replacement, Hard Drive: 手順 4、 1の画像 1
    • Make sure that the screen of the device is facing down.

    FixBotに聞いてみる

    コメントを追加

  5. Cirago M9030 Screen Protector Replacement: 手順 5、 3の画像 1 Cirago M9030 Screen Protector Replacement: 手順 5、 3の画像 2 Cirago M9030 Screen Protector Replacement: 手順 5、 3の画像 3
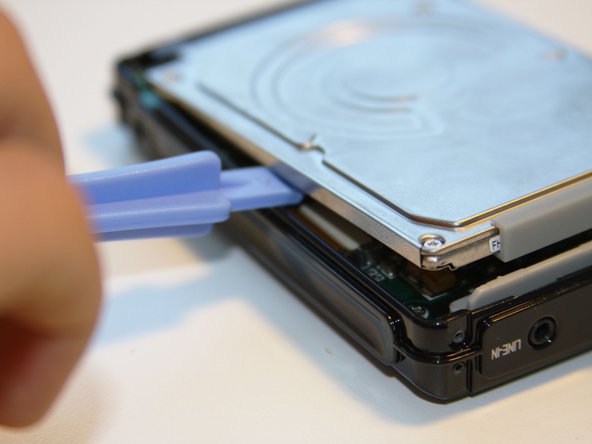
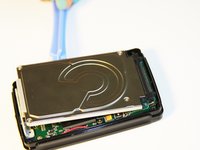
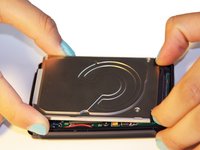
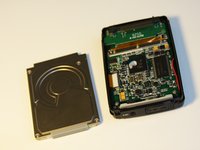
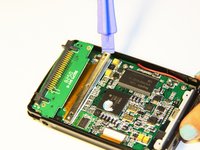
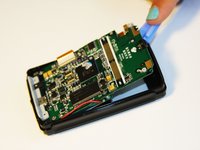
    • Using the plastic opening tool, wedge the tool underneath the bottom left edge of the hard drive.

    • Raise the bottom edge of the hard drive 15 degrees up from the device.

    FixBotに聞いてみる

    コメントを追加

  6. Cirago M9030 Screen Protector Replacement: 手順 6、 3の画像 1 Cirago M9030 Screen Protector Replacement: 手順 6、 3の画像 2 Cirago M9030 Screen Protector Replacement: 手順 6、 3の画像 3
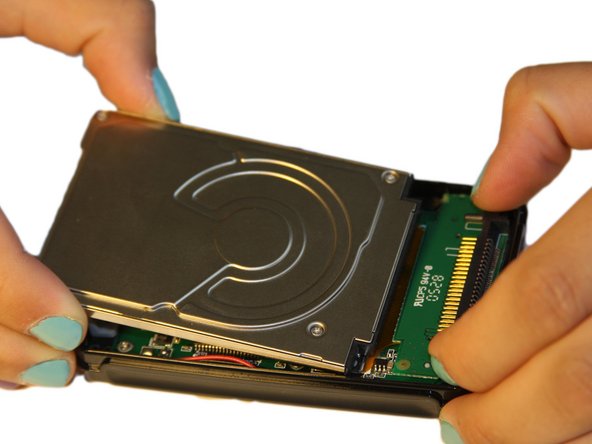
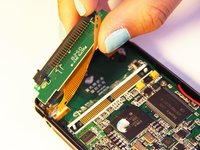
    • Place fingers on the IDE connectors gently picking up and sliding the hard drive out from the IDE module.

    FixBotに聞いてみる

    コメントを追加

  7. Cirago M9030 Screen Protector Replacement, IDE Connector: 手順 7、 2の画像 1 Cirago M9030 Screen Protector Replacement, IDE Connector: 手順 7、 2の画像 2
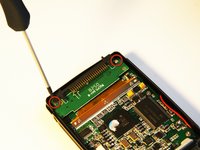
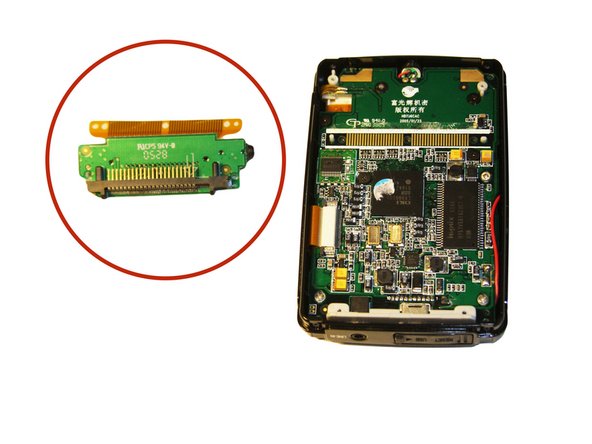
    • Using the Phillips #00 screwdriver, unscrew the two 1.5mm long screws holding the IDE connector to the motherboard located at the top.

    FixBotに聞いてみる

    コメントを追加

  8. Cirago M9030 Screen Protector Replacement: 手順 8、 1の画像 1
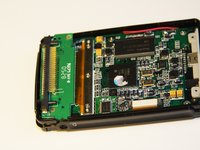
    • Using the Phillips #00 screwdriver, unscrew the three 1.5mm long screws on the metal bracket.

    FixBotに聞いてみる

    コメントを追加

  9. Cirago M9030 Screen Protector Replacement: 手順 9、 2の画像 1 Cirago M9030 Screen Protector Replacement: 手順 9、 2の画像 2
    • Using the plastic opening tool, completely lift the metal bracket off of the motherboard.

    • Using the plastic opening tool, completely lift the rubber insulator off of the motherboard.

    FixBotに聞いてみる

    コメントを追加

  10. Cirago M9030 Screen Protector Replacement: 手順 10、 1の画像 1
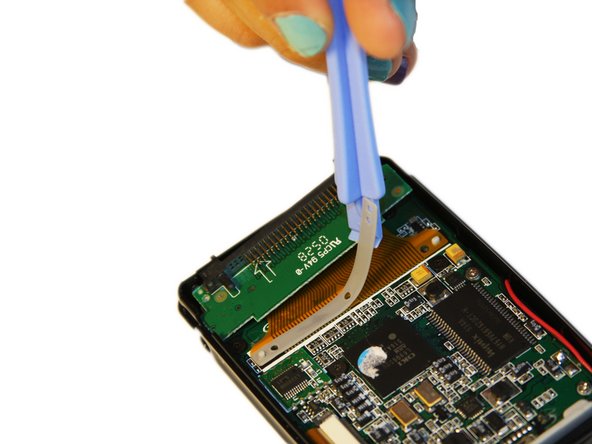
    • Using the plastic opening tool, completely lift the ribbon off of the motherboard.

    FixBotに聞いてみる

    コメントを追加

  11. Cirago M9030 Screen Protector Replacement: 手順 11、 2の画像 1 Cirago M9030 Screen Protector Replacement: 手順 11、 2の画像 2
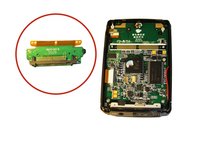
    • The audio jack is attached to the IDE connector. Pull at a 45 degree angle from the audio jack.

    • Completely remove the IDE connector from the device.

    FixBotに聞いてみる

    コメントを追加

  12. Cirago M9030 Screen Protector Replacement, Motherboard: 手順 12、 2の画像 1 Cirago M9030 Screen Protector Replacement, Motherboard: 手順 12、 2の画像 2
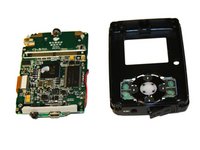
    • Using the plastic opening tool, wedge the tool underneath the top edge of the motherboard.

    • Completely remove the motherboard.

    • The motherboard should slide out easily.

    FixBotに聞いてみる

    コメントを追加

  13. Cirago M9030 Screen Protector Replacement, Screen Protector: 手順 13、 1の画像 1
    • Locate the plastic screen protector on the front cover.

    FixBotに聞いてみる

    コメントを追加

  14. Cirago M9030 Screen Protector Replacement: 手順 14、 1の画像 1
    • Grasping the sides of the cover, gently press on screen protector from the inside of the front cover to pop out the screen protector.

    FixBotに聞いてみる

    コメントを追加

終わりに

To reassemble your device, follow these instructions in reverse order.

キャンセル: このガイドを終了できませんでした。

ある他の人がこのガイドを完成しました。

作成者

6人の作成者と共同で作成されました。

Ryan Sutardji

メンバー登録日: 06/29/12

171 ポイント

7のガイドは作成済み

チーム

Cal Poly, Team 1-4, Regan SU 2012 Cal Poly, Team 1-4, Regan SU 2012人のメンバー

CPSU-REGAN-SU12S1G4

4 メンバー

7のガイドは作成済み

0件のガイドコメント

コメントを追加

統計データ:

過去 24時間: 4

過去 7 日: 9

過去 30 日: 24

今までの合計 1,192