メインコンテンツにスキップ
リペアコミュニティに参加 - アカウントの作成
Charge 3 Disassembly

必要な工具と部品

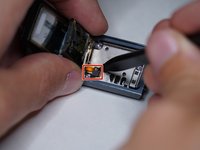
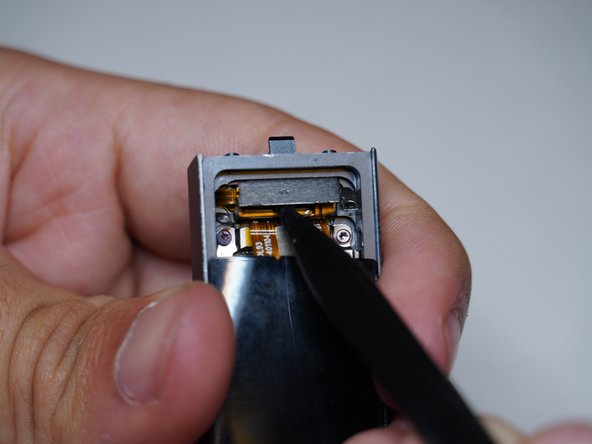
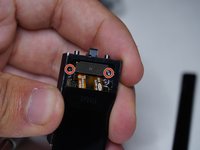
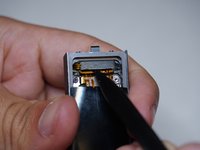
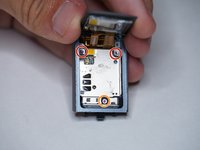
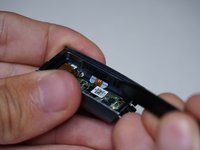
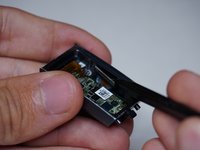
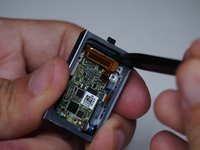
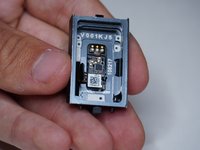
    1. Charge 3 Disassembly, Strap Connectors: 手順 1、 3の画像 1 Charge 3 Disassembly, Strap Connectors: 手順 1、 3の画像 2 Charge 3 Disassembly, Strap Connectors: 手順 1、 3の画像 3
      • Remove both T3 screws

      • Slide off the plastic piece by lifting out and then up

      • Slide plastic and spring assembly off the rail

      FixBotに聞いてみる

      コメントを追加

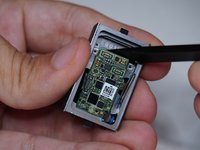
    2. Charge 3 Disassembly, Display: 手順 2、 3の画像 1 Charge 3 Disassembly, Display: 手順 2、 3の画像 2 Charge 3 Disassembly, Display: 手順 2、 3の画像 3
      • Heat the glass screen with a blowdryer to soften the adhesives

      • Start the next step on the opposite side of the Fitbit wording below the glass. This is due to the display cables being located there

      • Insert a razor blade between the glass and the body

      • Keep going around the rim of the display until loose

      FixBotに聞いてみる

      コメントを追加

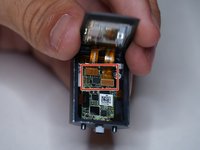
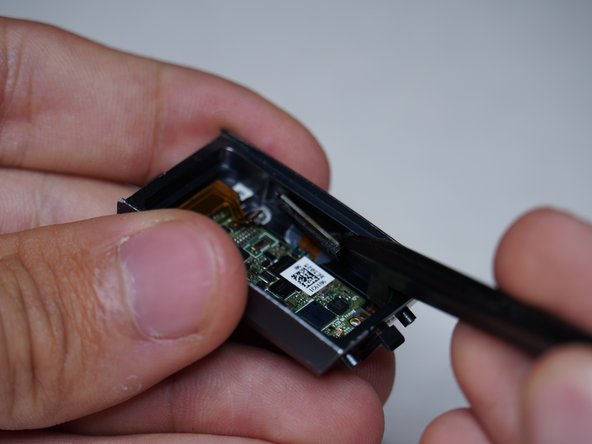
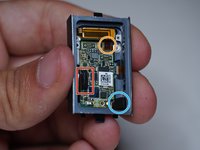
    3. Charge 3 Disassembly, Cable Warning: 手順 3、 1の画像 1
      • This is how close those cables get to the edge underneath the Fitbit wording so be careful

      FixBotに聞いてみる

      コメントを追加

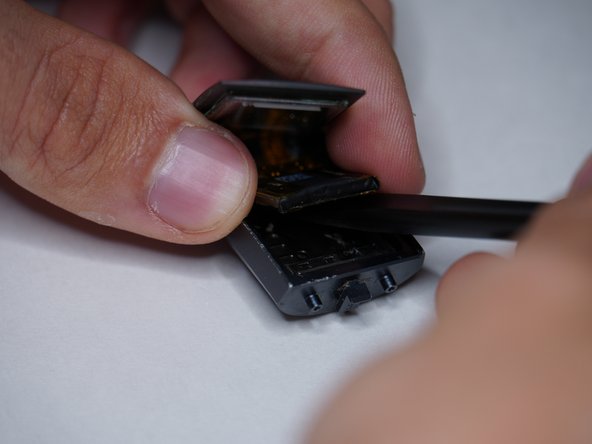
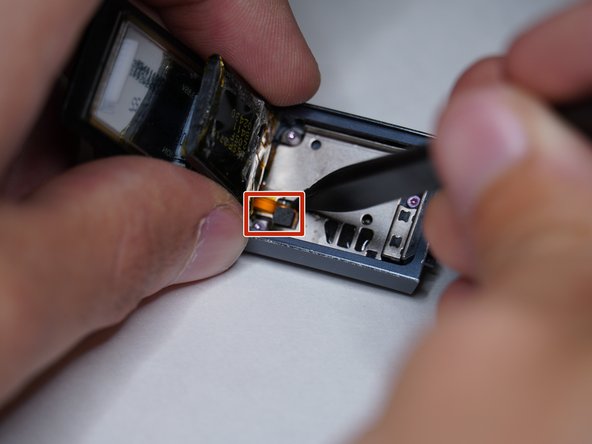
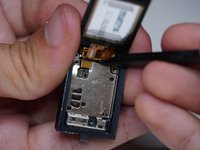
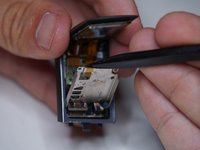
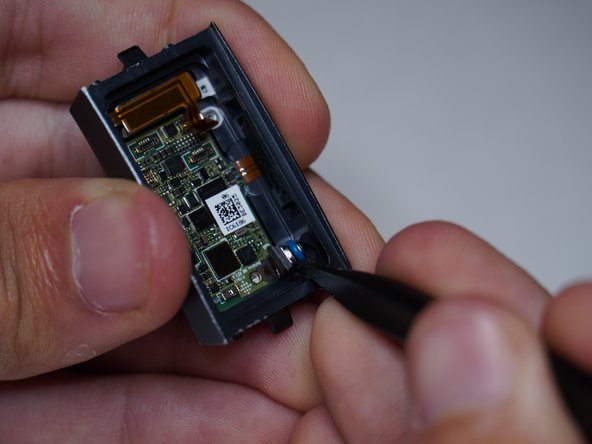
    4. Charge 3 Disassembly, Battery: 手順 4、 3の画像 1 Charge 3 Disassembly, Battery: 手順 4、 3の画像 2 Charge 3 Disassembly, Battery: 手順 4、 3の画像 3
      • Lift display up gently

      • The battery is attached with a little bit of adhesive so lift gently

      • Remove battery connector

      FixBotに聞いてみる

      コメントを追加

    5. Charge 3 Disassembly, Vibrator Shield: 手順 5、 2の画像 1 Charge 3 Disassembly, Vibrator Shield: 手順 5、 2の画像 2
      • Remove both T2 screws

      • Liftoff metal shield

      FixBotに聞いてみる

      コメントを追加

    6. Charge 3 Disassembly, Main Shield: 手順 6、 3の画像 1 Charge 3 Disassembly, Main Shield: 手順 6、 3の画像 2 Charge 3 Disassembly, Main Shield: 手順 6、 3の画像 3
      • Remove two T2 screws

      • Remove T3 screw

      • Liftoff metal shield

      FixBotに聞いてみる

      コメントを追加

    7. Charge 3 Disassembly, Display Connectors: 手順 7、 3の画像 1 Charge 3 Disassembly, Display Connectors: 手順 7、 3の画像 2 Charge 3 Disassembly, Display Connectors: 手順 7、 3の画像 3
      • Liftoff both display connectors

      FixBotに聞いてみる

      コメントを追加

    8. Charge 3 Disassembly, Disconnect Connectors and Altimeter: 手順 8、 2の画像 1 Charge 3 Disassembly, Disconnect Connectors and Altimeter: 手順 8、 2の画像 2
      • Disconnect vibrator motor

      • Disconnect heartrate and charging connector

      • Remove altimeter

      FixBotに聞いてみる

      コメントを追加

    9. Charge 3 Disassembly, Side Button and Vibrator: 手順 9、 3の画像 1 Charge 3 Disassembly, Side Button and Vibrator: 手順 9、 3の画像 2 Charge 3 Disassembly, Side Button and Vibrator: 手順 9、 3の画像 3
      • Remove button assembly from case

      • Remove vibrator motor

      • Has a slight bit of adhesive and is magnetic to the case

      FixBotに聞いてみる

      コメントを追加

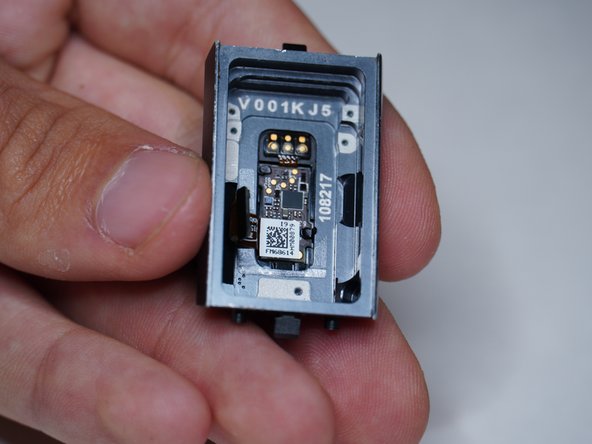
    10. Charge 3 Disassembly, Motherboard: 手順 10、 2の画像 1 Charge 3 Disassembly, Motherboard: 手順 10、 2の画像 2
      • Remove motherboard

      • It seems as if the heart rate sensor and charging pins are molded into the case, and I was not able to remove them

      FixBotに聞いてみる

      コメントを追加

ゴール

キャンセル: このガイドを終了できませんでした。

4 の人々がこのガイドを完成させました。

作成者

6人の作成者と共同で作成されました。

ShellingRook27

メンバー登録日: 08/21/19

2,353 ポイント

7のガイドは作成済み

チーム

Repair For You Repair For You人のメンバー

Business

1 メンバー

30のガイドは作成済み

12件のガイドコメント

The tear down pictures are great, but in my Charge 3 I needed a T-1 and a T-2 driver

Julien Baldwin - 返信 共有
Same, my ifixit pro kit only had a driver for the external screws and did not come with a small enough driver to remove the screws inside the charge 3 unit. I'll need to get the smaller bit from a different kit.

Brian Hall - 返信 共有

Which step in the teardown guide needed the T1 driver?

ShellingRook27 - 返信 共有

Great job on this tear-down. Thank you, it really helped in my screen replacement.

AndyZ - 返信 共有

This tear down was very easy to follow. The heart rate monitor was also sealed in with some adhesive for me too but a little heat gun took it right off. I had suspected water leaked in and that in fact was the culprit after inspecting the connection. corrosion all around the HR monitor.

Nick Herbert - 返信 共有

コメントを追加

統計データ:

過去 24時間: 4

過去 7 日: 16

過去 30 日: 89

今までの合計 12,421