メインコンテンツにスキップ
リペアコミュニティに参加 - アカウントの作成

Casio WK-220 Black Keys Replacement

必要な工具と部品

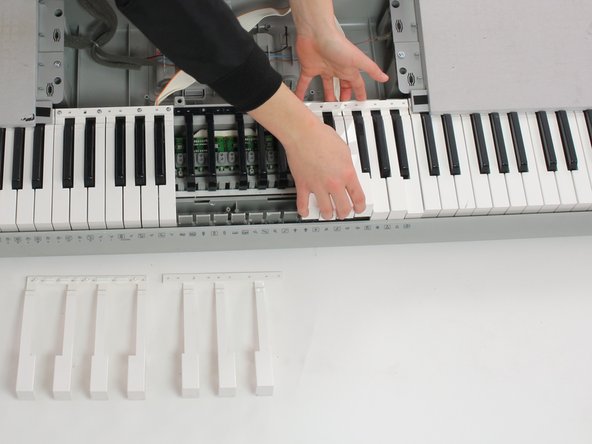
    1. Casio WK-220 Black Keys Replacement, White Keys: 手順 1、 2の画像 1 Casio WK-220 Black Keys Replacement, White Keys: 手順 1、 2の画像 2
      • Place device face-down

      • Remove 23 16mm screws with Phillips #2 screwdriver

      FixBotに聞いてみる

      コメントを追加

    2. Casio WK-220 Black Keys Replacement: 手順 2、 2の画像 1 Casio WK-220 Black Keys Replacement: 手順 2、 2の画像 2
      • Pry up long back panels with plastic opening tool

      • Remove panels

      FixBotに聞いてみる

      コメントを追加

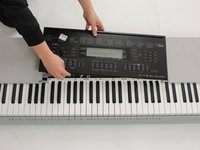
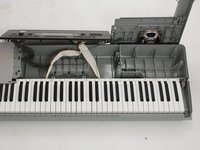
    3. Casio WK-220 Black Keys Replacement: 手順 3、 1の画像 1
      • Turn device around so keys are face-up

      FixBotに聞いてみる

      コメントを追加

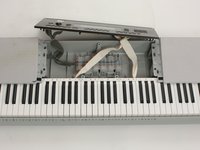
    4. Casio WK-220 Black Keys Replacement: 手順 4、 2の画像 1 Casio WK-220 Black Keys Replacement: 手順 4、 2の画像 2
      • Pull back panel away from keyboard and out of the way

      FixBotに聞いてみる

      コメントを追加

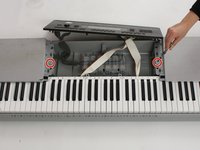
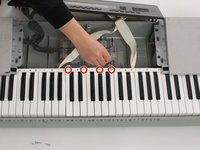
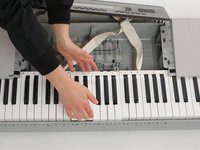
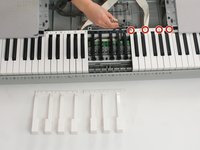
    5. Casio WK-220 Black Keys Replacement: 手順 5、 3の画像 1 Casio WK-220 Black Keys Replacement: 手順 5、 3の画像 2 Casio WK-220 Black Keys Replacement: 手順 5、 3の画像 3
      • Remove speaker(s) if necessary to access desired key section(s)

      • Use Phillips #2 screwdriver to remove two 16 mm screws (circled in red)

      • Pop wires out of plastic holders so speaker can be moved out of the way

      • Move speaker out of the way

      • See speaker replacement guide for more detail on these steps

      FixBotに聞いてみる

      コメントを追加

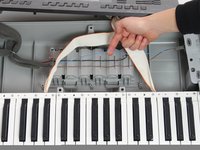
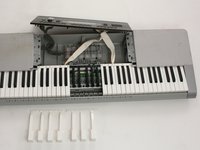
    6. Casio WK-220 Black Keys Replacement: 手順 6、 3の画像 1 Casio WK-220 Black Keys Replacement: 手順 6、 3の画像 2 Casio WK-220 Black Keys Replacement: 手順 6、 3の画像 3
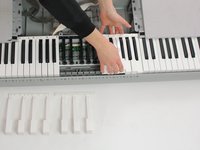
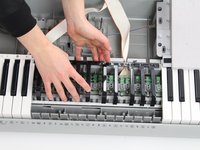
      • Remove 4 18 mm screws (circled in red) from desired key section using Philips #1 screwdriver

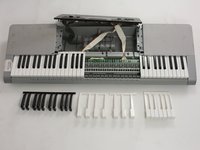
      • Gently push white keys away from screws and pull up to remove from keyboard. Repeat this with the black keys

      • Reassemble with new/cleaned keys

      FixBotに聞いてみる

      コメントを追加

    1. Casio WK-220 Black Keys Replacement, Black Keys: 手順 7、 2の画像 1 Casio WK-220 Black Keys Replacement, Black Keys: 手順 7、 2の画像 2
      • Remove second white section covering desired black section

      • Remove screws using Phillips #1 screwdriver

      • Push keys away from screws and pull up

      FixBotに聞いてみる

      コメントを追加

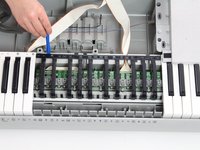
    2. Casio WK-220 Black Keys Replacement: 手順 8、 3の画像 1 Casio WK-220 Black Keys Replacement: 手順 8、 3の画像 2 Casio WK-220 Black Keys Replacement: 手順 8、 3の画像 3
      • Use plastic opening tool to pry up black key section

      • Remove black key section

      • Reassemble with new/clean black key section

      FixBotに聞いてみる

      コメントを追加

終わりに

To reassemble your device, follow these instructions in reverse order.

キャンセル: このガイドを終了できませんでした。

作成者

3人の作成者と共同で作成されました。

Alexa

メンバー登録日: 01/24/17

705 ポイント

6のガイドは作成済み

チーム

Cal Poly, Team 10-2, Banghart Winter 2017 Cal Poly, Team 10-2, Banghart Winter 2017人のメンバー

CPSU-BANGHART-W17S10G2

4 メンバー

6のガイドは作成済み

0件のガイドコメント

コメントを追加

統計データ:

過去 24時間: 0

過去 7 日: 11

過去 30 日: 31

今までの合計 1,155