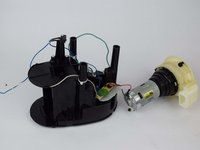
はじめに
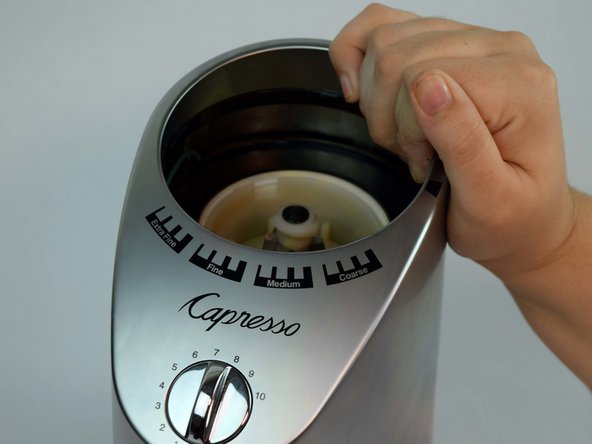
Is your Capresso Infinity not grinding your coffee even though it’s plugged in? Is the Grinder making odd noises, or seems like its not turning as fast as it should? If so here is the guide to fix the problem by replacing the motor. All you need is a Torx Security T10 Bit, Spudger, Opening Tool, and Soldering Iron.
必要な工具と部品
-
-
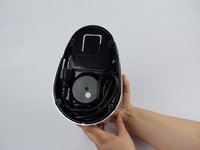
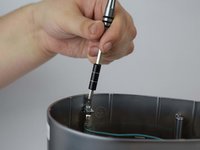
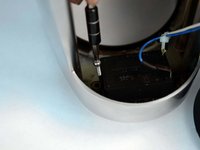
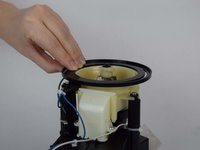
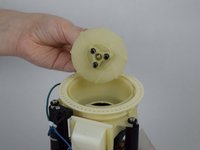
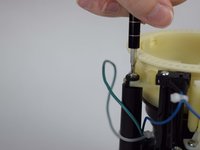
Twist the top plastic container to the left counterclockwise.
-
Pull upwards to remove.
-
-
-
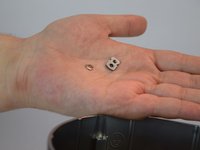
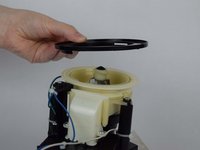
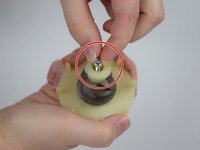
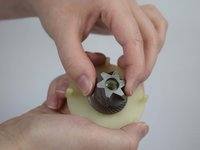
Twist the top burr to the left counter clockwise.
-
Pull upwards to remove.
I own a model 560. Removing the grinder requires a Torx 20, which is in the center of the top burr. If used, the screw is coated with coffee grinds.
-
-
-
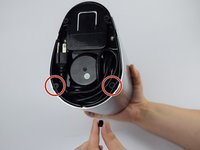
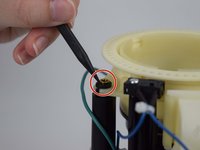
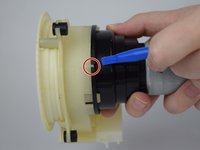
Remove four 11.59mm T10 screws.
My housing is plastic, and was just held on by clips holding the outer part to the base, I gently pried the housing away and lifted the housing off. It’s a Capresso model 560
panchocole - 返信
Mine is as well. I tried digging the “rubber washers” out but it was only scratching plastic.
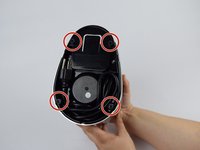
There are 5 areas you can slide a slim flathead into and gently wiggle to get the casing to slide out from the base. Be firm yet gentle.
-
-
-
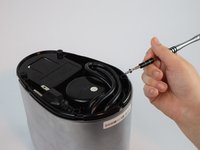
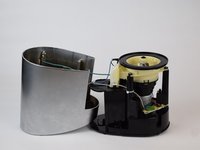
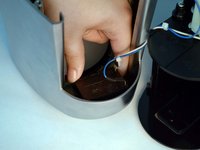
Lift the metal outside casing off the black base.
-
Flip the outside casing forward so you have access to the inside of it.
-
-
-
-
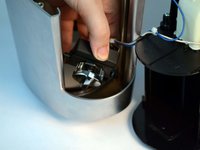
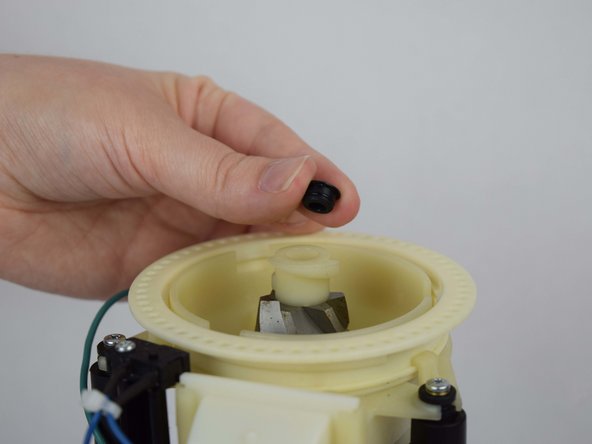
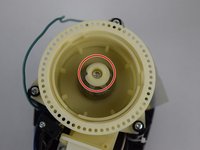
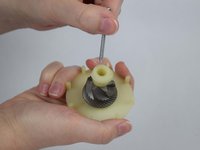
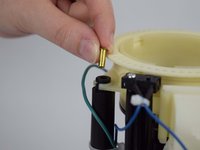
Grab the edge of the plastic black ring that sits on top of the device and gently pull up to release.
-
-
-
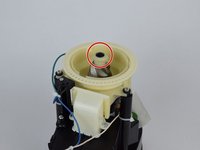
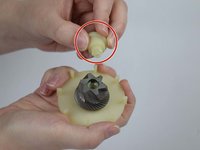
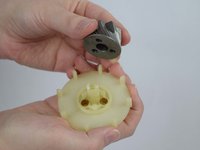
Remove the bottom burr piece by pulling upwards.
The final picture (step 15) shows the balls sitting on top of the springs, while this text states the balls are under the springs. Which is correct? Unfortunately I am now trying to reassemble and I don’t remember the position when I took it apart.
-
-
-
This is the correct position of bearings and springs when the screw and bottom burr are removed.
I have reassembled shown as above, but now the grinder only puts out a fine ground coffee at any setting.
Whats up?
Fixed this by setting grinder to extra fine with beans in, grinding, then slowly working the grinder back to coarse.
Essentially, the grid is more fine when the screw is not in all the way. The grid is more coarse when it is fully tightened. If you have super fine grind all of the sudden, you may think you have the screw in all they way but in fact, the plastic parts are most likely not aligned. The plastic pieces on the between the bottom bur grinder hae slots and need to be aligned properly. (the bottom metal bur grinder is the smaller one - in the left hand of the person in picture 14) ) IF the plastics parts are not mated correctly, the grind will be very fine, and slow. When I aligned the slots properly, I was good to go. In step 15, you can see the slots on the bottom plastic piece. The top plastic piece is where the screw goes. It’s tough to align, but you’ll know you got it when you grind.
-
-
-
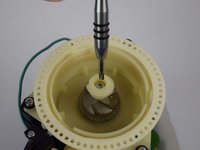
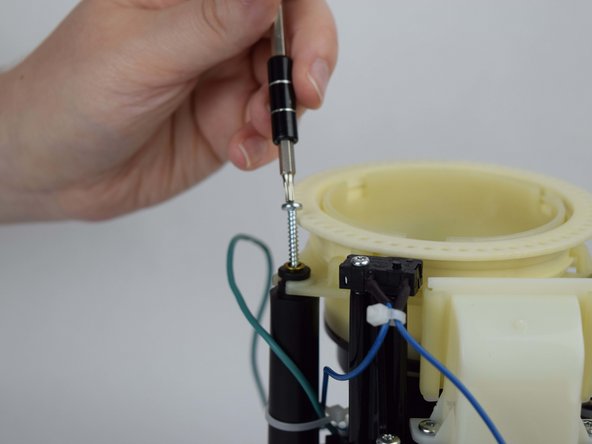
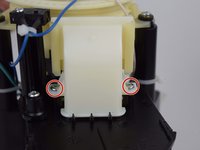
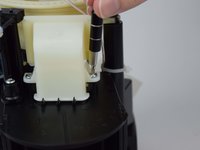
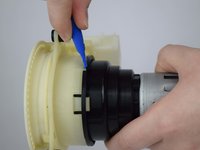
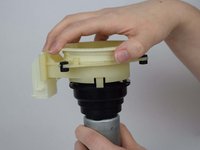
Remove the three 19.61 mm T10 screws surrounding the white plastic burr housing.
-
-
-
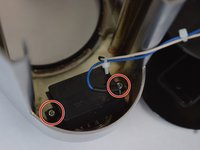
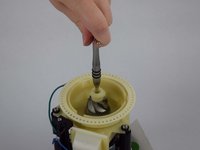
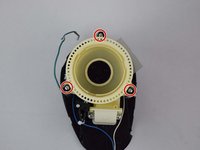
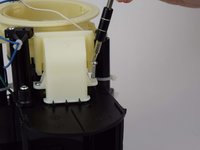
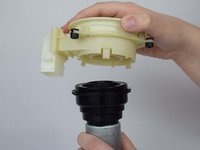
Locate the three knobs preventing the white plastic burr housing from being removed from the motor. They are all along the seam.
-
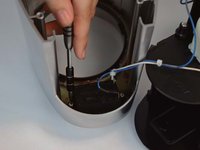
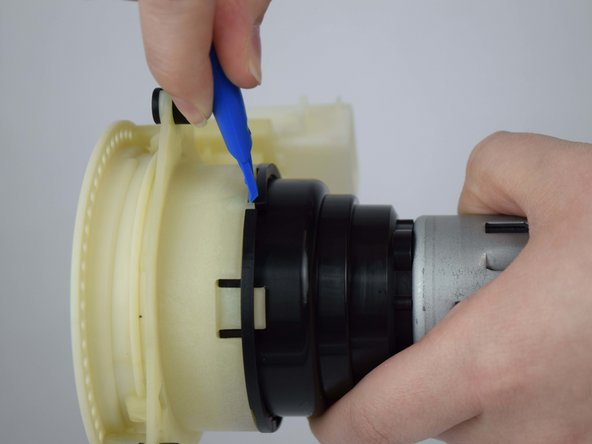
Pry the seam between the two pieces down enough to allow each knob to slide counterclockwise with an opening tool.
-
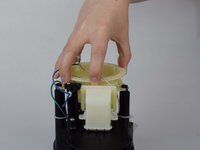
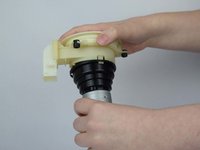
Twist the white plastic burr housing as far counterclockwise as you can.
-
-
-
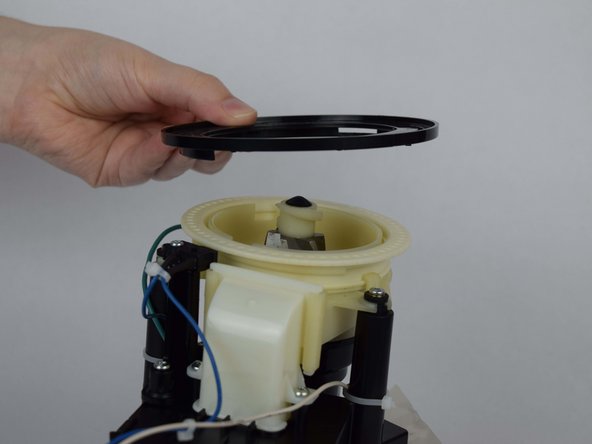
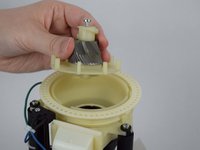
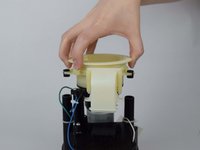
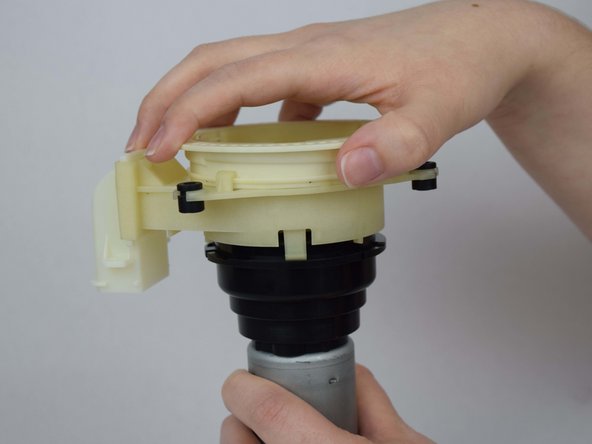
Lift up the white plastic burr housing and separate it from the motor.
-


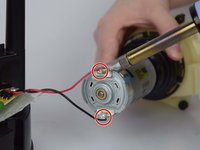
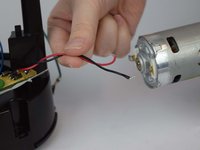


To reassemble your device, follow these instructions in reverse order.
To reassemble your device, follow these instructions in reverse order.
5 の人々がこのガイドを完成させました。

チーム

USF Tampa, Team S1-G1, Leahy Fall 2018 USF Tampa, Team S1-G1, Leahy Fall 2018人のメンバー
USFT-LEAHY-F18S1G1
4 メンバー
5のガイドは作成済み
13 件のコメント
I have a Capresso 565 with a burnt out motor. If I buy a 560, can I just swap out the stainless steel for the plastic? They look like the same unit with that one exception.
I have a Nivona CafeGrano 135, which is technical identical. I was able to remove the entire Motor unit.
In Germany, it can be bought, e.g. here: https://komtra.de/jura-ersatzteile/jura-...
(unfortunately for the same price like a new grinder.)
Is it possible to remove the motor from the black plastic? It should be possible to just replace the motor….
I have the plastic-housing version of this unit. I removed the (four) rubber feet, but underneath there was nothing but blank plastic, even though the structure looked exactly like there should be screws there.
The solution: the plastic housing is held in place by four latches around the base, each visible in a slot between the housing and the base. Pry them apart, and you can then pop the plastic housing off. (You may have to work your way around several times before the first latch doesn’t re-latch while you’re working on the other ones.)
BTW, just popping the housing off of my unit fixed it, and it stayed fixed (at least for the moment) when I replaced the housing (karma?). My motor has been making noises for a while, but suspect that it was one of the two microswitches failing rather than the motor itself.
I've changed my mind on this. To get the rest of the grounds into the grounds hopper, I always pick the unit up by the bean reservoir. It turns out that when I do this, the reservoir tends to turn. Enough of this, and the "reservoir installed" safety switch turns off and the unit stops working. I'm guessing that if I'd reset the reservoir position it would have resumed working without all that disassembly. (Such is life; it was fun to see the insides of the unit.)
griscom -
Where can I buy the capresso infinity plus motor?
stanleyviv - 返信
Searched high and low for motor replacement with no luck. Only German site (referenced above) seems to sell them (assembled with the black plastic attachment (reduction gear assembly, I suspect), which I have been unable to remove). Johnson themselves have something close, but not exact, so suspect this is a custom motor for Jura (Capresso). Sad, because the unit is well built and could (with new motor) be serviceable for long time ... disposable consumer society strikes again.
Neil Payne - 返信
If your unit sounds like it's bogging down, and you have some solder skills, you may be able to just replace the green disk-shaped thermistor.
https://groups.google.com/g/dorkbotpdx-b...
My Capresso unit stopped dead, so I took it apart using your excellent instructions and pictures. It turned out that the little safety microswitch was broken, probably by my ham-handed replacement of the bowl. The microswitch is a Baokezhen sc7301, available on Ebay. There was enough printing left on the switch casing to see the lettering and numbers. Thanks for the great video!
my motor was working fine but the burr drive wasnt moving. I pulled the motor out and removed the gear reduction unit. the 3 plastic gears that engage the metal pinion gear on the motor were stripped. It appeared they stripped due to the grease gumming up so badly that everything stuck together and was very difficult to move. Has me wondering if the manufacturer either used the wrong kind of grease or a grease that would cause drive gear failure on purpose! The unit was in service for at least 5 years but less than 10. It was stored indoors and used regularly. I have other items with 50 year old grease that hasnt turned into a sticky gum like this!