はじめに
Replace the LCD screen of the Canon PowerShot SX50 HS.
必要な工具と部品
-
-
-
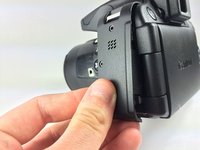
Locate the battery compartment on the bottom of the camera.
-
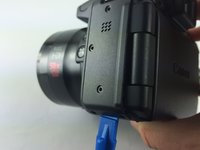
Push the latch on the outside of the battery door to the right to get to the battery pack inside.
 FixBotに聞いてみる
-
-
-
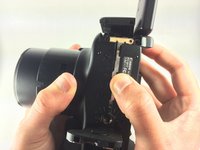
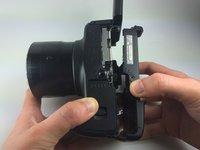
Pull the brown latch on the inside of the battery door towards your palm (to the left). The battery pack should pop out (battery not pictured).
-
Now remove the battery pack from the camera with your fingers.
-
-
-
-
-
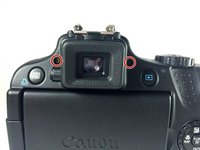
Remove the two Phillips #000 screws, length 5 mm, on either side of the viewfinder.
-
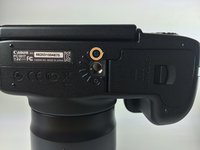
Remove the one Phillips #000 screw, length 4 mm, on the bottom, closer to the back side of the camera.
-
-
-
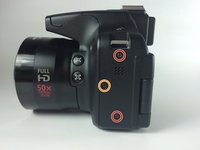
Remove the two Phillips #000 screws, length 3 mm, on the left side of camera.
-
Remove the Phillips #000 screw, length 4 mm, located between the two 3 mm screws.
-
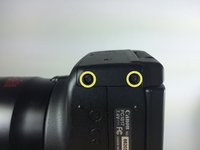
Remove the two Phillips #000 screws, length 4 mm, on the bottom left corner of the camera.
-
-
-
Find the "A/V Out Digital" charging station and lift up the flap.
-
Remove the two Phillips #000 screws, length 5 mm, that are under the "A/V Out Digital" flap.
-
Remove the one Phillips #000 screw, length 5 mm, that is outside the "A/V Out Digital" flap.
-
-
-
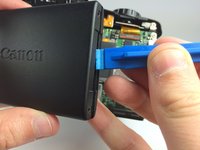
Use the plastic opening tool to carefully start lifting up the camera's left-side panel. Then use your fingers to pry off the rest.
-
-
-
-
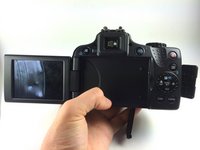
Make sure the LCD screen panel, the battery compartment door, and the 'A/V Out Digital" flap are all open.
-
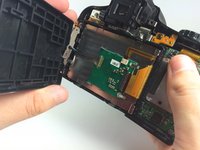
Using your fingers, carefully pry off the back encasement (you may need to use a plastic opening tool to help you).
-
-
この手順で使用する道具:Tweezers$4.99
-
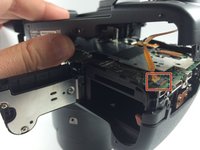
Find the orange wire ribbon attaching the back encasement to the I/O board in the lower right-hand corner of the camera (lens facing away).
-
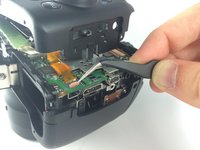
Carefully lift up the brown clip holding the wire ribbon in place and pull the ribbon out of the clasp with your fingers or tweezers.
-
-
-
Now you can completely separate the back encasement from the rest of the camera.
-
-
-
-
-
Open the LCD screen panel.
-
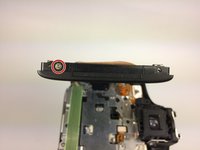
Remove the two Phillips #000 screws, length 3 mm, on the outside edge of the LCD panel.
-
-
-
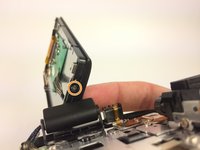
Remove the Phillips #000 screws, length 3 mm, on the inside edge of the LCD screen panel.
-
-
-
Use one of the plastic opening tools to pry off the back covering of the LCD screen.
-
Use your fingers to carefully remove the back covering.
-
-
-
Remove the one Phillips #000 screw, length 2 mm, on the outside edge of the inner encasement of the LCD screen.
-
Rotate the screen counterclockwise as shown and remove the one Phillips #000 screw, length 2 mm, on the inside edge of the inner encasement of the LCD screen.
-
-
この手順で使用する道具:Tweezers$4.99
-
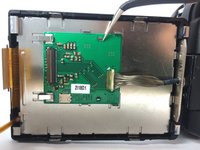
To detach the larger wire ribbon, lift the release latch on the connector of the circuit board. Remove the wire ribbon with tweezers.
-
Now remove the smaller wire ribbon by pulling on it firmly but gently.
-
-
-
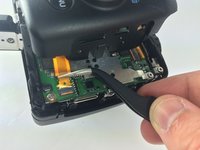
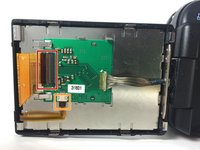
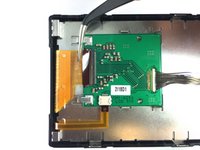
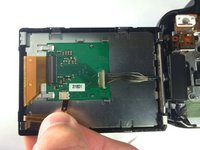
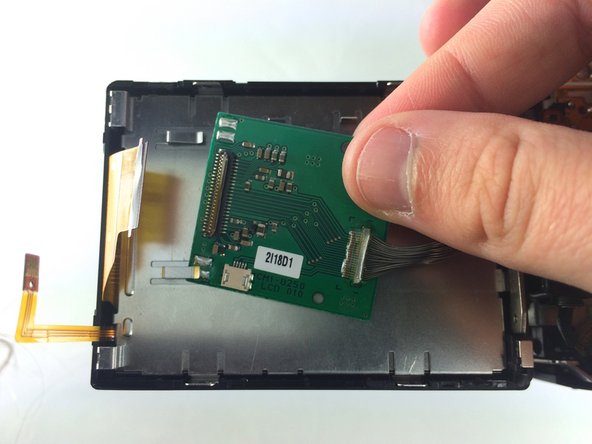
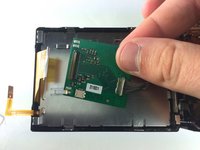
Use the curved tip tweezers to carefully remove the green circuit board out from under the two clips holding it in place. Then you can remove it completely with your fingers.
-
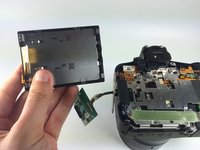
Now you can separate the LCD screen panel from the rest of the camera.
-
-
-
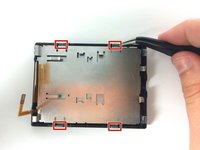
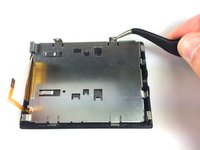
Use the curved tip tweezers to detach the metal plate that holds the screen in place. There are four latches you will need to detach.
-
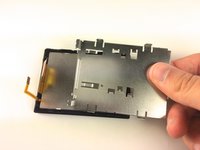
Remove the metal plate from the rest of the LCD screen panel.
-
-
-
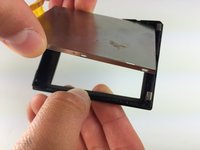
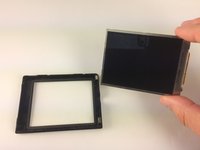
Use your fingers to remove the LCD screen from its encasing. It comes out very easily.
-
-

















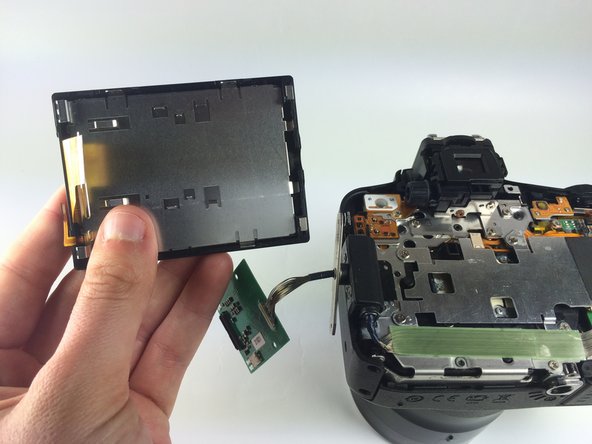




To reassemble your device, follow these instructions in reverse order.
7 の人々がこのガイドを完成させました。

チーム

Cal Poly, Team 12-7, Lancaster Spring 2015 Cal Poly, Team 12-7, Lancaster Spring 2015人のメンバー
CPSU-LANCASTER-S15S12G7
5 メンバー
10のガイドは作成済み
4件のガイドコメント
hi, good afternoon…i’m from Peru..was wondering if you could help how to find screw to replace on my canon sx50…some of them, on the lcd, are starting to get rusty…i have no founf in ebay phillips 000 mscrew…just m2*3..or m3…which screws use the canon? thanks a lot in advance!!
Can use Canon Powershot SX60 HS LCD Display to Canon Powershot SX50 HS?
I am unable to get SX50 LCD Display to let me know if can I use SX60 Display?
