はじめに
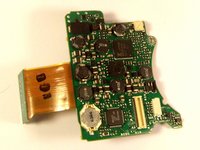
Follow this step by step installation guide for replacing the motherboard on your Canon Powershot SD700 IS camera.
In order to make the process easier please view our more indepth guide on taking off the camera's casing in the LCD replacement guide.
必要な工具と部品
-
-
-
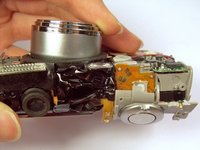
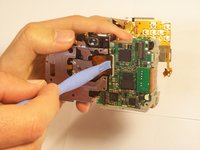
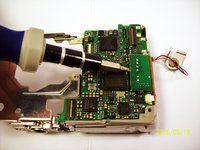
Detach the LCD and backlight.
-
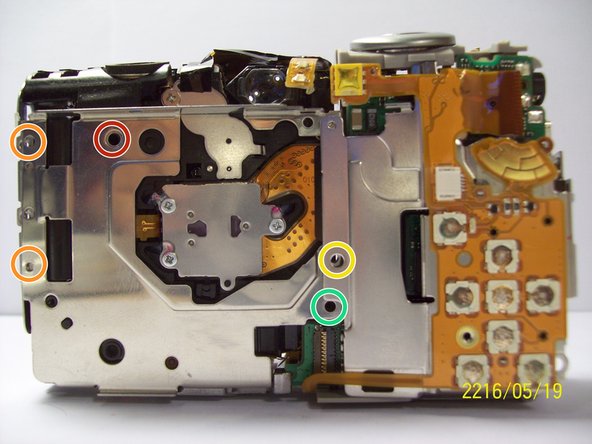
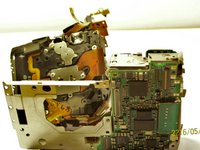
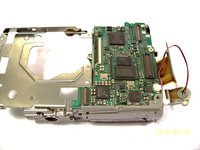
Remove the larger screw.
-
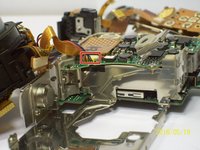
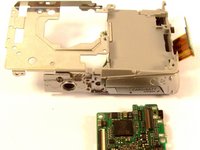
Remove the two smaller sized screws.
-
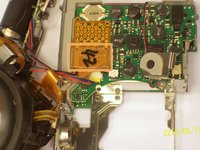
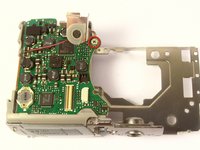
Remove the small screw.
-
Remove the small screw.
-


終わりに
To reassemble your device, follow these instructions in reverse order.
チーム

Cal Poly, Team 9-71, Walters Spring 2011 Cal Poly, Team 9-71, Walters Spring 2011人のメンバー
CPSU-WALTERS-S11S9G71
4 メンバー
9のガイドは作成済み