はじめに
A faulty zoom control spring can be a failure mode for digital cameras. This can cause the camera to zoom erratically while in operation.
Note:
1.) There are many screws to be removed before you can reach the zoom control spring.
2.) To be able to replace the zoom control spring, you must have a comparable spring to the original.
3.) Do not continue unless you have a magnetic pad to place and keep track of the screws.
必要な工具と部品
-
-
Start by removing all of the screws around the camera: from the front, back, sides, and bottom.
-
-
-
-
With the top panel removed, locate the metal plate covering the zoom control on the underside of the panel (located on the forward left side, if the panel is oriented similarly to the first image.) This plate will also be connected to some circuit ribbon. Leave the ribbon attached to the plate.
-
Remove the screws from the plate, and lift and fold the plate along the attached circuit ribbon to the right (as shown in third image.)
-
-
-
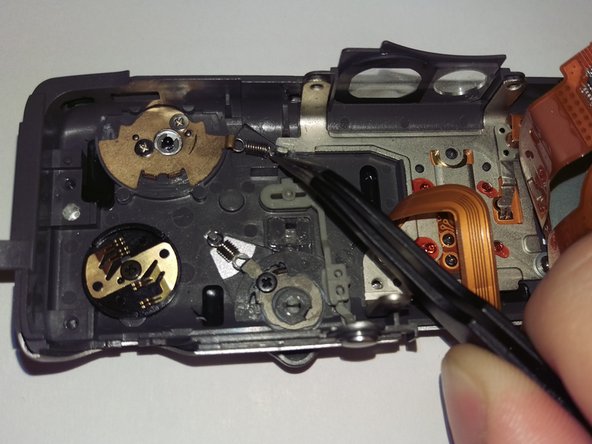
With the top panel and metal plate removed, locate the zoom control on the underside of the panel (located on the forward left side if the panel is oriented similarly to the first image.) It will be located directly under the metal plate and circuit ribbon that was removed in the previous step.
-
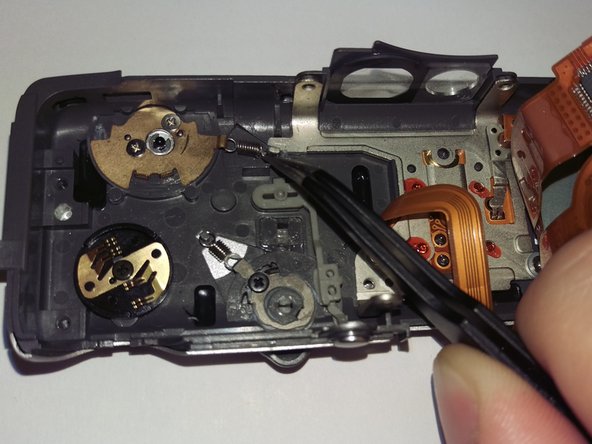
Once the zoom control is located, remove the faulty zoom control spring from the metal pegs on the panel and zoom control.
-


To reassemble your device, follow these instructions in reverse order.
To reassemble your device, follow these instructions in reverse order.
チーム

University of Memphis, Team 3-2, Kim Fall 2015 University of Memphis, Team 3-2, Kim Fall 2015人のメンバー
UM-KIM-F15S3G2
4 メンバー
5のガイドは作成済み