はじめに
If the LCD screen of your Canon PowerShot G11 LCD is cracked or has stopped working you will need to replace it.
必要な工具と部品
-
-
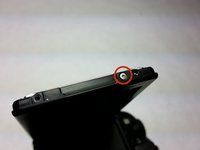
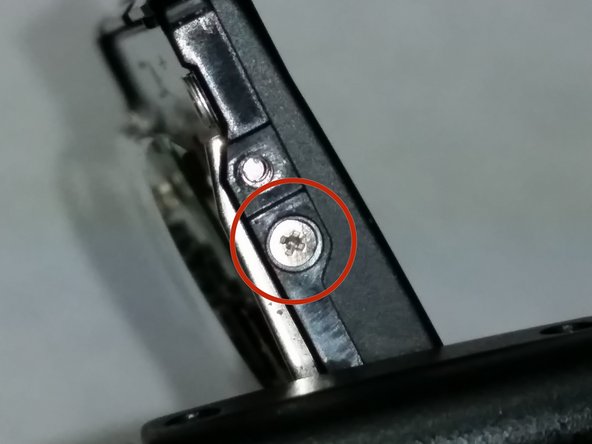
Open the LCD screen and turn it so the screen is facing the bottom of the camera, the screw is on the bottom of the LCD screen.
-
Remove the 3.10mm Philips #00 screw from the bottom end of the LCD screen.
-
-
-
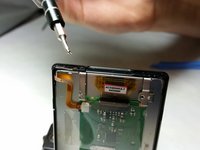
Turn the LCD so that the screen is facing the top of the camera, the screw you need is on the bottom of the LCD screen.
-
Remove the 3.10mm Philips #00 screw.
-
-
-
-
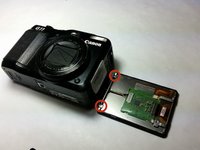
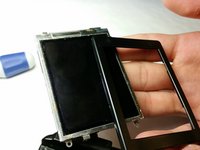
Use the plastic opening tool on the indent at the top of the LCD screen to pop off the LCD case.
-
-
-
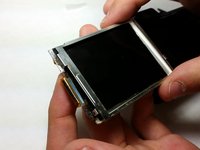
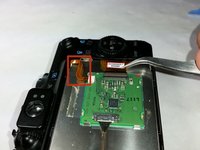
On the bottom of the LCD screen carefully turn it so the screen is facing the top of the camera and remove the 2.22mm Phillips #00 screw.
-
-
-
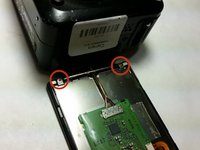
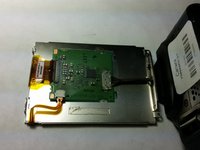
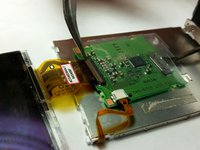
Remove the screen from the base of the LCD.
-
Do not remove this wire, it is not needed when replacing the screen.
-
-
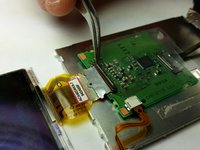
この手順で使用する道具:Tweezers$4.99
-
Use the tweezers to lift the small brown plastic snap before you remove the wire.
-


To reassemble your device, follow these instructions in reverse order.
2 の人々がこのガイドを完成させました。
チーム

USF Tampa, Team 5-6, Brown Winter 2015 USF Tampa, Team 5-6, Brown Winter 2015人のメンバー
USFT-BROWN-W15S5G6
3 メンバー
6のガイドは作成済み
4件のガイドコメント
Did this. The first time i put it ack together it did not work , Had totake apart and adjust wires okay after put bake together again.
Jim Murphy - 返信 共有
Followed these instructions and the result is excellent. Well done, and thanks very much. Saved me buying another camera!
Steve Rayner - 返信 共有
How do you get a new screen on there?
Jacob Fields - 返信 共有
Faltan planos. Por arte de magia el lcd aparece a la izquierda de varias fotos cuando debería estar debajo de la placa verde. Perdonen, muy mal explicado.