メインコンテンツにスキップ
リペアコミュニティに参加 - アカウントの作成

Brother PT-110 Printer Motor Replacement

必要な工具と部品

  1. Brother PT-110 Printer Motor Replacement, Batteries: 手順 1、 2の画像 1 Brother PT-110 Printer Motor Replacement, Batteries: 手順 1、 2の画像 2
    • Push on the side of the cover, and remove it.

    FixBotに聞いてみる
  2. Brother PT-110 Printer Motor Replacement: 手順 2、 1の画像 1
    • Remove the batteries.

    FixBotに聞いてみる
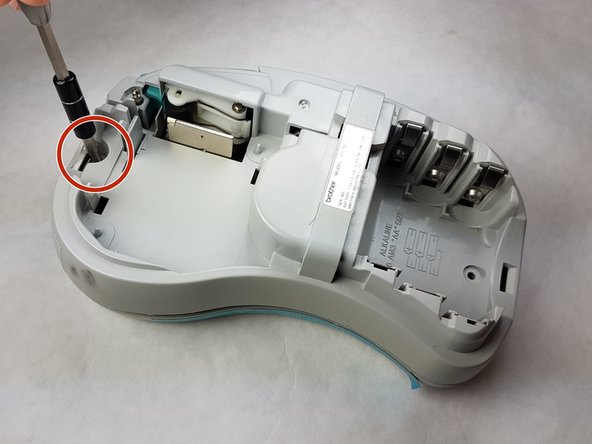
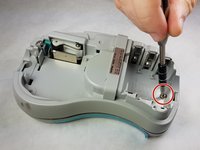
  3. Brother PT-110 Printer Motor Replacement, Back Plate: 手順 3、 2の画像 1 Brother PT-110 Printer Motor Replacement, Back Plate: 手順 3、 2の画像 2
    • Unscrew the two 9 mm Phillips #1 screws from the top and bottom.

    • Total: 2 x Screws

    FixBotに聞いてみる
  4. Brother PT-110 Printer Motor Replacement: 手順 4、 1の画像 1
    • First: To separate the top cover from the body, insert a spudger between the two halves.

    • Gently twist the spudger until the two halves separate. Do this in multiple spots around the perimeter of the cover to distribute the pressure.

    • DO NOT PULL HALVES APART. There are wired connections inside that must be disconnected before halves can be fully separated.

    FixBotに聞いてみる
  5. Brother PT-110 Printer Motor Replacement: 手順 5、 1の画像 1
    • Gently separate the two covers, ensuring wires are not taut.

    FixBotに聞いてみる
  6. Brother PT-110 Printer Motor Replacement: 手順 6、 1の画像 1
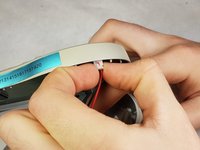
    • Gently grasp the ribbon wire and top cover, then gently pull the ribbon wire out of its connection.

    FixBotに聞いてみる
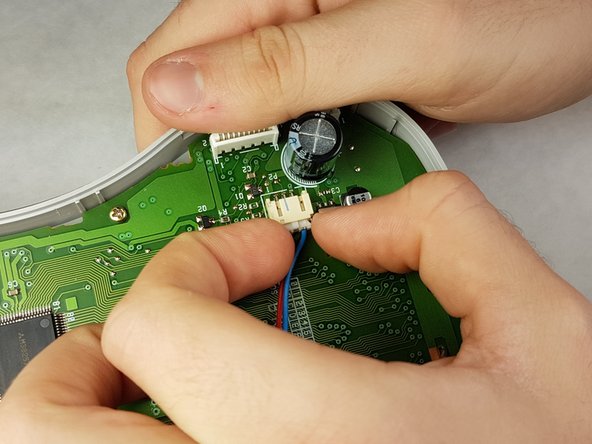
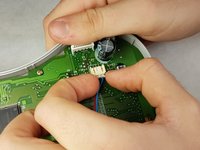
  7. Brother PT-110 Printer Motor Replacement: 手順 7、 2の画像 1 Brother PT-110 Printer Motor Replacement: 手順 7、 2の画像 2
    • Carefully pinch the top of the connector.

    • Pull perpendicular to the device until the wire is disconnected.

    • It may require more force than expected to disconnect the wires.

    FixBotに聞いてみる
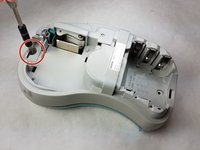
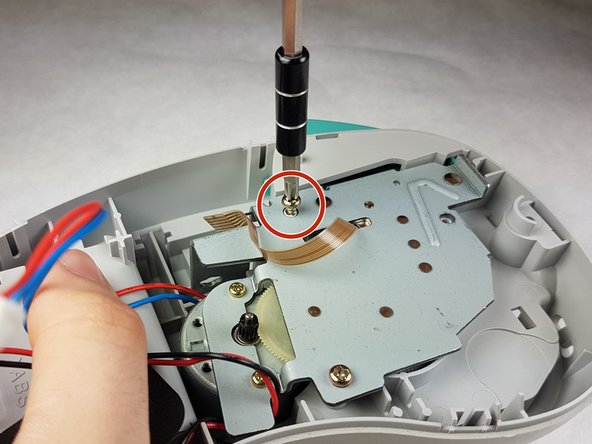
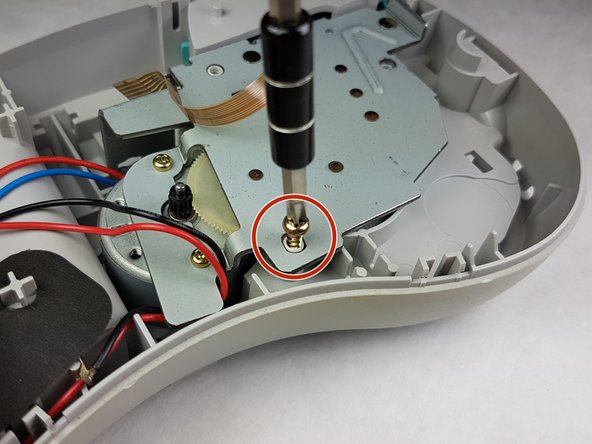
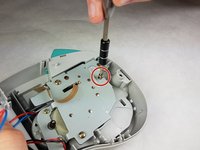
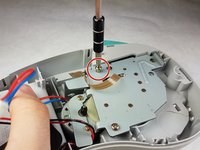
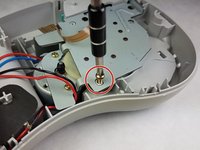
  8. Brother PT-110 Printer Motor Replacement: 手順 8、 3の画像 1 Brother PT-110 Printer Motor Replacement: 手順 8、 3の画像 2 Brother PT-110 Printer Motor Replacement: 手順 8、 3の画像 3
    • Unscrew the three 9 mm Phillips #1 screws shown.

    • Total: 3 x Screws

    FixBotに聞いてみる
  9. Brother PT-110 Printer Motor Replacement, Printer Motor: 手順 9、 1の画像 1
    • Remove the motor housing.

    FixBotに聞いてみる
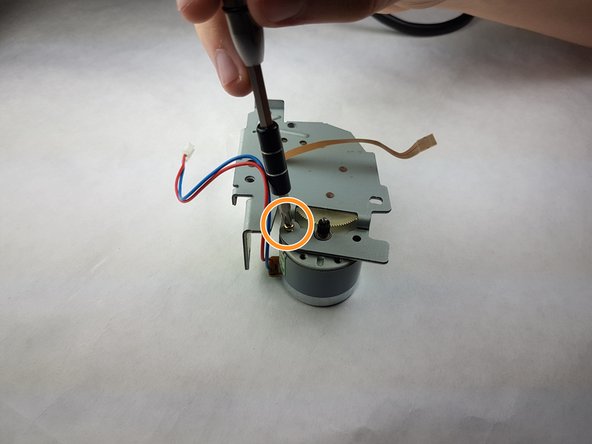
  10. Brother PT-110 Printer Motor Replacement: 手順 10、 2の画像 1 Brother PT-110 Printer Motor Replacement: 手順 10、 2の画像 2
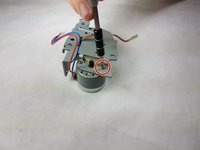
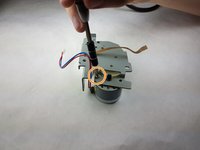
    • Unscrew the two 3 mm Phillips #1 screws from the motor housing.

    • Total: 2 x Screws

    FixBotに聞いてみる
  11. Brother PT-110 Printer Motor Replacement: 手順 11、 1の画像 1
    • Remove the motor.

    FixBotに聞いてみる
終わりに

To reassemble your device, follow these instructions in reverse order.

作成者

3人の作成者と共同で作成されました。

Kimberly Larsen

メンバー登録日: 09/28/16

279 ポイント

5のガイドは作成済み

チーム

IUPUI, Team 1-1, Harley Fall 2016 IUPUI, Team 1-1, Harley Fall 2016人のメンバー

IUPUI-HARLEY-F16S1G1

3 メンバー

7のガイドは作成済み

0件のガイドコメント

コメントを追加

統計データ:

過去 24時間: 0

過去 7 日: 3

過去 30 日: 40

今までの合計 1,082