メインコンテンツにスキップ

Blackberry Torch 9810 Cursor Key Replacement

必要な工具と部品

  1. Blackberry Torch 9810 Cursor Key Replacement, Phone cover: 手順 1、 2の画像 1 Blackberry Torch 9810 Cursor Key Replacement, Phone cover: 手順 1、 2の画像 2
    • Remove the back cover of the phone

  2. Blackberry Torch 9810 Cursor Key Replacement, Battery: 手順 2、 1の画像 1
    • Remove the battery

  3. Blackberry Torch 9810 Cursor Key Replacement, Remove screws: 手順 3、 1の画像 1
    • Unscrew the four screws using the T6 screw driver.

    • If you remove the screw in red, you void the warranty!

  4. Blackberry Torch 9810 Cursor Key Replacement, Wiggle Wiggle: 手順 4、 2の画像 1 Blackberry Torch 9810 Cursor Key Replacement, Wiggle Wiggle: 手順 4、 2の画像 2
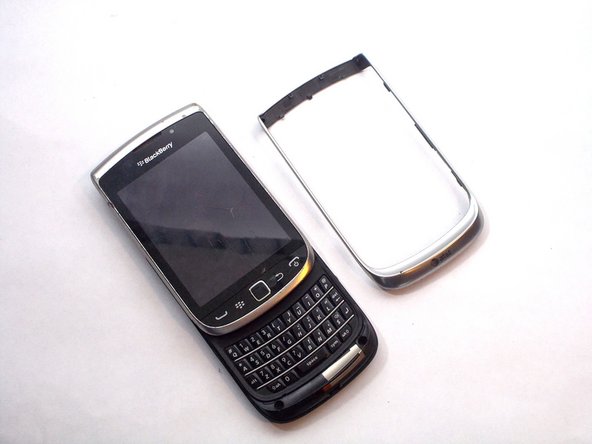
    • Slide the screen up.

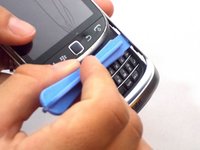
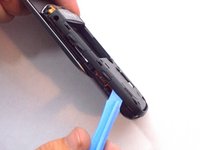
    • Remove front silver trim by using a plastic opening tools and wiggle it off.

    • This is difficult to remove, but it should come off if you do it with caution.

  5. Blackberry Torch 9810 Cursor Key Replacement, More screws that need to go: 手順 5、 1の画像 1
    • Once you remove the rim cover, you should find two more screws on the top. Unscrew them with a T-6 screw driver.

  6. Blackberry Torch 9810 Cursor Key Replacement, Remove the Back: 手順 6、 3の画像 1 Blackberry Torch 9810 Cursor Key Replacement, Remove the Back: 手順 6、 3の画像 2 Blackberry Torch 9810 Cursor Key Replacement, Remove the Back: 手順 6、 3の画像 3
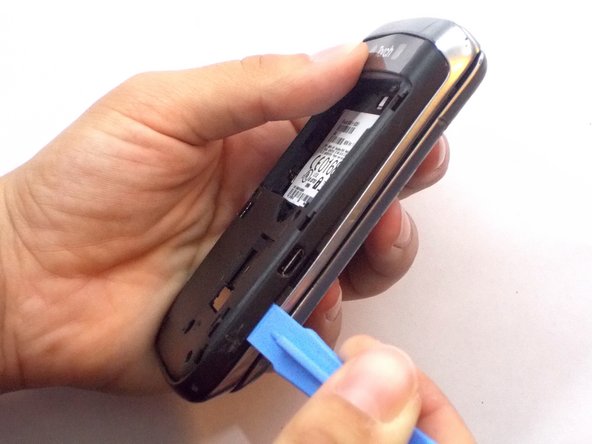
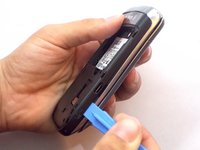
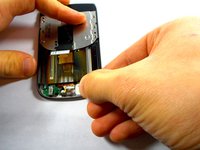
    • Use the plastic opening tools to remove the entire back off the phone.

  7. Blackberry Torch 9810 Cursor Key Replacement, Remove Ribbon Cables: 手順 7、 1の画像 1
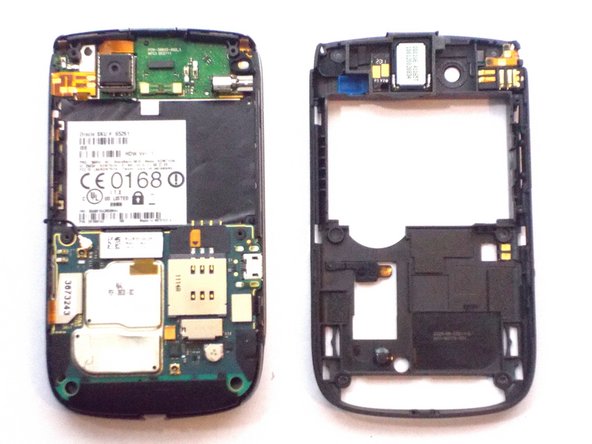
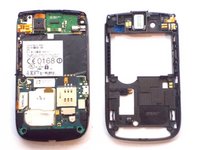
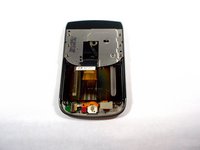
    • Remove the three ribbon cables and the antenna wire by hand.

    • The cable in red is glued to the metal cap. Peel it upwards towards the battery compartment.

  8. Blackberry Torch 9810 Cursor Key Replacement, Remove Logic Board: 手順 8、 1の画像 1
    • The logic board will easily pull straight out.

  9. Blackberry Torch 9810 Cursor Key Replacement, Remove Informational Sticker: 手順 9、 1の画像 1
    • Remove the black sticker located above the logic board that contains the phone's serial number

  10. Blackberry Torch 9810 Cursor Key Replacement, Remove More Screws: 手順 10、 1の画像 1
    • Behind the black sticker you should find six small yellow screws. Remove them with a T4 torx screwdriver.

  11. Blackberry Torch 9810 Cursor Key Replacement, Separate the phone: 手順 11、 1の画像 1
    • Carefully separate the screen from the body.

    • Make sure to be extra careful with the ribbon!

  12. Blackberry Torch 9810 Cursor Key Replacement: 手順 12、 1の画像 1
    • Slide the silver plate up and you should find four more screws that need to be removed. Use a T-4 screw driver.

    • They are on a black cover located on the bottom of the phone. The black cover will come off

  13. Blackberry Torch 9810 Cursor Key Replacement, Carefully Remove a Ribbion: 手順 13、 1の画像 1
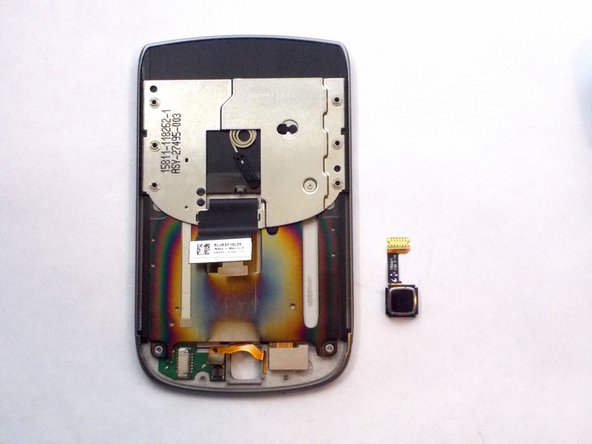
    • There is one last orange ribbon cable that needs to be pulled and behind it is the cursor

  14. Blackberry Torch 9810 Cursor Key Replacement, Cursor Key: 手順 14、 3の画像 1 Blackberry Torch 9810 Cursor Key Replacement, Cursor Key: 手順 14、 3の画像 2 Blackberry Torch 9810 Cursor Key Replacement, Cursor Key: 手順 14、 3の画像 3
    • Push the cursor upwards and out of the socket.

    • Gently pull out the white box by pulling straight out of the socket to the right. This is your cursor

終わりに

To reassemble your device, follow these instructions in reverse order.

ある他の人がこのガイドを完成しました。

作成者

4人の作成者と共同で作成されました。

Jocelyn Adorno

メンバー登録日: 10/16/14

296 ポイント

4のガイドは作成済み

チーム

UMass Dartmouth, Team 6-6, Vijaybhaskar Fall 2014 UMass Dartmouth, Team 6-6, Vijaybhaskar Fall 2014人のメンバー

UMASSD-VIJAYBHASKAR-F14S6G6

3 メンバー

4のガイドは作成済み

0 件のコメント

コメントを追加

統計データ:

過去 24時間: 1

過去 7 日: 4

過去 30 日: 6

今までの合計 1,448